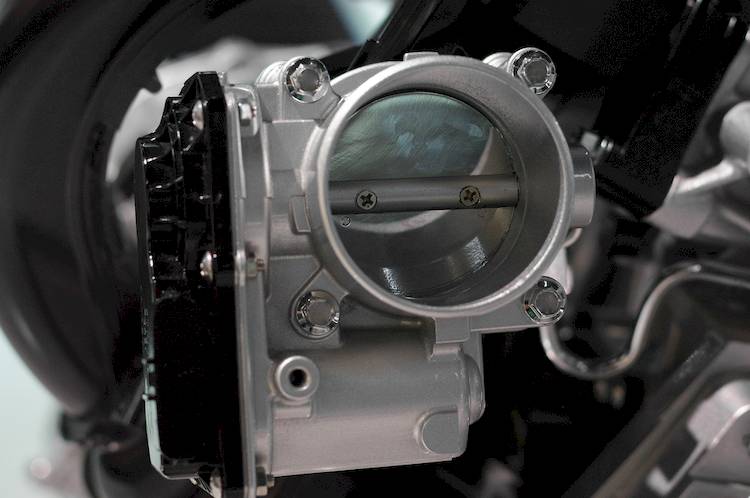

Your throttle kick actuator is responsible for the regulation of your throttle during moments of sudden change in RPMs. As the throttle pedal is suddenly released by the driver, the engine needs to gradually slow down rather than shut down as fast as the pedal was released. The kicker actuator not only helps in this case, but also when the engine is demanded to work harder than the moment before. As in when the load is increased going up a hill, when the A/C is turned on, and when operating other devices fed from the engine’s power supply. These may also be known as a “throttle actuator control module,” or a “throttle kick solenoid.”
A bad or failing throttle kicker actuator can show signs of engine hesitation, rough acceleration, poor gas mileage, and even stalling. They may last the lifetime of the vehicle, or they may be the cause of some frustrating drivability issues. Replacing them can be done quickly and easily. Anyone with time, focus, and a little knowledge should be able to make the repair without any major issues.
Part 1 of 1: Replace the throttle kicker actuator
Materials Needed
- Channel locks or crescent wrench
- Pliers (if desired)
- Replacement throttle kicker
- Socket set and ratchet
Step 1: Disconnect power supply Disconnect the negative battery cable to cut the supply of power to all electronics. This is an important safety measure. Set the cable aside so it will not make contact with anything metallic.
Step 2: Locate and access the throttle kicker actuator The actuator will be located next to the throttle body. The exact location, and design will vary with every make and model. If there are any hoses or ducts in the way of accessing the kicker, remove those and set aside.
Step 3: Disconnect old throttle kicker The kicker will be held by a bracket which will not need to be removed unless damaged. If replacing the bracket, remove the two bolts which hold it into place. Otherwise, disconnect the wiring harness from the terminal in the back of the kicker.
In the front of the kicker, you will see a large nut which holds the kicker into the bracket. Remove this nut and set safely aside if reusing. At this point the solenoid, or kicker will be able to be pulled from the bracket.
Step 4 : Install new kicker Place the new kicker within the bracket. Screw on the retaining bolt and hand tighten into place. Do not over tighten this nut, but assure it is tight enough to not unscrew with engine vibration. Reinsert the wiring harness into the terminal to restore power to the unit.
- Note If you removed anything to access the throttle kicker in step 2, now is the time to reconnect those units.
Step 5: Connect battery Reconnect the negative battery cable to restore power to the vehicle. At this point you are ready to test the operation of your new kicker.
Step 6: Test drive Drive the vehicle to test the kicker. Start the vehicle and let it idle. Turn on the air conditioning and run it at full speed. Watch the RPMs and make sure vehicle does not drop below 500. With this test complete, drive the vehicle to check for proper RPMs when releasing the accelerator pedal, and when turning the A/C on.
With the kicker installed and tested your repair is complete. A new and properly functioning throttle kicker will dramatically improve the drivability of your vehicle. If the repair is becoming and issue, always feel free to contact your local technician from Yourmechanic for help at your home or office.


