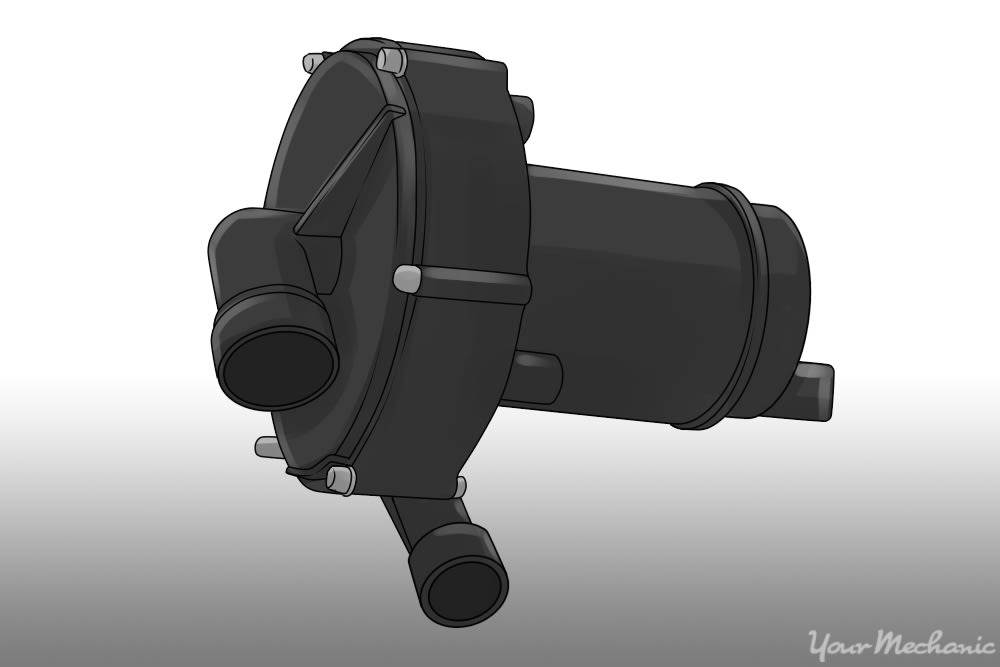
The air injection system introduces oxygen into the exhaust engine at certain times to reduce emissions. Typical system components include the PCM, air injection relay, air injection hoses, valves and the pump. The air injection pump can be either belt driven or electric - for this article, we will focus on the belt-driven design.
The air injection pump is the focal point of the system. Air enters the pump and it is then directed to the desired location by PCM controlled valves. During engine warm up, the air is directed to the exhaust manifold. Then, in most systems, the air is directed to the catalytic converter once the engine reaches the optimum operating temperature.
Problems with the air injection system can result in increased emissions and engine performance issues. Typically, the Check Engine Light will be illuminated and diagnostic trouble codes (DTCs) will be stored in the PCM.
Part 1 of 2: Remove the air injection pump
Materials Needed
- Free repair manuals - Autozone
- Protective gloves
- Ratchet
- Repair manuals (optional) Chilton
- Safety glasses
Step 1: Locate the air injection pump. The air pump is at the front of the engine with the serpentine belt wrapped around it.
- Tip: Make sure there is a belt routing diagram under the hood of your car so you know how to reinstall the belt. If not, take a picture of the belt routing with your phone before proceeding further.

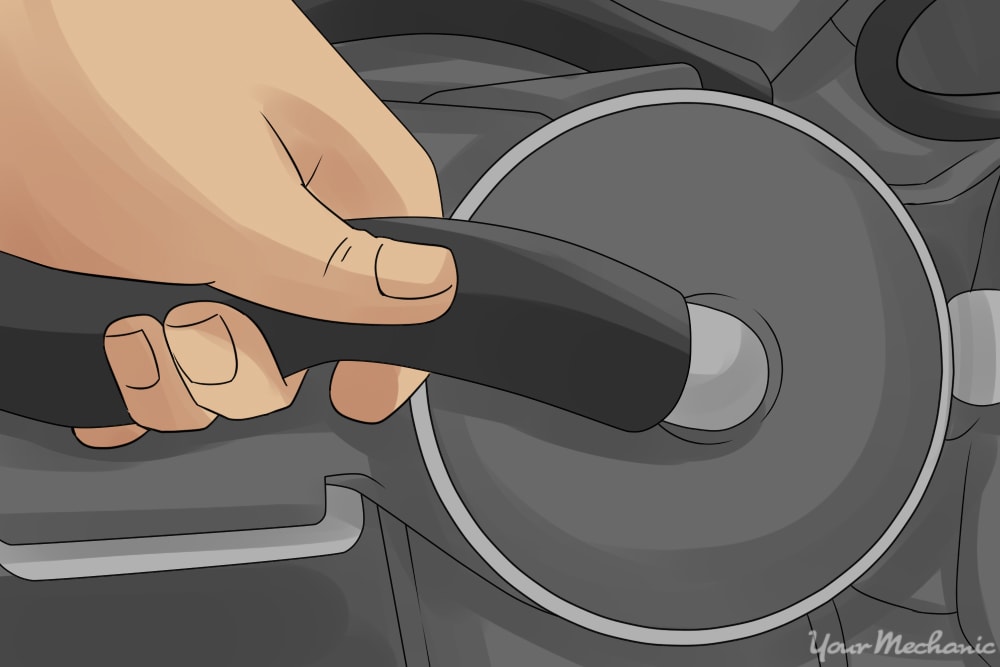
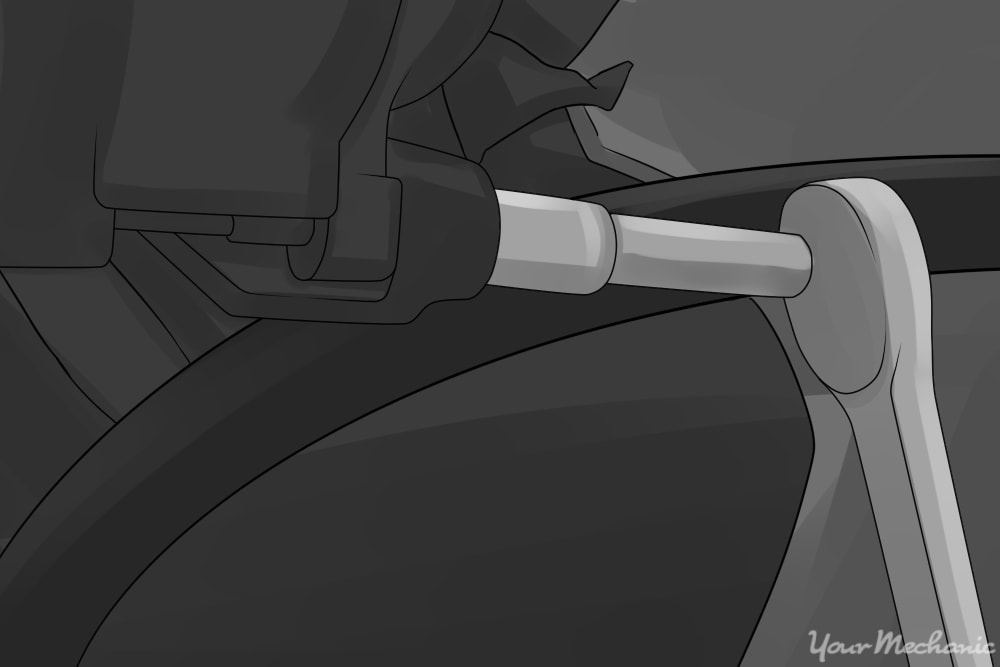
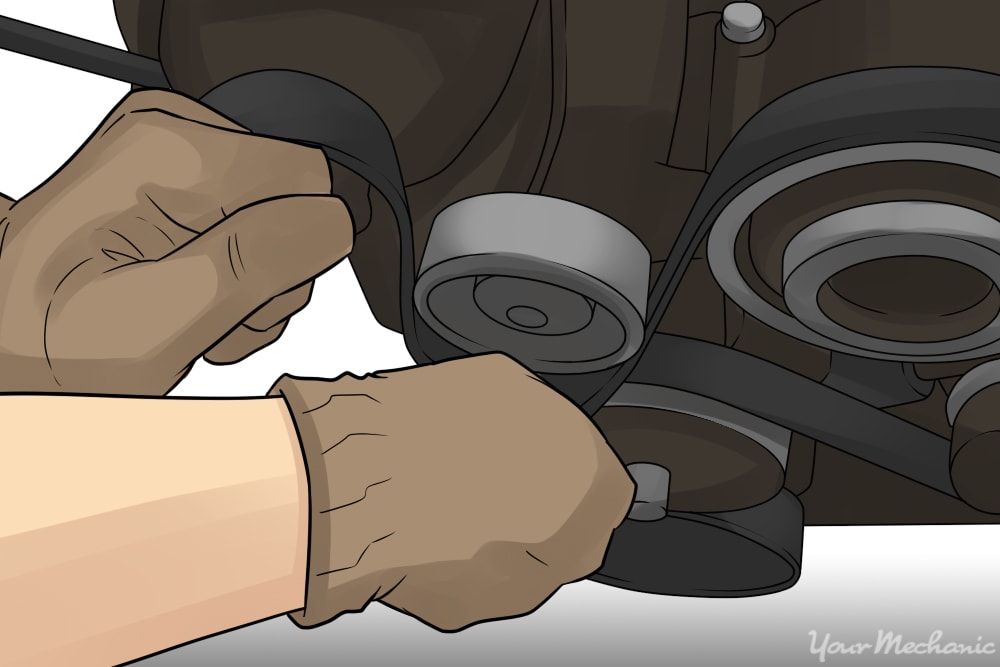
Step 2: Remove the serpentine belt. Remove the serpentine belt by inserting a ratchet end into the square slot on the tensioner.
Push the tensioner away from the belt and slide the belt off the pulleys.
- Note: Some older vehicles use a v-belt instead of a serpentine belt. In this case, loosen the pump mounting bolts and the adjustment bracket. Then, move the pump inboard until the belt can be removed.
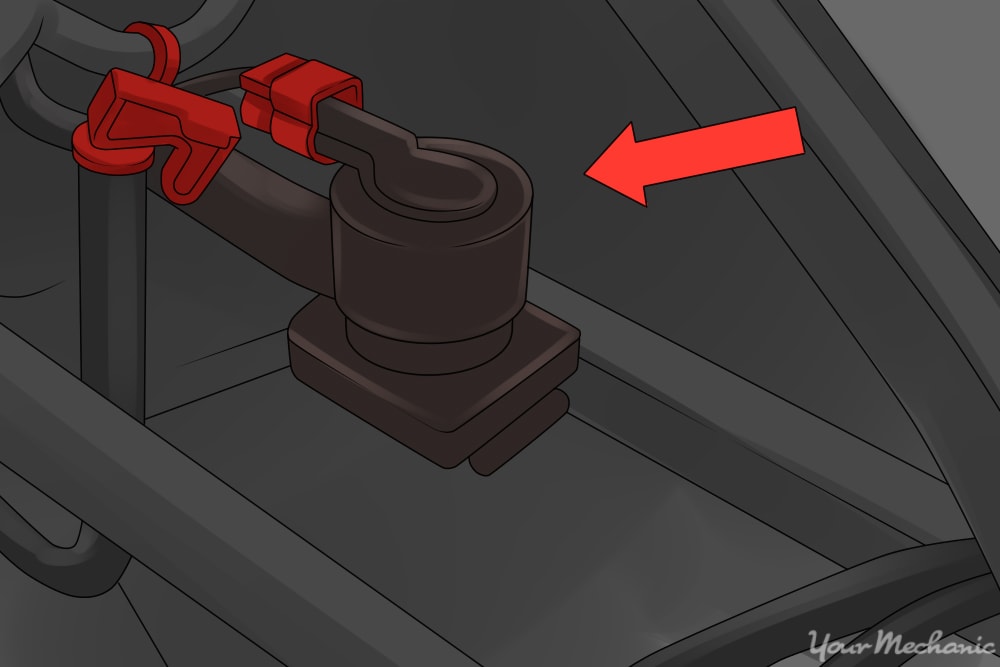
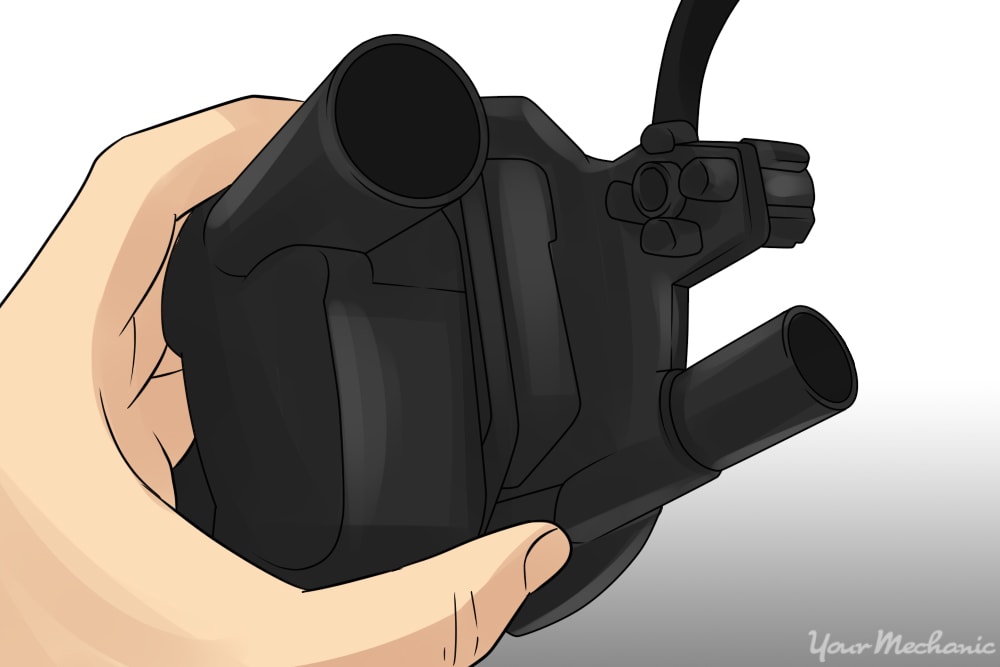
Step 3: Remove the hose. Undo any clamps and slide the hose off the connection and remove it from the pump.
Step 4: Remove vacuum lines and electrical connections. Remove any vacuum lines and electrical connections from the pump, if any.
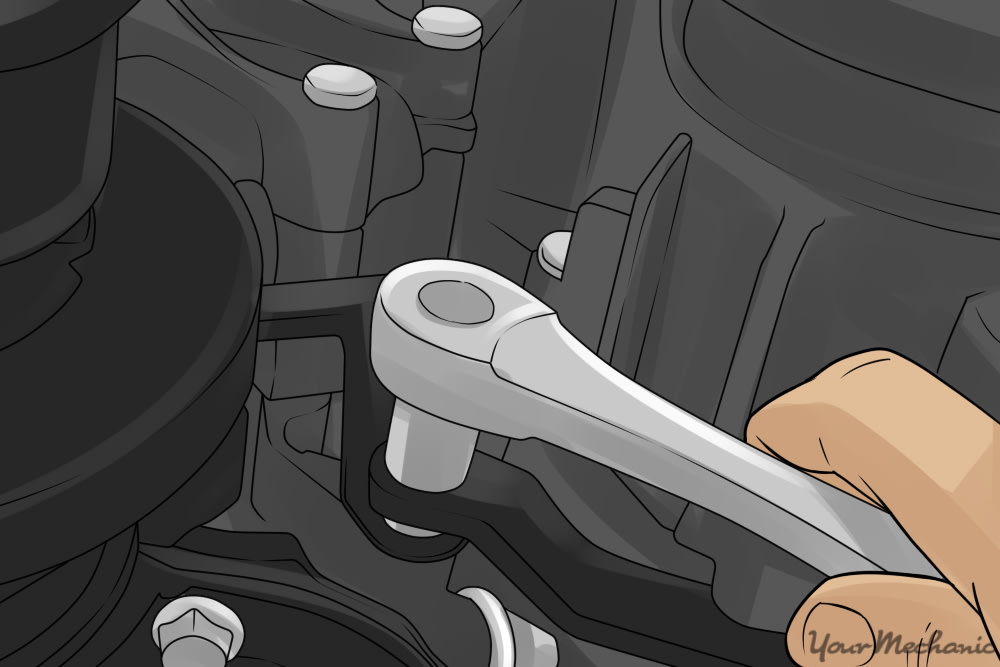
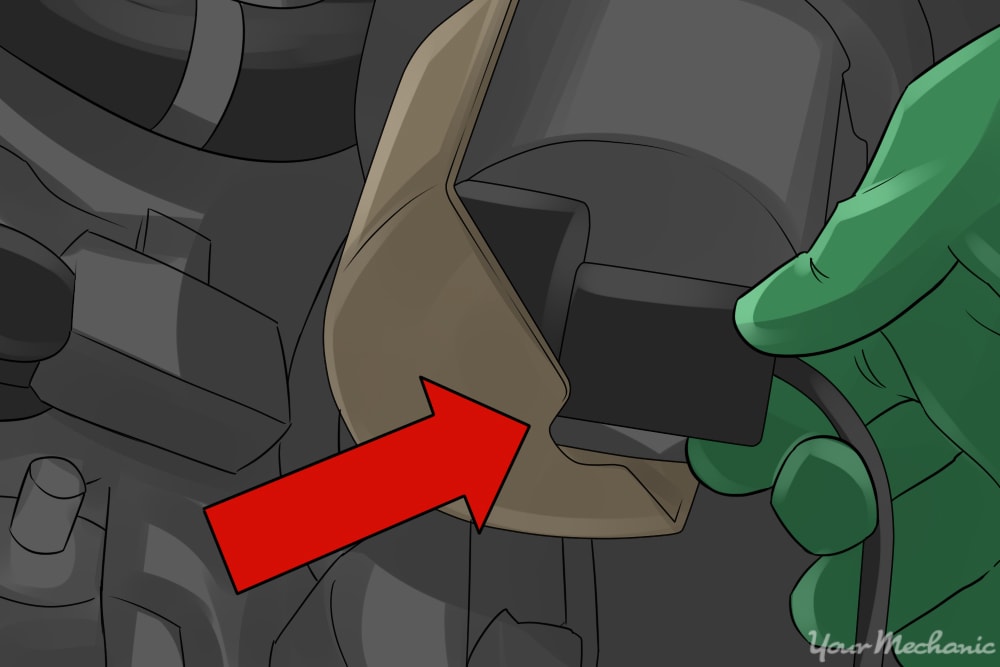
Step 5: Remove the air pump mounting bolts. Remove the air pump mounting bolts using a ratchet or wrench.
Step 6: Remove the air pump. Remove the air pump from the vehicle.
Part 2 of 2: Install the new air pump

Step 1: Install the new smog pump. Lower the new smog pump into the vehicle and slide it into position.
Step 2: Tighten the mounting bolts. Reinstall the smog pump mounting bolts and tighten them down until they are snug.
Step 3: Put back the electrical connections. Reinstall the vacuum lines and electrical connections, if any.
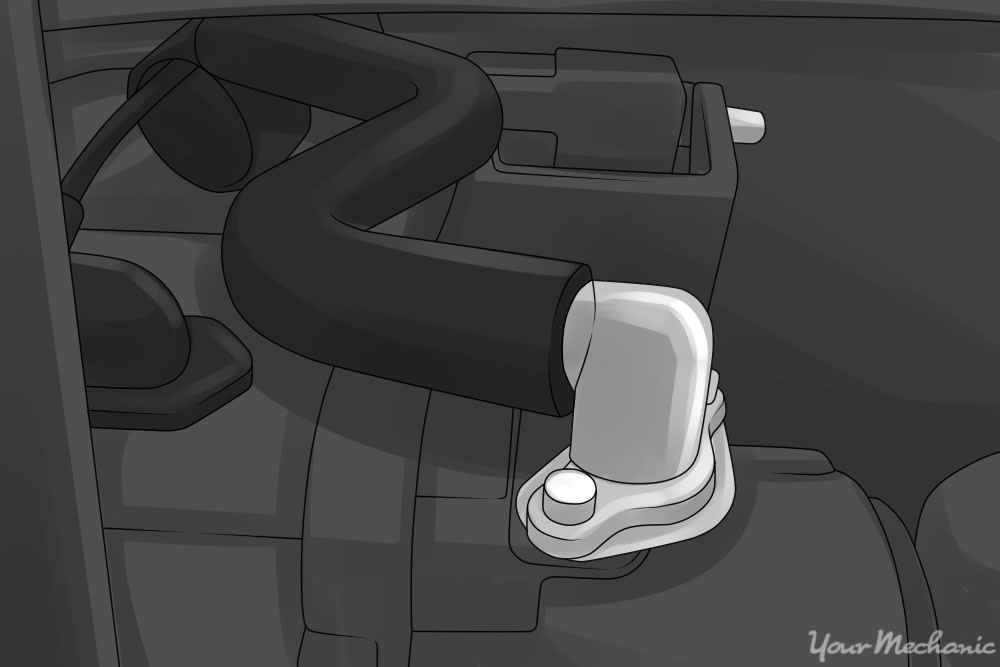
Step 4: Reinstall the air pump hoses. Slide the hose back over the pump connection and tighten down any clamps.
Step 5: Reinstall the serpentine belt. Reinstall the serpentine belt by pushing on the tensioner so that the belt can be slid over the pulleys.
Tip: Consult the underhood belt routing diagram if needed or refer to the photos that you took earlier.
Note: If you have an older vehicle with a v-belt, move the pump outboard so the belt can be installed. Then, tighten down the pump mounting bolts and adjustment bracket.
If you prefer to have a professional install the new air pump for you, get a certified technician from YourMechanic to perform the air pump replacement for you.