
Having a fully functional cruise control has quickly evolved from a luxury upgrade to a needed component in today's fast-paced world. Car drivers across the United States utilize the cruise control to save fuel, increase their comfort while driving, and to relax sore joints and muscles during extended road trips. Unfortunately, a faulty cruise control clutch release switch can compromise cruise control engagement in a manually-shifted vehicle.
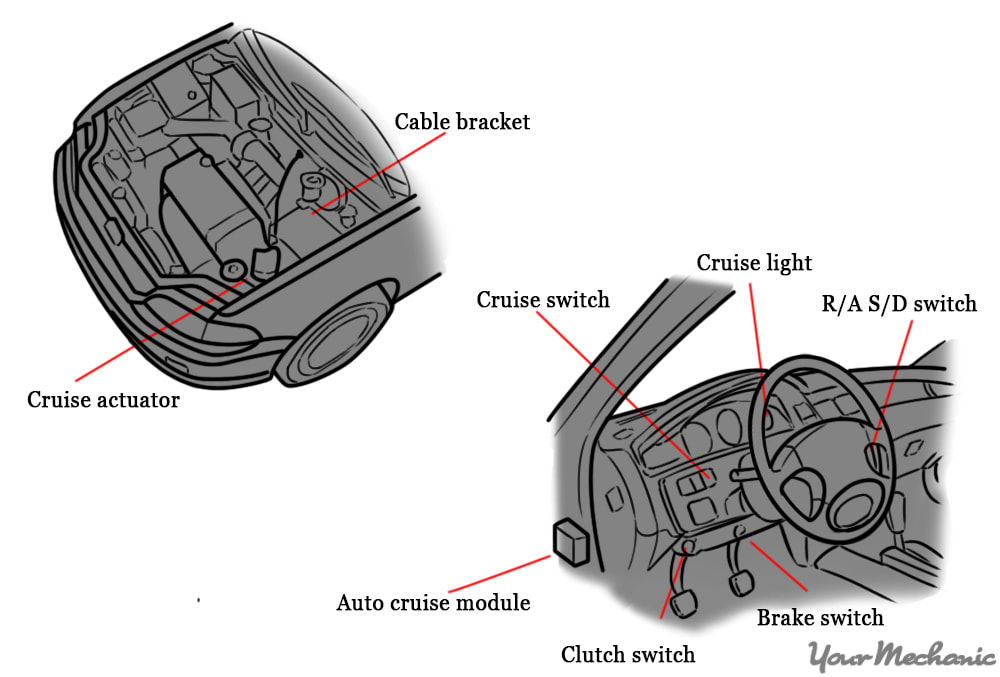
Once the cruise control system is set, the cruise control clutch release switch disengages the cruise control whenever the clutch pedal is pressed. Since the clutch is responsible for applying power to the vehicle's wheels, manufacturers of vehicles sold in the United States are required to install the following cruise control shut off devices:
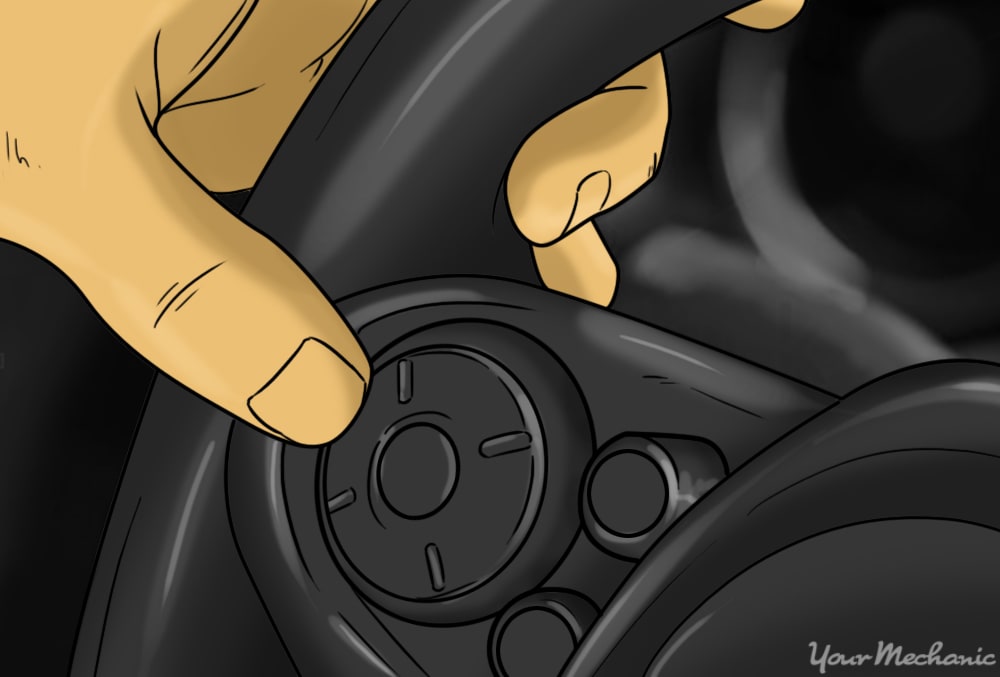
The manual shut-off switch located on the instrument cluster on the steering wheel or turn signal indicator
The brake or clutch pedal release switch located on top of both the brake and clutch pedals In cars with automatic transmissions, the brake release switch is used as a secondary shut off device. Cars with manual transmissions that rely on a clutch pedal to shift often have both the brake and clutch pedal release switch.
Common problems with the cruise control clutch release switch include:
The circuit will not open: in this case, when you press the clutch pedal, it will not trigger the automatic shut off system.
The cruise control clutch release switch does not close the circuit: in this case, the pedal's switch is sending a signal to the vehicle's ECM that the switch is active and won't allow the system to set the cruise control. In either case, the switch will need to be replaced.
Part 1 of 3: Check for the symptoms of a bad cruise control clutch switch
Diagnosing the precise cause of problems with any vehicle system significantly reduces the time, money, and resources you need to spend to complete any repair job.
Step 1: Download any error codes. Start by downloading any error codes that are stored inside the vehicle's ECM. On most OBD-II scanners, an error code P-0704 notes that a problem exists with the clutch release switch.
If you don't receive this error code, or don't have a scanner to download error codes, you will need to perform some self-diagnostic inspections to discover the precise component responsible for the system failure.
Step 2: Check for other symptoms. Some of the other symptoms of a bad of faulty cruise control clutch release switch include:
Cruise control will not turn off: If the cruise control does not shut off when you press the brake pedal, a faulty cruise control clutch release switch can be the culprit. A faulty clutch release switch that is closed does not allow the electrical signal to be sent to the cruise control relay that activates the cruise control on the vehicle.
Cruise control does not set: When the cruise control clutch switch is damaged, it does not permit the electrical circuit to complete to the system relay. In this case, the circuit signal is kept open on the switch but is not forwarded to the vehicle's ECM, causing the vehicle's cruise control to malfunction.
Cruise control shuts off automatically while driving: When the cruise control is activated and shuts off without pressing the clutch pedal, a malfunctioning clutch release switch may be responsible.
Part 2 of 3: Replace the cruise control clutch release switch
Materials Needed
- Boxed end wrench or ratchet wrench
- Flashlight
- Flat head screwdriver
- Replacement cruise control clutch release switch
- Replacement cruise control clutch release switch clip
- Safety equipment (safety glasses)
Note: This article provides general instructions for removing a cruise control clutch release switch. The precise steps, location, and type of switch will be unique to the make and model of your vehicle. Make sure to verify specific steps and guidelines with your vehicle’s service manual before proceeding with this process.
Warning: When working with electrical components or any component that has an electrical connection, always disconnect the power to avoid physical harm.
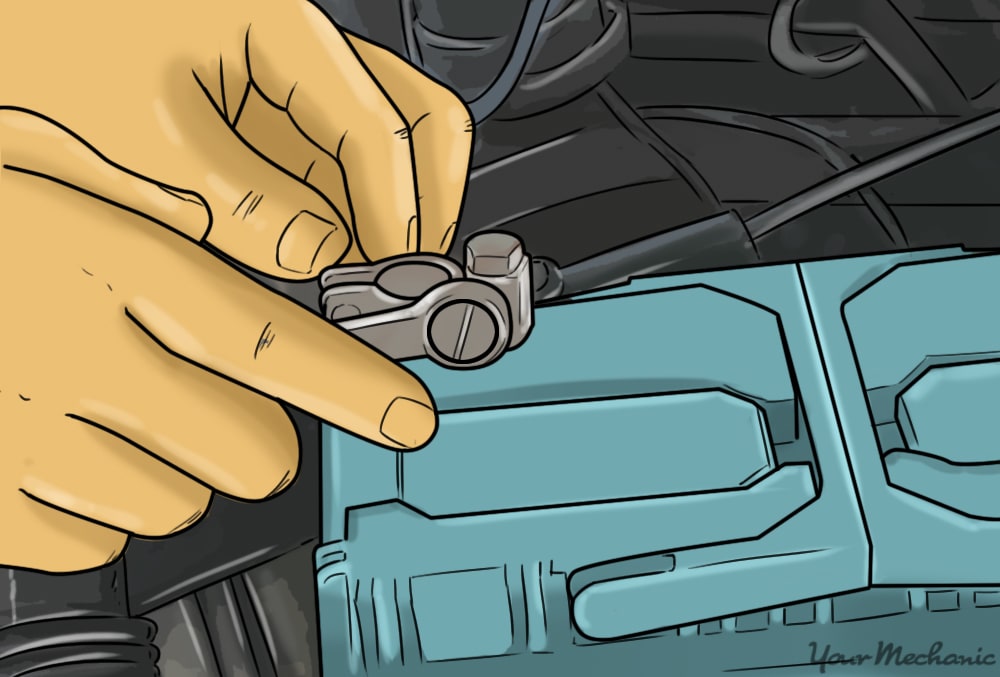
Step 1: Disconnect the vehicle's battery. Locate the vehicle's battery and disconnect the positive and negative battery cables before proceeding.
Step 2: Locate the cruise control clutch release switch. Refer to your vehicle's service manual or contact the vehicle's manufacturer and ask them to send you a schematic for the clutch release switch. In most cases, the switch is located directly on top of the clutch pedal.
The cruise control clutch release switch is either white or black (based on the manufacturer). The switch has a wiring harness attached to a plate or bracket.
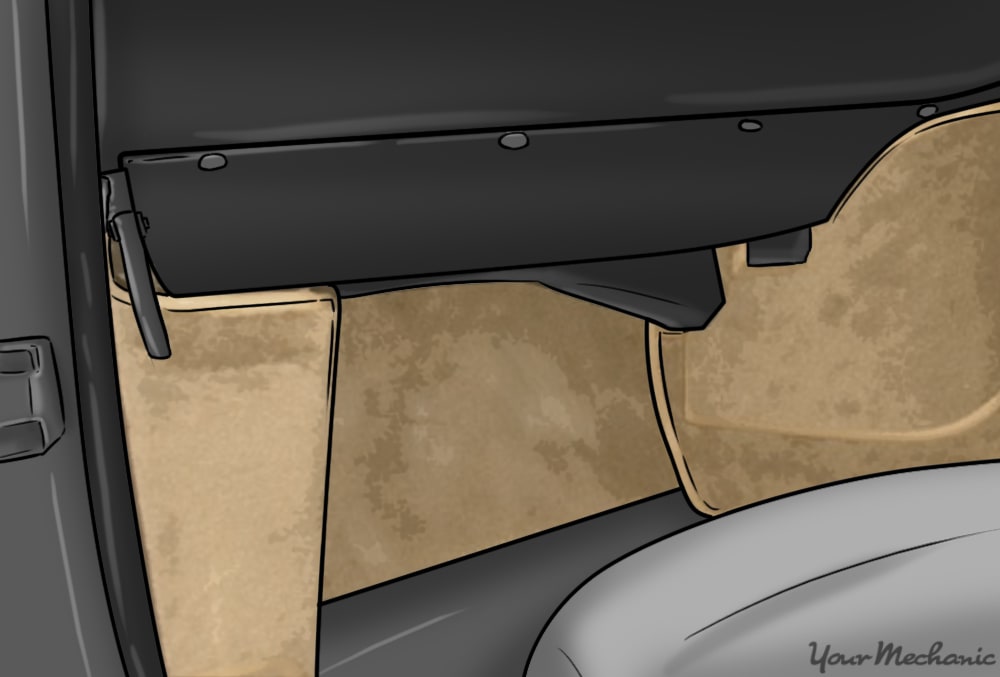
Step 3: Remove floor mats from the driver’s side. It's a good idea to remove any floor mats as they can cause discomfort or slip while you're working, leading to an injury.
Step 4: Remove any access panels under the dashboard. Most vehicles have a cover or access panel that keeps all wires and sensors contained and untangled.
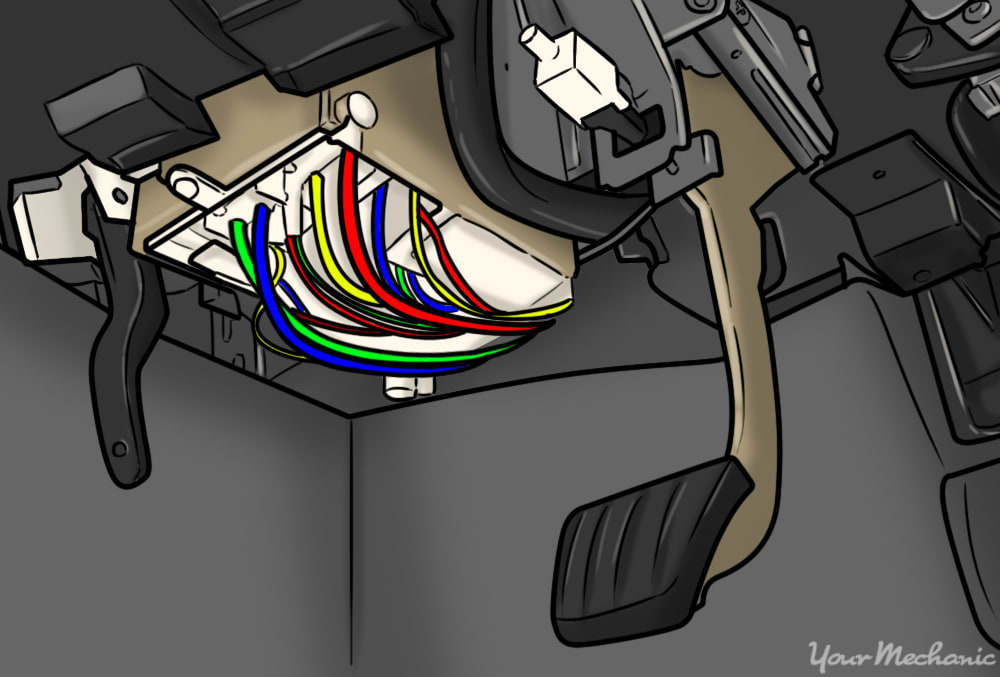
If your vehicle has this type of panel, remove it to gain access to the wiring harnesses underneath the vehicle.
Step 5: Disconnect the wiring harness. Disconnect the wiring harness attached to the cruise control clutch release switch. Use a flathead screwdriver to depress a clip that connects the wiring harness to the sensor.
Once you press down on the clip, pull on the wiring harness slowly to remove it from the clutch release switch.
Step 6: Remove the cruise control clutch release switch. Using a boxed end wrench or ratchet wrench, remove the bolt that secures the clutch release switch to the bracket.
After the bolt has been removed, it should be rather easy to remove the clutch release switch. However, there may be a secure clip attached to the back of the clutch switch. To remove this clip, use a flathead screwdriver to pry the clip off the fitting on the bracket carefully. If done correctly, the clutch release switch should "pop" off easily.
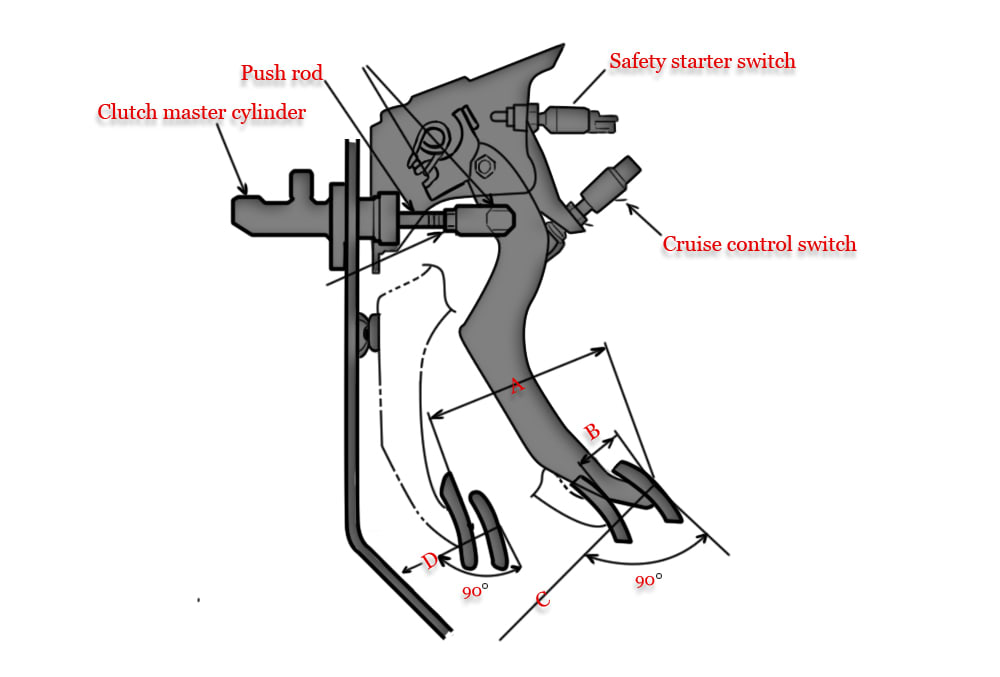
- Note: Pay careful attention to the diagram listed above. On most vehicles, there are two safety switches activated by a clutch pedal; the starter safety switch and the cruise control release switch. Make sure you verify the position of the cruise control switch and the starter switch before you proceed further.
Step 7: Install the new clip. Install the new clip on to the new clutch release switch.
- Tip: It is recommended that you purchase new gaskets, clips, and clamps anytime you replace hardware attached to these support systems.
The same thing applies to the clutch release switch. If your vehicle has a clip that helps to secure this switch to the bracket, install the new clip on the new switch. In many cases, the clip is installed on the new clutch release switch already. If not, make sure to secure the clip to the back of the sensor before attempting to reinstall the new unit.
Step 8: Attach the cruise control clutch release switch. Install the new cruise control clutch release switch in the same position as the older clutch switch. This ensures the wiring harness is easily attached and allows the switch to operate correctly. If the clutch release switch had a clip, snap the clip into its fitting on the bracket first.
Step 9: Reattach the bolt. After you've placed the clutch release switch in the proper location and secured the clip, reinstall the bolt that secures the clutch switch to the bracket.
- Tip: It's a good idea to use threadlocker on that bolt so that the brake switch does not become loose. Tighten the bolt to the recommended torque pressure as noted in your vehicle's service manual.
Step 10: Inspect the wiring harness. Sometimes, the wiring harness of the clutch release switch may be the reason for the problem.
Inspect the condition of the wiring harness to verify there are no frays, cuts, or loose wires that impact the operation of the switch. If the harness is damaged, replace it before proceeding.
Step 11: Reattach the wiring harness. Make sure you reattach the wiring harness in the same position as it was earlier. It should "click" into place once it's properly installed.
Step 12: Reattach the control access panel. Reattach the control access panel under the dashboard and make sure it is installed properly.
Step 13: Reconnect the battery cables. Make sure these are properly connected to the right terminals.
Part 3 of 3: Test drive the vehicle
After completing any replacement job, test drive the vehicle and verify that you've fixed the initial problem.
However, before you begin to drive around town, it's important to set up the right type of road test to examine if the repair process was completed correctly. If you were having problems with the cruise control shutting off after a certain period, test the vehicle for at least that same amount of time.
Step 1: Start the vehicle. Let it warm up to operating temperature.
Step 2: Check the error codes. Plug in the diagnostic scanner and download any existing error codes or clear the codes that showed up initially.
Step 3: Drive to a highway. Drive your vehicle to a highway where you can drive smoothly for at least 10 to 15 minutes with the cruise control on.
Step 4: Set your cruise control at 55 or 65 mph. After the cruise control is set, slightly depress the clutch pedal to see if the switch deactivates the cruise control.
Step 5: Reset the cruise control again and drive for 10 to 15 miles. Verify that the cruise control does not shut off automatically.
Replacing the cruise control clutch release switch is a simple process. However, if you are not comfortable with completing the job yourself, get one of YourMechanic’s local ASE certified mechanics to replace the cruise control clutch release switch for you.


