
Not having a functional car horn is dangerous and can prevent your vehicle from passing state inspection. As such, it is important to understand how a horn assembly works and when it may need to be replaced.
When the horn button (located in the steering wheel pad) is depressed, the horn relay is energized, allowing power to flow to the horn(s). This horn assembly can be tested by supplying power and ground directly to the horn. If the horn barely sounds or does not sound at all, it is defective and should be replaced.
Part 1 of 2: Removing the old the horn assembly
In order to safely and efficiently replace your horn, you will need a couple of basic tools.
Materials Needed
- New horn assembly
- Protective gloves
- Repair manuals (optional); you can buy these through Chilton, or Autozone provides them online for free for certain makes and models
- Ratchet or wrench
- Safety glasses
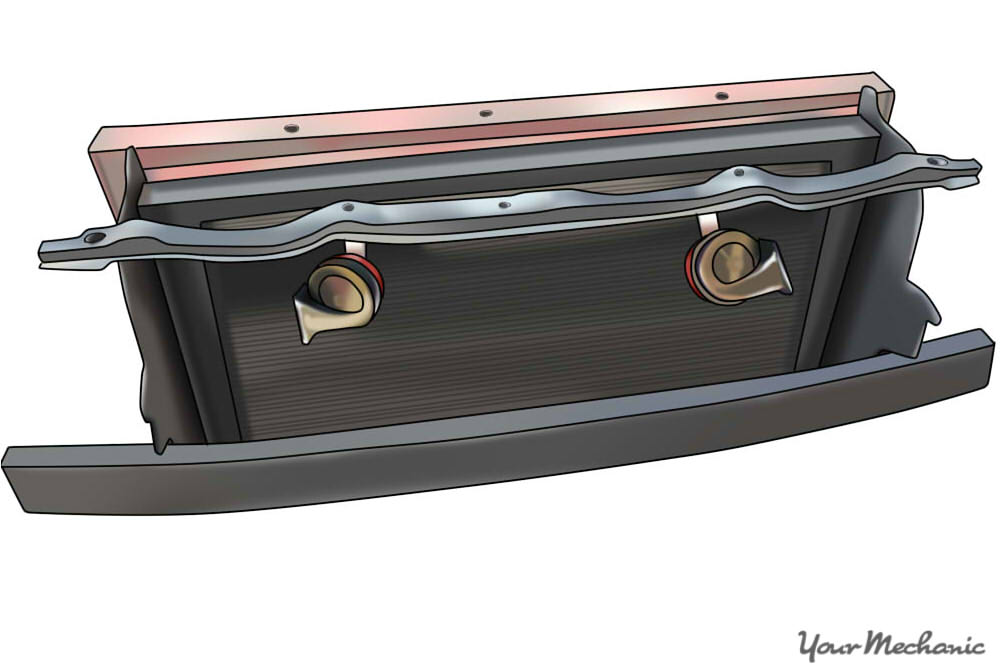
Step 1: Confirm the location of the horn assembly. The horn is generally located on the radiator support or behind the grille of the vehicle.
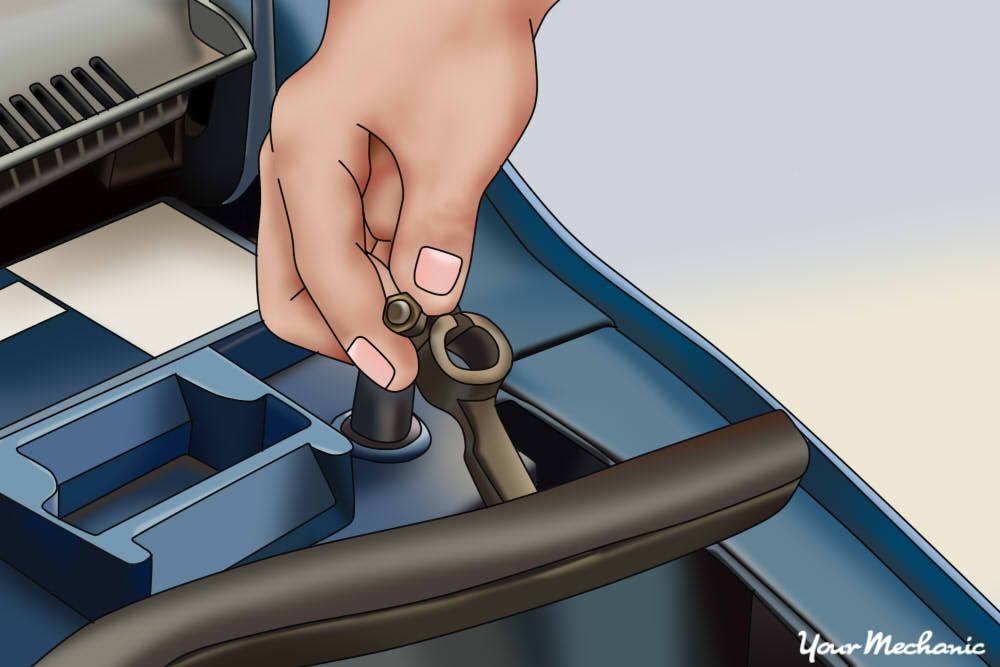
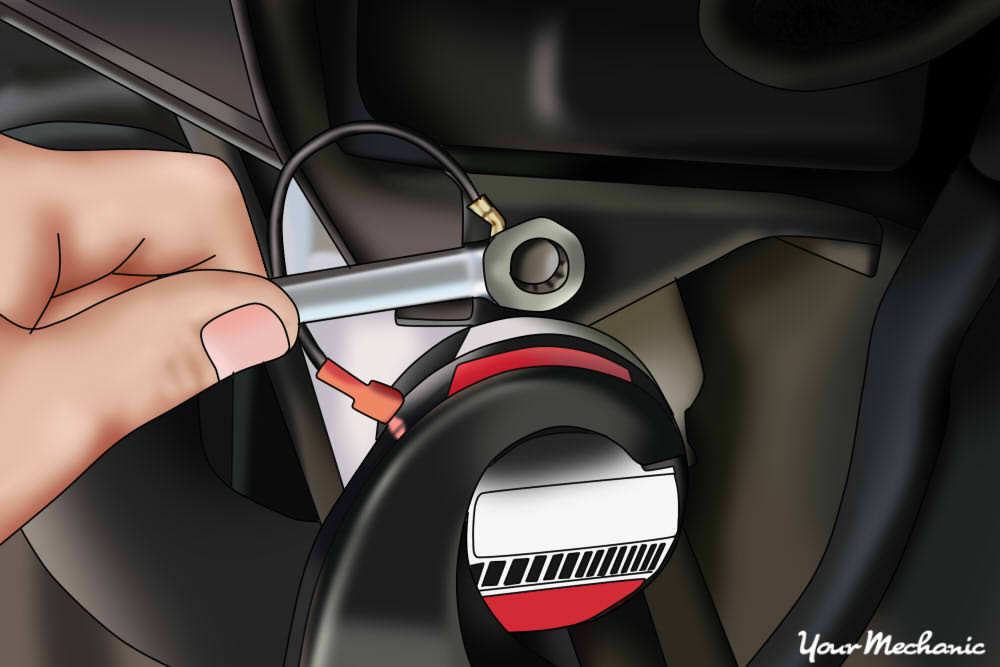
Step 2: Disconnect the battery. Disconnect the negative battery cable and set it aside.
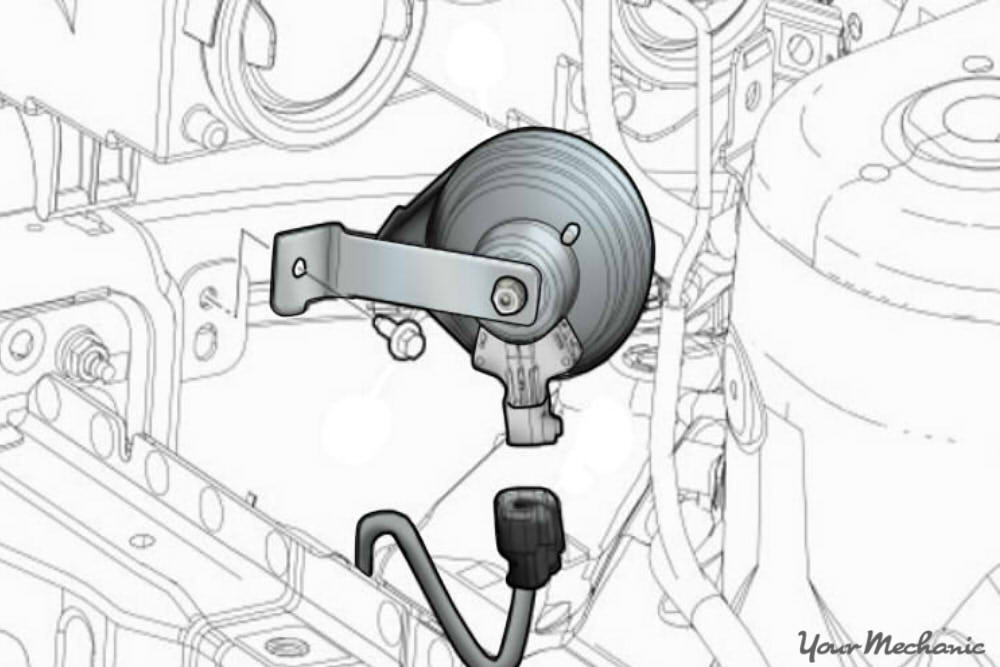
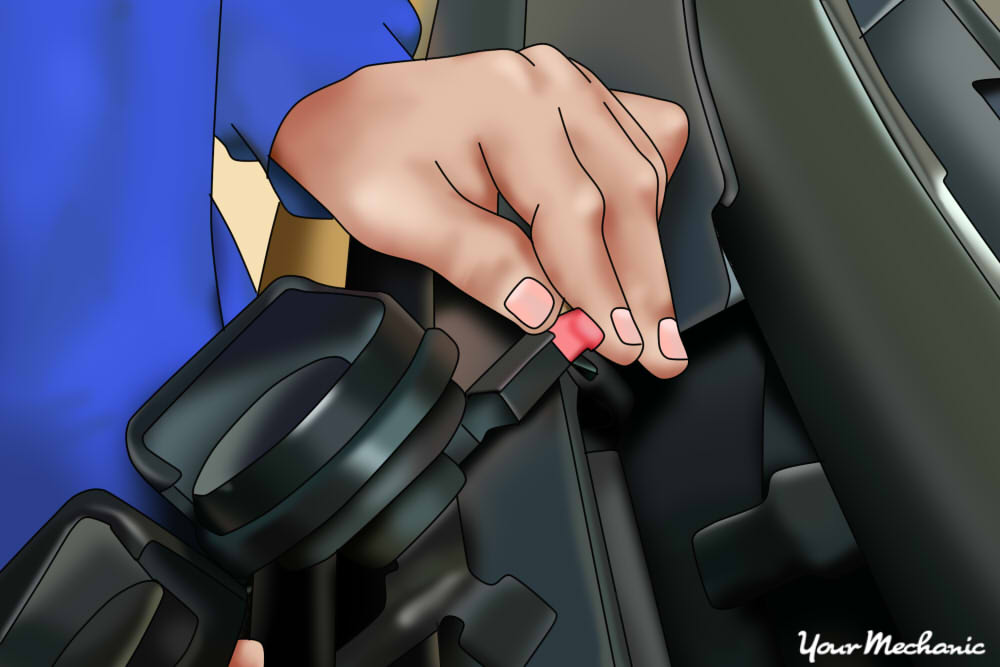
Step 3: Remove the electrical connector. Remove the horn’s electrical connector by pushing down on the tab and sliding it off.
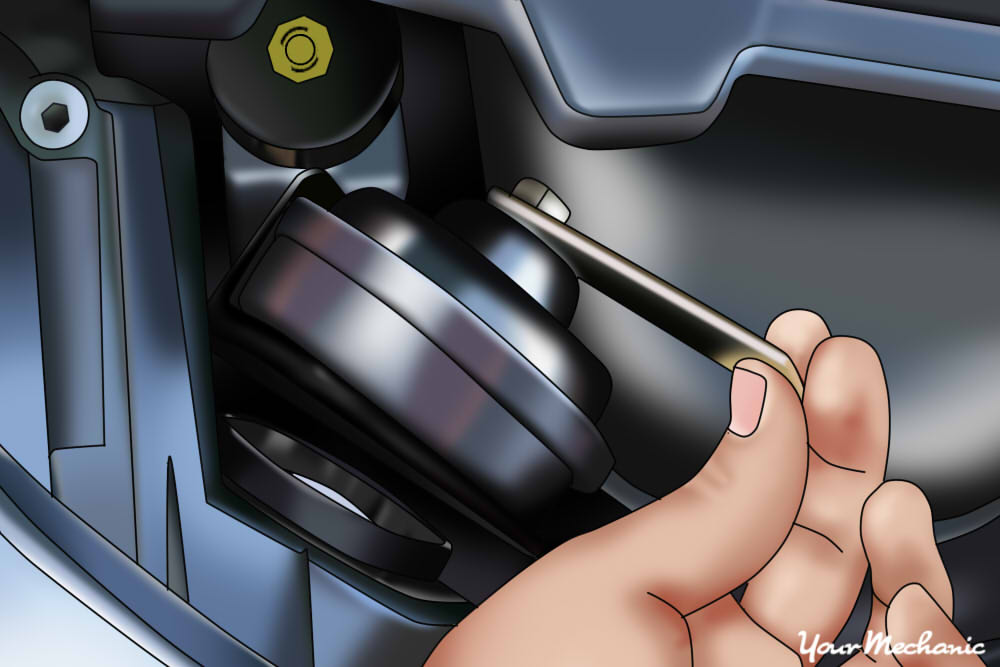
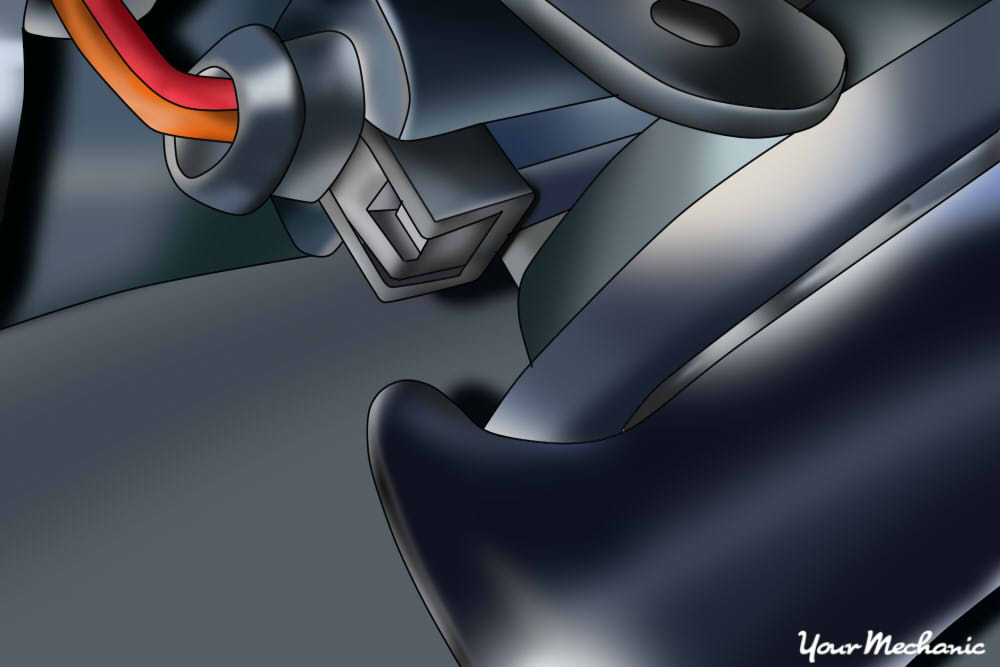
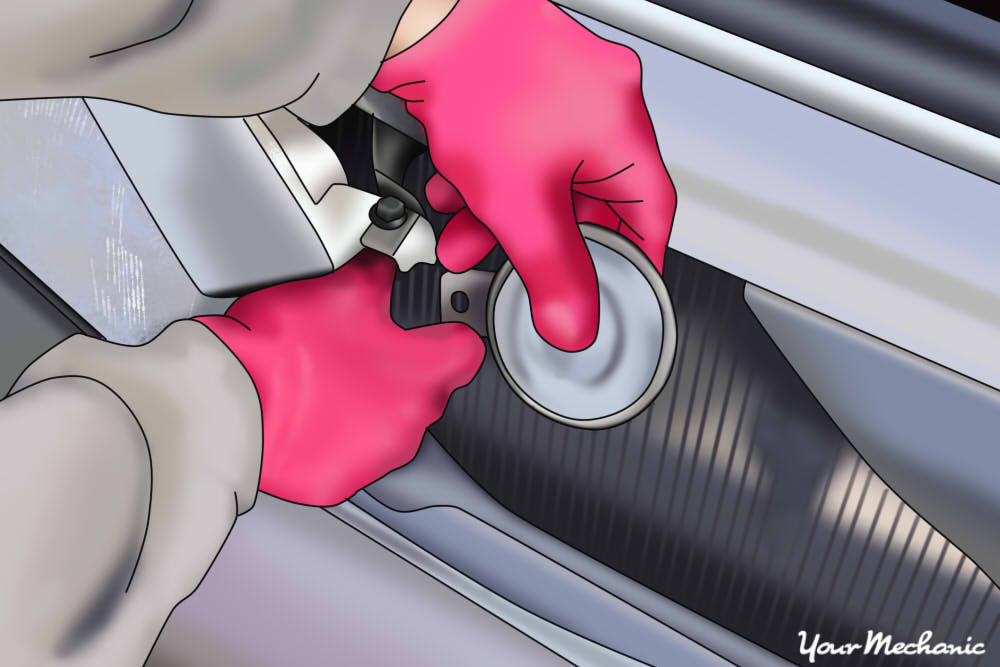
Step 4: Remove the retaining fastener. Remove the horn’s retaining fasteners using a ratchet or wrench.
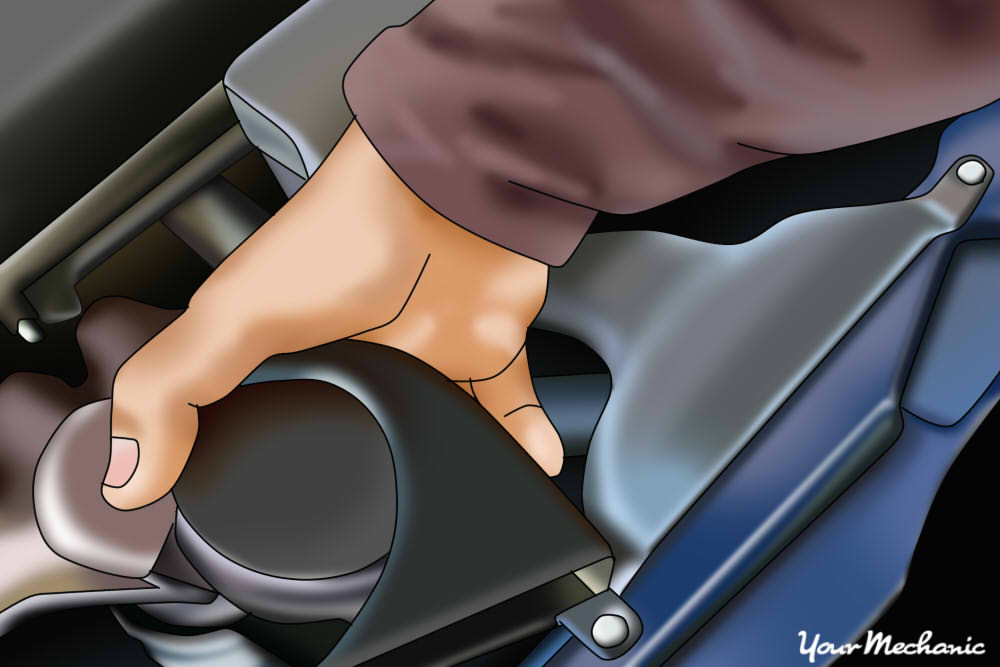
Step 5: Remove the horn. Once the electrical connector and fasteners have been removed, pull the horn out of the vehicle.
Part 2 of 2: Installing the new horn assembly
Step 1: Mount the new horn. Place the new horn in position.
Step 2: Install the fasteners. Reinstall the fasteners and tighten them down until they are snug.
Step 3: Reinstall the electrical connector. Plug the electrical connector into the new horn.
Step 4: Reconnect the battery. Reconnect the negative battery cable and tighten it down.
Your horn should now be ready to honk! If you’d prefer to leave this task to a professional, the certified mechanics at YourMechanic offer expert horn assembly replacement.


