
Whether you're a driving veteran or brand new behind the wheel, knowing how to safely pump your own fuel is essential for driving and owning a car. Although there are still fuel stations where an attendant can assist you with filling your fuel tank, it is important to know which type of gas you need to use in your car, how to fill up the tank, and how to safely open and close the fuel tank.
Warning: Fuel vapors are extremely flammable, and extra care should be taken to not produce any static electricity when getting in and out of your car, and cell phones should be put away.
Warning: Never smoke or use a lighter in presence of fuel vapors.
Don’t fill your tank if the fueling truck is there. When the fuel trucks are refilling the underground tanks, they often stir up dirt and sediment that is resting at the bottom of the tank. Although stations have filter systems to prevent this, they aren’t perfect and this sediment can be pumped into your vehicle, where it can clog your fuel filter.
Part 1 of 5: Pull up to the correct side of the fuel pump
Before pumping gas, you’ll need to pull up to the fuel pump. You want to park with the fuel tank side of the fuel next to the pump.
Step 1: Determine the location of your fuel filler. Most vehicles have this in the rear of the car, either on the driver side or passenger side.
Most mid-engine and rear-engine cars have the fuel tank up front, and would have the fuel filler on the driver side or passenger side front fender.
There are some classic cars that have the fuel tank in the back of the car, with the filler below the trunk lid.
- Tip: You can determine which side of the car your gas tank is located on by looking for the gas indicator on your dashboard. It will have a small arrow pointing to the gas tank side of your car.
Step 1: Park your vehicle. Pull your vehicle to the pump so the nozzle is near your fuel filler. This makes it easier for you to reach your fuel filler with the pump nozzle.
- Note: You should never pump fuel into your car if it’s not in Park.
Step 2: Turn your car off. It’s unsafe to pump fuel into your car while it’s still running.
End your phone call, and put out your cigarette. Having a lit cigarette can cause fuel vapors to ignite, causing a fire or explosion. Cell phone usage at the fuel station is controversial, but generally not recommended.
Some people argue that phones could create a spark that could ignite fuel vapors, some say they won’t. Though this has been debunked several times, it’s still not worth the risk.
Being on the phone can also distract you, and you could end up choosing the wrong grade or the wrong fuel type entirely, not to mention some states prohibit it.
Part 2 of 5: Pay for the fuel
Determine if you need to prepay inside or outside. Most stations require you to prepay at the pump or inside if using a credit or debit card, or prepay inside only if you’re using cash. This is inconvenient, but they do it to protect themselves from drive offs, which have occurred more frequently as gas prices rose.
If you are paying cash, make sure to give more than enough to get a full tank, and they will refund you inside after you fill up the tank.
Step 1: Determine how much gas you will need to purchase. Typically, a passenger car tank holds around 12 to 15 gallons, while trucks may have tanks well over 20 gallons.
Use your gas gauge to determine an estimate of how many gallons of gas you’ll need. A fuel gauge will have an F for full and an E for empty.
Step 2: Pre-pay for your gas. There are usually two options for paying for fuel - at the pump or paying inside.
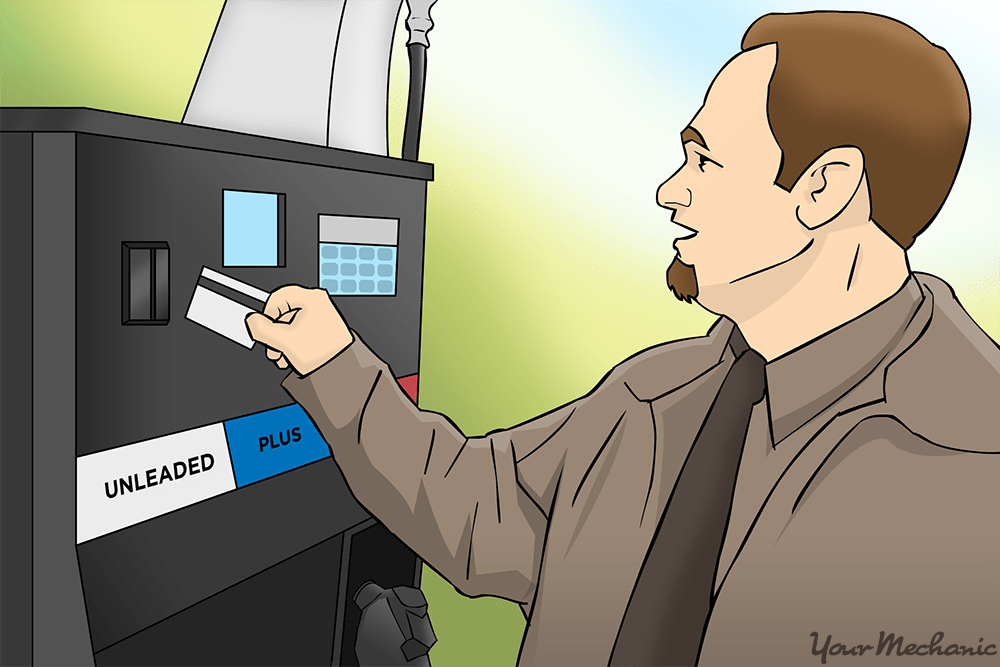
To pay at the pump, insert your card into the gas pump and follow the instructions for payment.
You will need to enter your PIN number or the zip code associated with your card. Your card won’t be charged until you’re done pumping the gas and the total amount is determined.
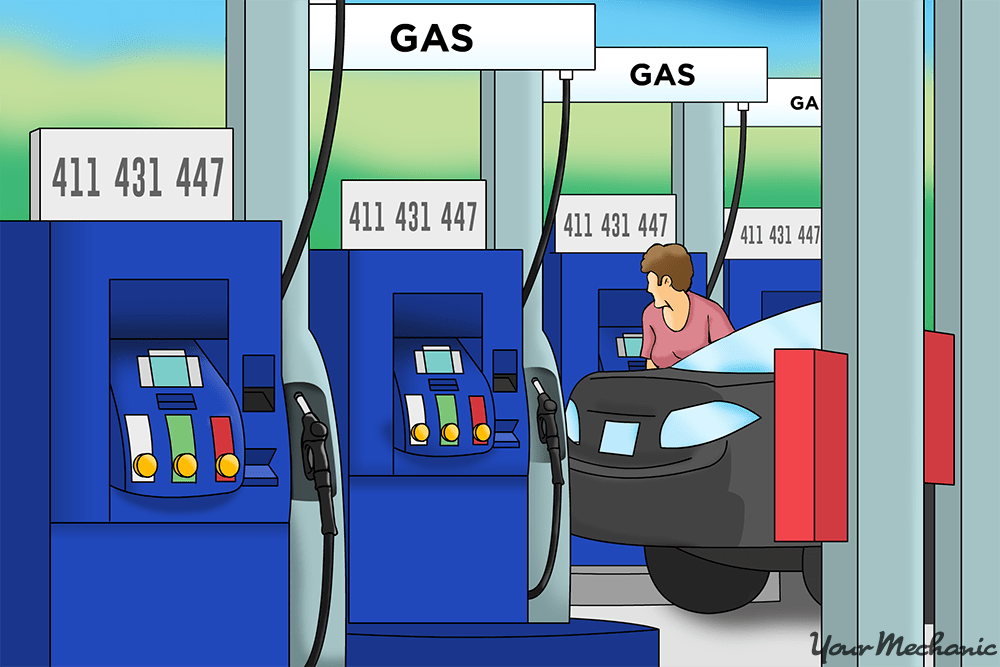
To pay inside, go into the fuel station to the teller and pay with cash or your card. You will need to tell the cashier the number of the pump you’re using. The number of the pump is normally located on the corner of the gas pump. You will also need to give them a specific amount of money to charge for the gas.
- Tip: If you pay inside and overpay for your fuel (your tank fills up for $20 but you prepaid $25, for example), you can return to the teller and get your money back.
Part 3 of 5: Open your fuel tank
On older cars, you will probably be able to open the fuel tank with a latch on the outside of the car. On most newer cars, you will need to pull a lever under the dashboard or push a button near the door.
Before you get out of your car, make sure to release your fuel door if it must be done from inside the vehicle.
This saves you from having to go back into your car to open the fuel door, which makes it look like you don’t know your own car, and wastes everyone’s time.
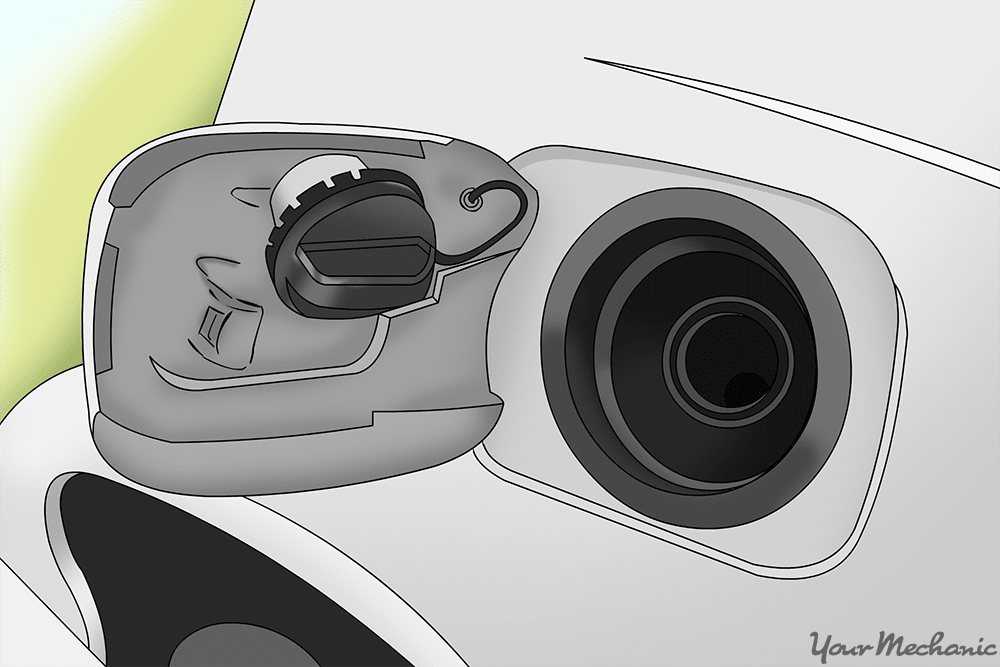
Step 1: Remove your fuel cap. Only remove your fuel cap once you’re ready to insert the nozzle into your tank. Set your cap in a safe location, or put it in the holder built into gas door if it has one.
Normally, there will be a section on the fuel door where you can set the fuel cap. If not, carefully place the gas cap somewhere where it won’t roll away.
Some gas caps have a plastic ring that allows them to hang from the gas tank while you’re pumping gas.
Any time your fuel cap is off, your fuel tank is allowing fuel vapors to escape, which is harmful to the atmosphere. Help prevent excess emissions by leaving the cap on until you're ready to insert the nozzle and pump fuel.
Part 4 of 5: Choose the grade of fuel
Fuel stations often provide multiple grades of gasoline which are priced according to grade. You will need to choose the grade of gas that you want to use.
Determine the correct fuel type and grade for your vehicle: most passenger vehicles use gasoline, but there are many vehicles that run on diesel or ethanol. It’s very important to know which fuel is used in your car, as putting in the wrong fuel can have detrimental effects.
For gasoline cars, it’s important to choose the correct grade. Your owners manual will specify the grade of fuel you should use, and it’s commonly thought that there is no benefit to running higher grade fuel than you need.
- Warning: Do not put diesel fuel into a gasoline engine or vice versa, as this can cause major mechanical problems. Your engine will need to be drained if this occurs.
Step 1: Remove the pump and select grade of fuel. Now that you have submitted payment for the fuel, you can proceed to remove the appropriate nozzle for your vehicle, and select the proper grade of fuel.
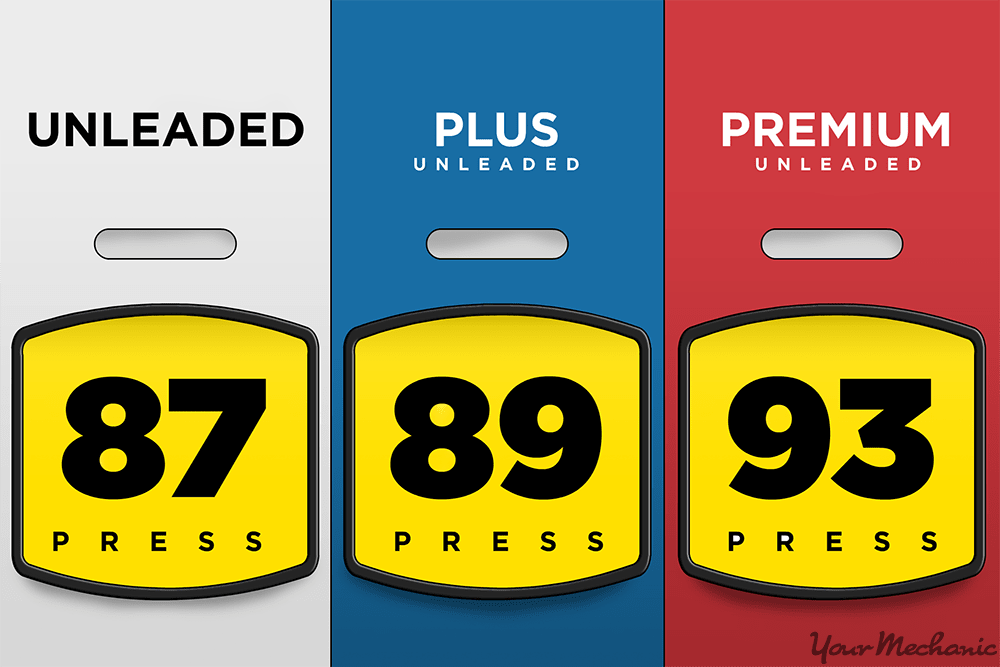
Choose Regular (87), Mid-grade (89), or Premium (91 or 93).
Make sure to check if the lever below the nozzle needs to be flipped up to allow fuel to flow.
Gasoline, diesel, and ethanol all have different size nozzles to serve as an extra step against putting the wrong fuel in your car. They are also different colored handles for the same reason
Step 2: Press the button for the fuel grade you’ve chosen.
Part 5 of 5: Pump your fuel
After choosing a fuel grade, you’re ready to fill up your tank.
Fill your tank in the morning if possible. This is because fuel is stored underground, and will be coolest when it sits overnight. The colder the fuel, the more dense it is, which means you get a very slightly larger amount of fuel per gallon than when it’s warm. This is a very minor amount, but it’s better than nothing.
Step 1: Remove the fuel nozzle from the pump.
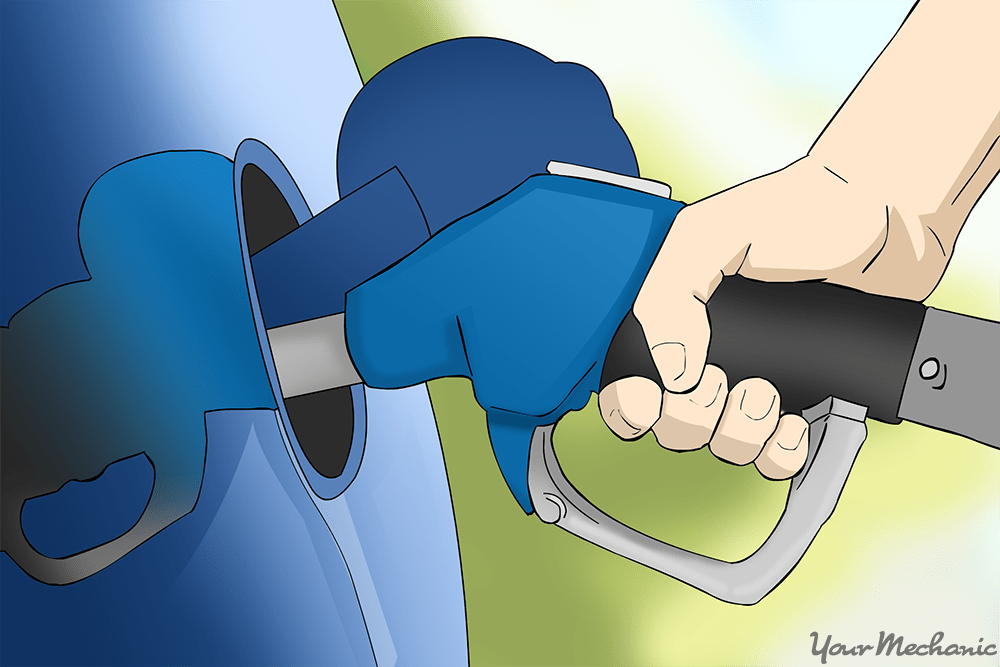
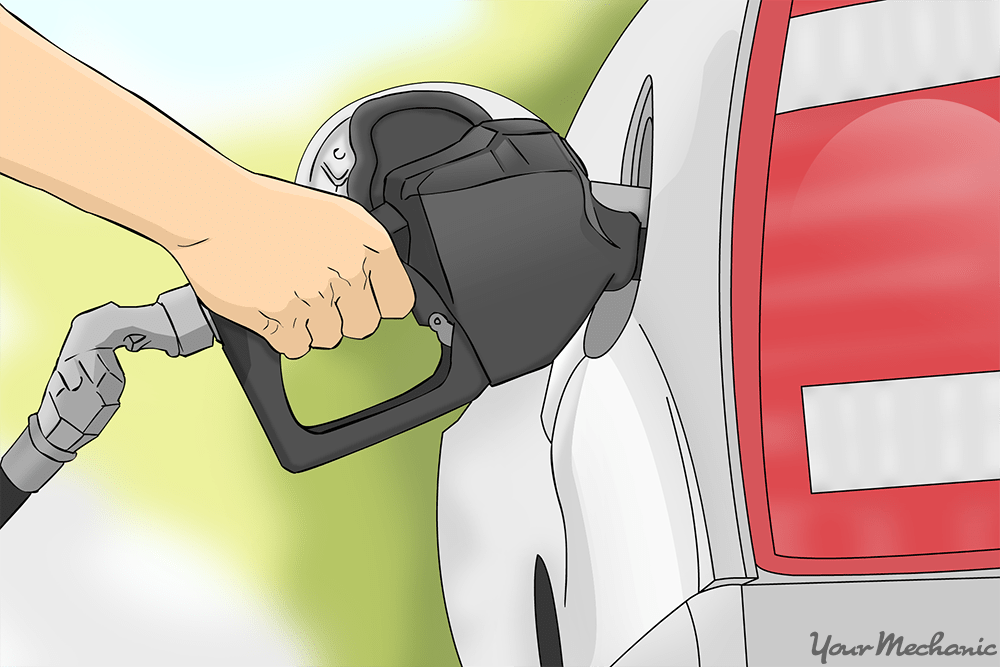
Step 2: Insert the pump nozzle into the fuel filler. Quickly insert the nozzle completely into your fuel filler, and rest the handle there. Make sure the tip is inserted all the way to allow the automatic shut off system to work properly.
Step 3: Depress handle of pump and lock into place. Once you depress the handle, you will notice a small metal tab or hook that can be used to lock the handle in the open position. Go ahead and set that, the pump wills till automatically shut off when it needs to.
Don’t rest your hand or arm on the nozzle. It’s tempting, but it can damage both the pump nozzle and your fuel filler neck.
Step 4: Squeeze the fuel pump handle. You will hear fuel flowing into the tank.
You will also notice the fuel pump recording the amount of fuel you’ve pumped and how much it costs.
- Note: If the pump repeatedly shuts off early, it could be a sign of a problem with the vapor recovery system, such as a clogged carbon canister.
Step 5: Hurry up and wait. This is where you just wait for the fuel tank to be filled. Do not under any circumstances, leave the pump unattended. You are generally liable for any spills or overflows that happen, even if the pump shut off malfunctioned.
You can use the provided window wash station to clean your windshield, or check your fluid levels, but you should never be more than a few feet from the pump. * Tip: You can usually lower a small lever on the handle of the fuel nozzle that will keep the trigger activated so that you don’t have to hold the nozzle the entire time you’re filling your tank.
- Warning: Do not overfill your fuel tank. This will cause fuel to spill out of the tank and onto the ground. The pump should automatically stop pumping once the amount you prepaid is used up, or when your tank is full.
Step 6: Don't top off the tank. When it’s done dispensing fuel, it will automatically shut off. Don’t top off after the pump shuts itself off. Continuing to fill up could cause damage to the onboard vapor recovery system.
The vapor recovery system is a vital emissions system that is designed to recover the vapors from the fuel tank and burn them in the engine, rather than venting them to the atmosphere.
- Tip: the nozzle down then pull out and tip straight up to avoid drips. Don’t tap the fuel nozzle against the filler neck. It’s all made of non ferrous metals, which means it shouldn’t make any sparks, but it could damage the pump nozzle and the sealing surface of your filler neck.
Step 7: Return the nozzle to its holder. If you had to flip up a lever to begin pumping fuel, be sure to flip the lever back down, then return the nozzle to it’s holder.
Step 8: Replace your fuel cap. Tighten until it stops or you hear three clicks.
Depending on the fuel cap type, you will either tighten it until it clicks once and abruptly stops, or tighten it down until it clicks at least 3 times to ensure that the fuel tank is sealed.
If the fuel tank doesn’t seal properly, the car may set a check engine light, or on some newer cars it will illuminate a Check Gas Cap light.
Step 9: Collect your receipt. If you chose to get a receipt, make sure to grab it from the printer.
If you don’t need a receipt for tax or reimbursement purposes, opt not to receive a receipt at all.
- Tip: Receipts are generally printed on thermal paper which is activated by a BPA coating on the paper. BPA stands for Bisphenol A, which is found to be a carcinogen. Handling too many receipts can actually increase levels of BPA in your body.
You can calculate your mileage using your trip odometer. Reset your trip odometer each time you get fuel. When you refill, before resetting the trip odometer, take the number of miles driven since last fuel up and divide by the number of gallons it took to get the tank full again. This only works if you fill the tank each time, but it far more accurate than the onboard computers.
At this point, if you’ve followed the above steps without issue, you have successfully filled your car with fuel. If you have any trouble getting your fuel cap off or putting the cap back on, a mobile mechanic from YourMechanic can come to you and sort out the problem.


