
The engine produces power to get your vehicle moving. It sends the power into the transmission, out through the driveshaft, to the drive axle(s), which then transmit the power through the wheels and down to the ground.
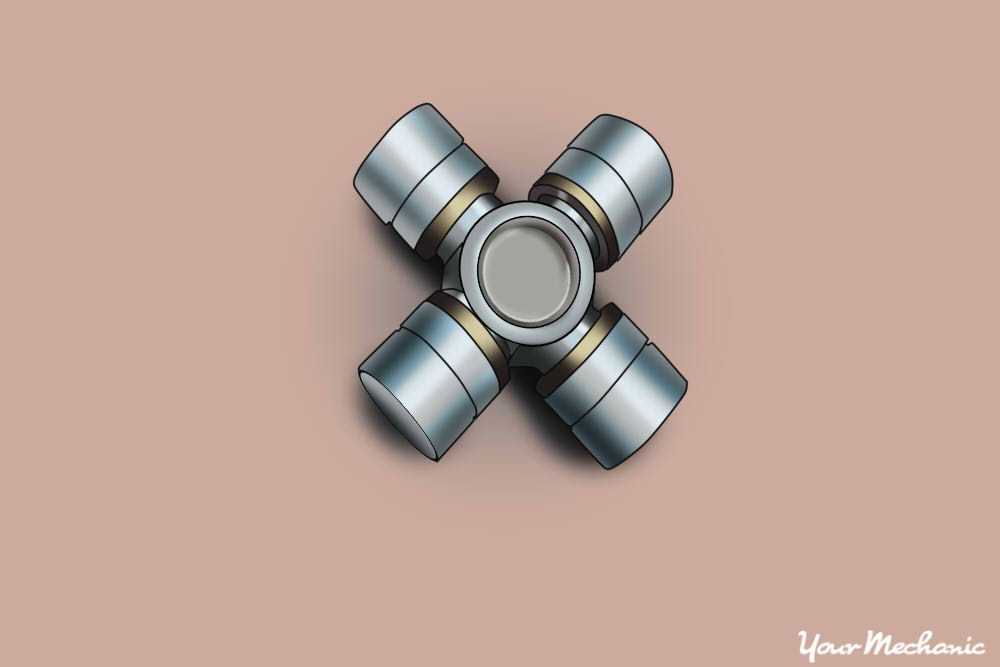
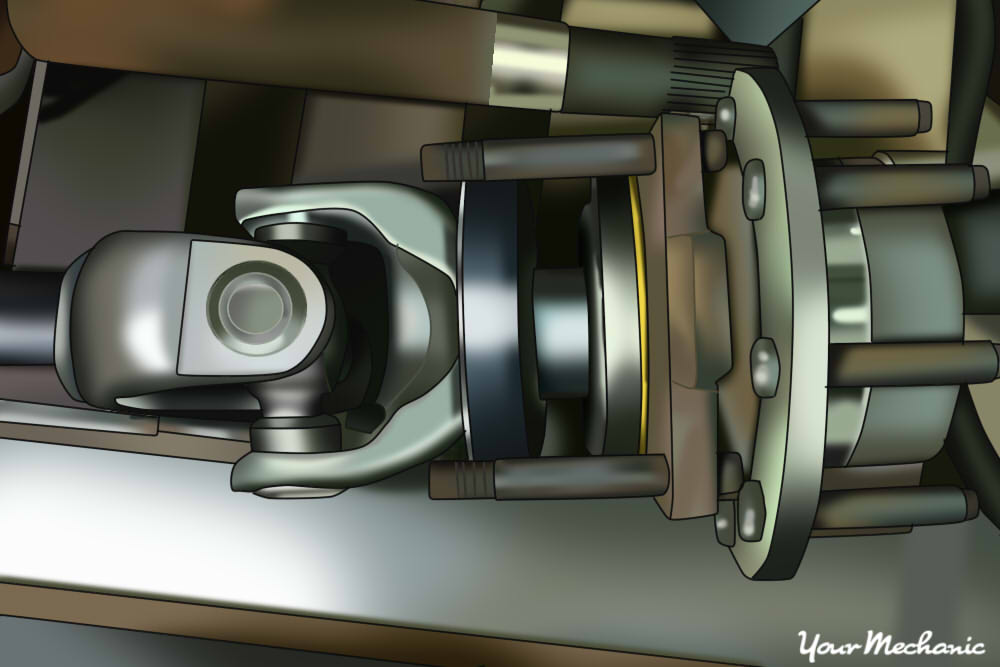
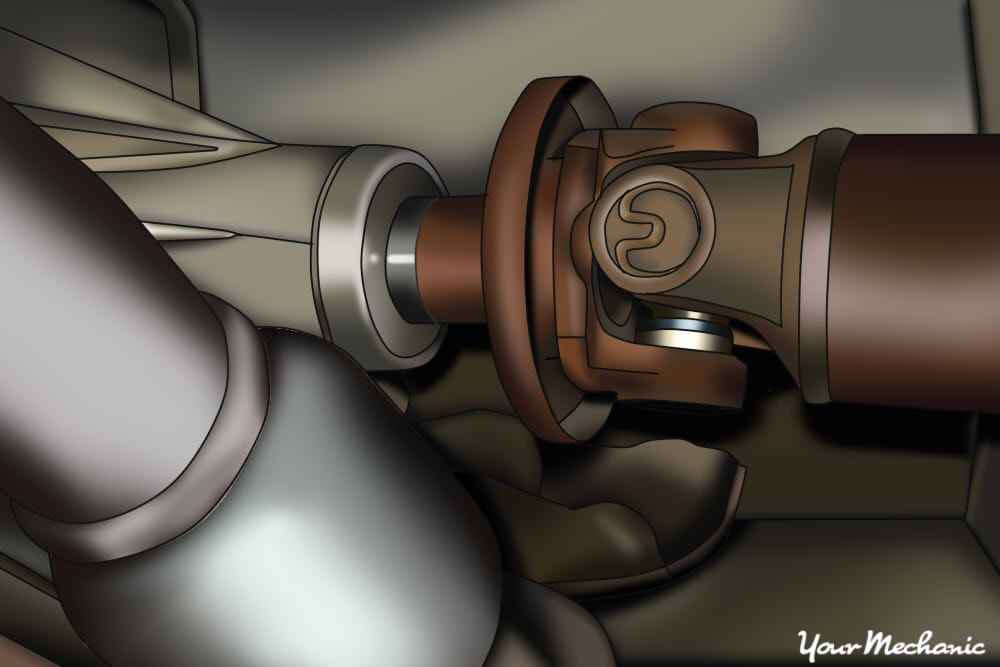
Your vehicle’s suspension needs to move up and down over uneven road surfaces, potholes and around turns, and the driveshaft needs to follow those uneven surfaces. If the driveshaft is just a long solid tube, it would not have the flexibility to do so. This is where the u-joints come into play. Usually located at each end of the driveshaft, the u-joint allows the driveshaft to maintain the proper angle while still traveling up and down with suspension movement.
Keeping the u-joints properly lubricated, prolongs their life and keeps them noise-free.
Part 1 of 3: Raise up your vehicle
Materials Needed
- Floor jack
- Jack stands
Note: Be sure to use a floor jack and jack stands with the appropriate weight capacity to lift your vehicle. If you are unsure of your vehicle’s weight, check the VIN label for your vehicle’s Gross Vehicle Weight Rating (GVWR). The VIN label is usually located on the inside of the driver’s door or on the door jamb itself.
Step 1: Secure your car. Place the wheel chocks, one in front of and one behind at least one front wheel.
Step 2: Lift up your vehicle. Place your floor jack under the center of the rear axle/ differential. Once the jack pad is properly positioned, slowly jack the vehicle up until the tires lose contact with the ground.
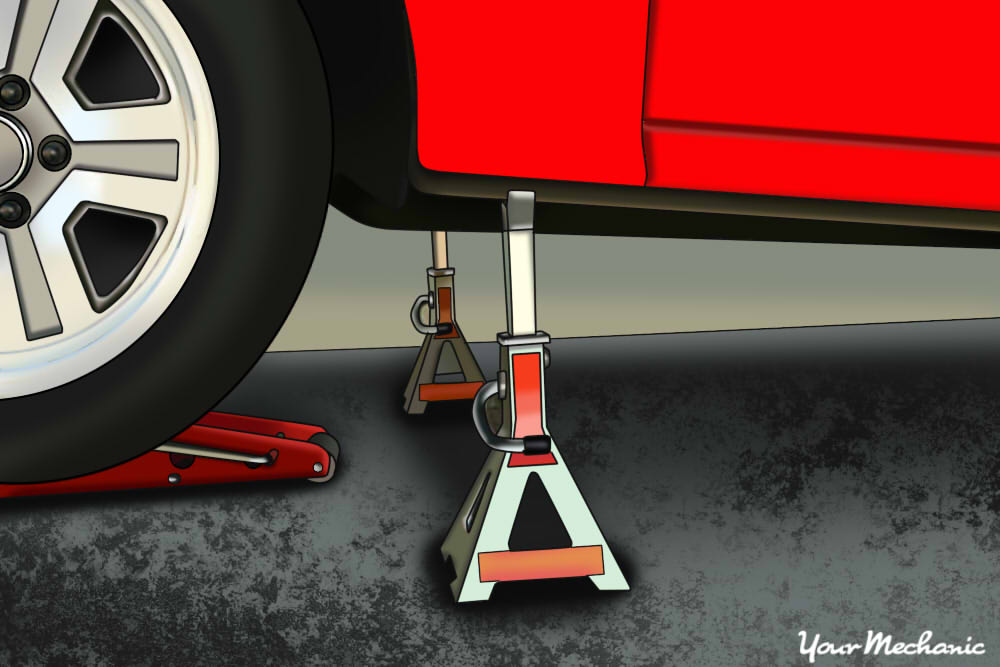
Step 3: Lower the vehicle onto the jack stands. Position the jack stands under the axle, at equal distances on either side of the floor jack and slowly lower the vehicle onto the jack stands.
Leave the floor jack in the extended position just below the differential for good measure.
Part 2 of 3: Lubricate the u-joints
Materials Needed
- Creeper
- Grease cartridge
- Grease Gun
Rags
Tip: If you don’t have a creeper, use a piece of wood or cardboard so that you do not have to lie on the ground.
Step 1: Access the rear axle. Using your creeper or wood/cardboard, slide under the rear axle.
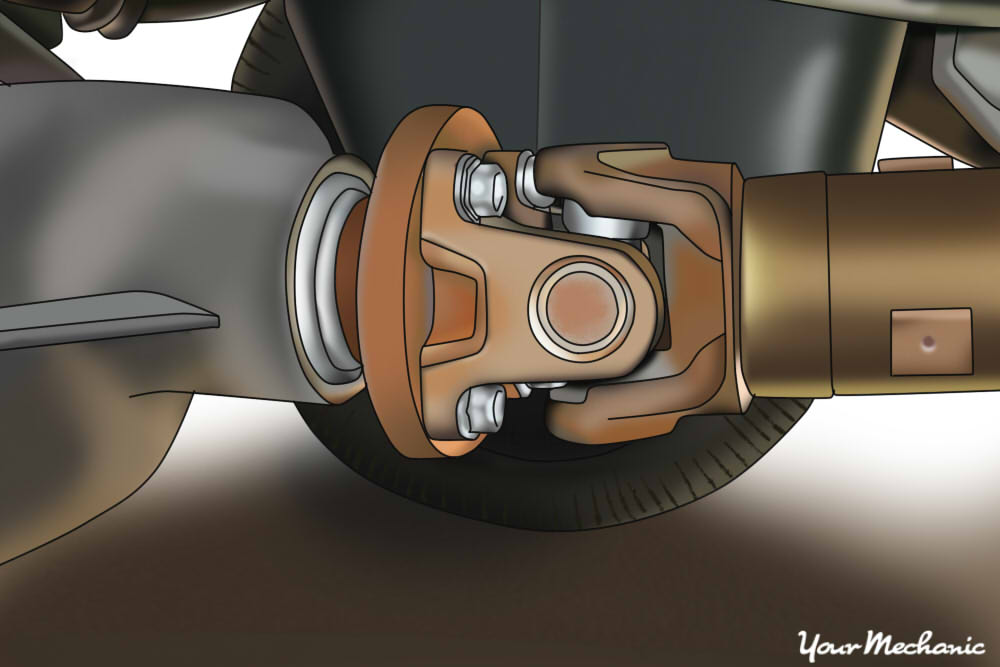
Step 2: Locate the grease fitting point. The rear u-joint is located at the point where the driveshaft meets the rear axle. A grease fitting point is located in the center of the u-joint.
- Tip: You may have to rotate the driveshaft slightly by hand to access the grease fitting point.
Step 3: Fill the u-joint. Attach the grease gun to the fitting point and squeeze it a couple of times. Continue to fill the u-joint until a small amount of grease comes out or until you see clean grease coming out.
Once you have completed, wipe off any excess grease from the point.
Part 3 of 3: Lubricate the front driveshaft u-joints (If applicable)
If you have a four-wheel-drive vehicle, it’s likely that it has a front driveshaft with u-joints as well. The transfer case will be attached to the rear of the transmission. The rear driveshaft will connect to it before going to the rear wheels, and the front driveshaft will connect to the front/side of the transfer case and on to the front axle. It will have a front and rear u-joint same as the rear driveshaft.
If this applies to your vehicle, simply repeat Parts 1 and 2, making sure to chock the rear wheels and set the parking brake.
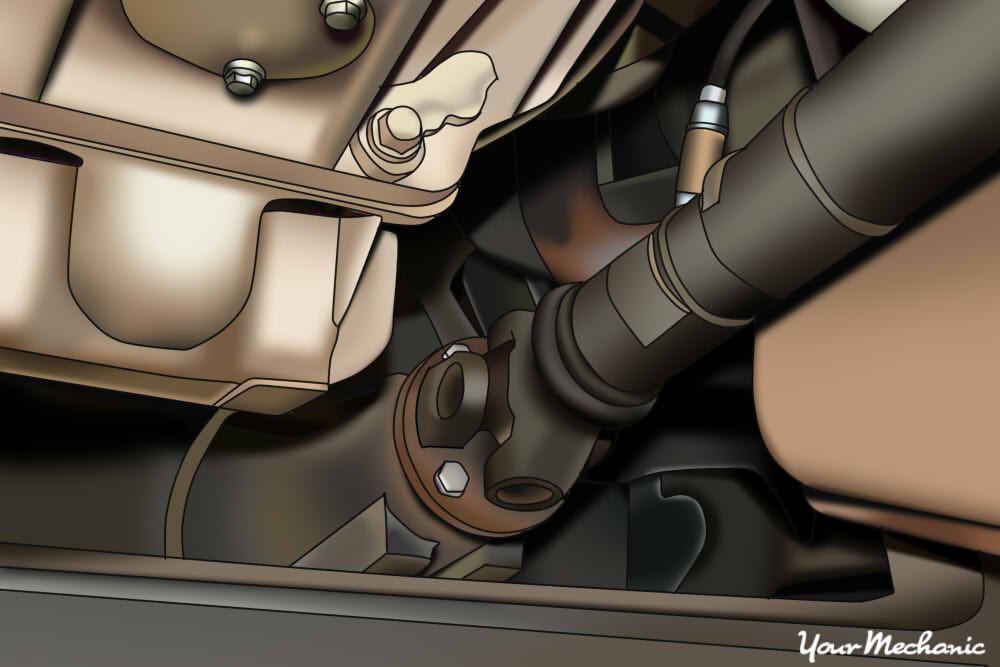
The front u-joint is located where the driveshaft and transmission connect. Use the creeper to roll yourself forward to the front u-joint and repeat the same lubrication process as per the rear joint. Once completed, you can raise the vehicle off the jack stands, remove them from under the vehicle and slowly lower it to the ground using the floor jack.
Some four-wheel-drive vehicles also use u-joints behind each front wheel. If this applies to your vehicle, use the same lubrication procedures while the front of the vehicle is on jack stands.
Doing it yourself can be rewarding but your automotive service professionals are always there to help you if you do not want to perform this service on your own.
Whether you have a two or four-wheel-drive vehicle, the certified service professionals at YourMechanic can help check and replace the u-joints for your vehicle if needed.


