
When driving a car, we expect it to get us from point A to point B without any issues. It can become unnerving to drive if your car stalls randomly when coming to a stop, whether it is at an intersection or a stop sign. Your car may stall, then there you are trying to get the car started again, hoping it will get you home. This can happen once, or over and over again, causing you to lose confidence in your car. Knowing some straightforward steps can help you to determine why your car stalls, and possibly repair the problem.
Part 1 of 7: Why your car may stall when coming to a stop
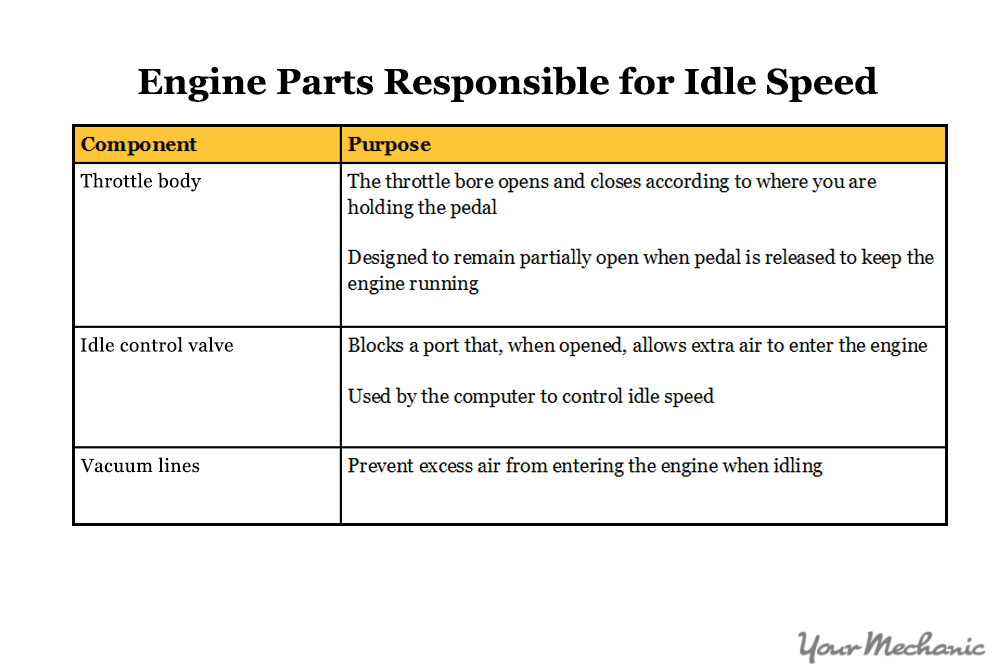
Your engine is supposed to be set at an idle speed whenever you come to a stop or are in park. This idle speed is what keeps the engine running until you begin to accelerate again. There are many sensors that can fail and cause this to occur, but the most common problems result from the parts that are designed to keep the engine running at idle. These parts include the throttle body, idle control valve, and vacuum hose.
Part 2 of 7: Preparation and tools
It is important that your car be well-maintained according to the manufacturer’s service schedule. Regular maintenance can assist in diagnosing problems such as this, as you can isolate systems that have already been serviced during the maintenance schedule. If the maintenance is up to date, having the following tools and a little knowledge can help you when this type of problem occurs.
Materials Needed
- Computer scan tool
- Flat-head screwdriver
- Lint free rags
- Phillips-head screwdriver
- Pliers (adjustable)
- Ratchet w/metric and standard sockets
- Throttle body cleaner
- Torque wrench
Part 3 of 7: Initial inspection
Before replacing or cleaning any part of the engine, some preliminary checks should be made.
Step 1: Drive the vehicle and allow the engine to reach operating temperature.
Step 2: See if the check engine light is illuminated on the dash. If it is, then proceed to Step 3. If it is not, move to the next section.
Step 3: Attach the computer scan tool and record the codes. Plug the scan tool’s cable into the port under the steering wheel.
Step 4: Diagnose the problem. Using the codes you retrieved from the computer, follow the manufacturer’s diagnostic steps to find the failure.
When the diagnosed problem is repaired, the car should no longer stall. If the stalling persists, go to Part 4.
Part 4 of 7: Cleaning the throttle body
Step 1: Park the vehicle and apply the parking brake.
Step 2: Remove the keys from the vehicle and open the hood.
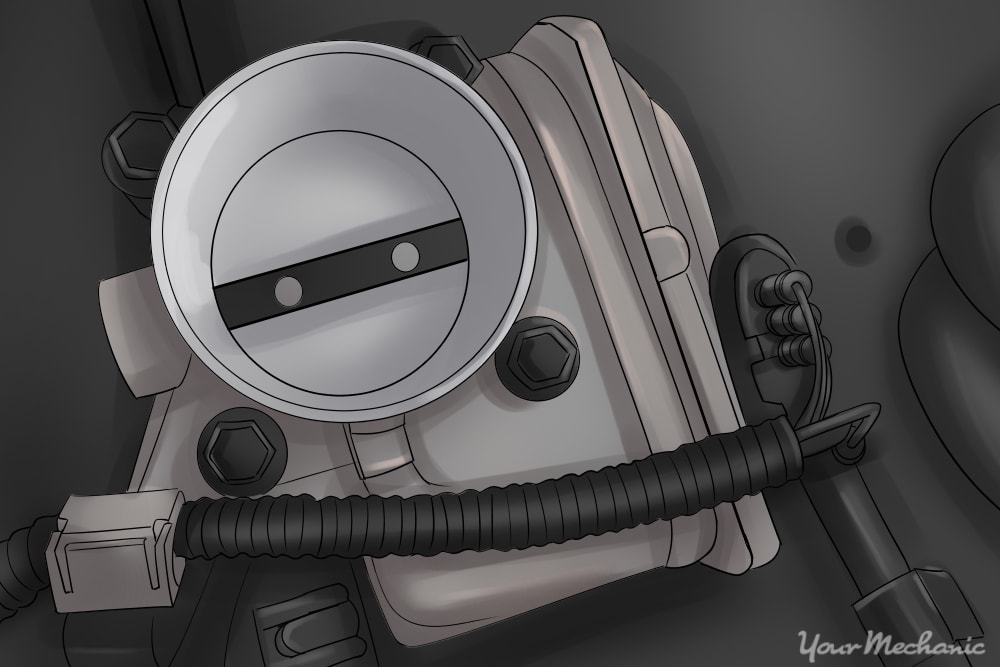
Step 3: Locate the throttle body. It will be located where the air intake tube connects to the engine.
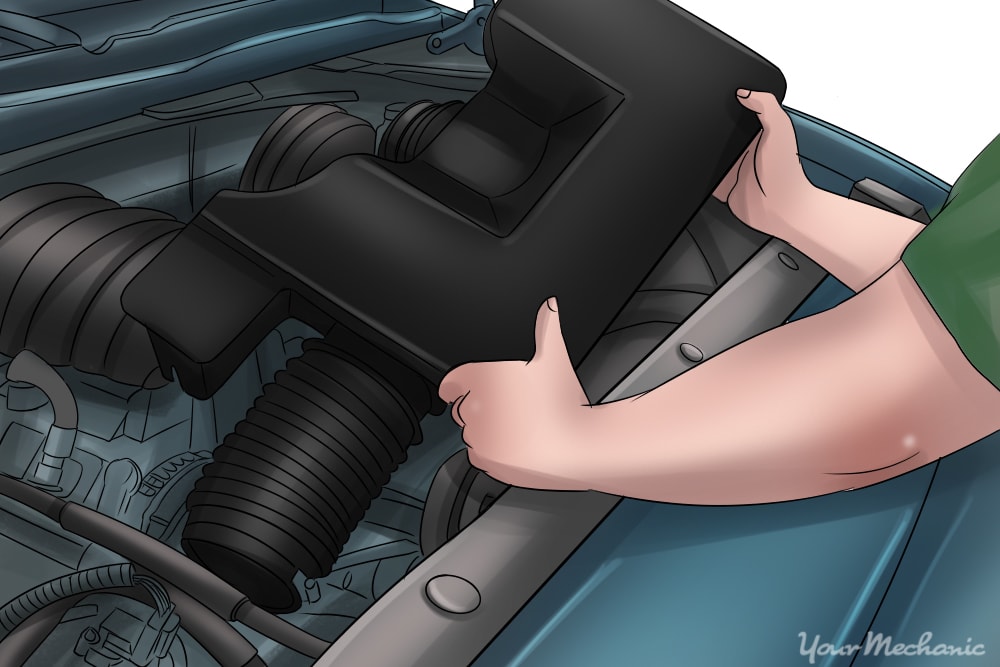
Step 4: Remove the air intake tube. Loosen the clamps, either with a screwdriver or with your pliers, depending on the type of clamp that it has.
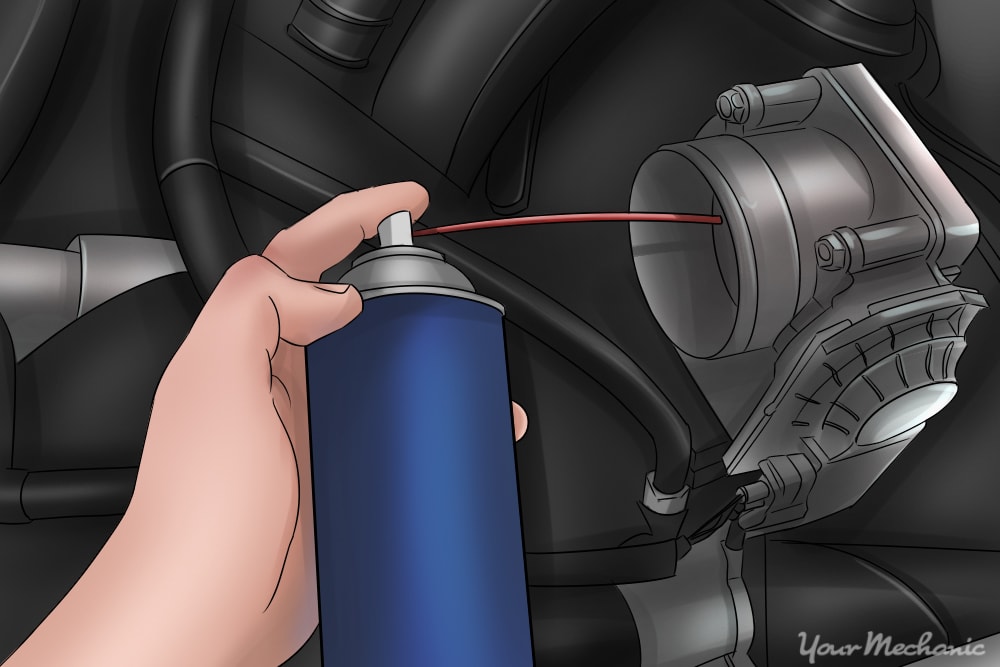
Step 5: Spray some of the throttle body cleaner into the throttle body.
Step 6: Using the lint free cloth, wipe out any dirty or build up in the throttle body.
- Tip: When cleaning the throttle body, it is important that the throttle plate gets clean also. You can open and close the throttle plate when cleaning the throttle body, but this should be done slowly. Opening and closing the plate rapidly can damage the throttle body.
Step 7: Reinstall the air intake tube.
Step 8: Start the engine and allow it to run for a few minutes.
- Tip: After cleaning the throttle body, it may be difficult to start the engine. This is due to the cleaner entering the engine. Revving the engine a few times will assist in clearing out the cleaner.
Part 5 of 7: Checking for vacuum leaks
Step 1: Start the engine and allow it to reach operating temperature.
Step 2: Open the hood.
Step 3: With the engine running, look and listen for any broken or loose vacuum hoses. Most vacuum hoses will make a hissing sound when the engine is running if they are leaking
Step 4: Replace any hoses that are found to be faulty. If you suspect a vacuum leak, but cannot locate it, then a smoke test should be done on the engine. A smoke test will identify where the engine is leaking.
Part 6 of 7: Replacing the idle control valve
Step 1: Park the vehicle and turn the engine off.
Step 2: Open the hood.
Step 3: Locate the idle control valve. The idle control valve is typically located on the throttle body or on the intake manifold.
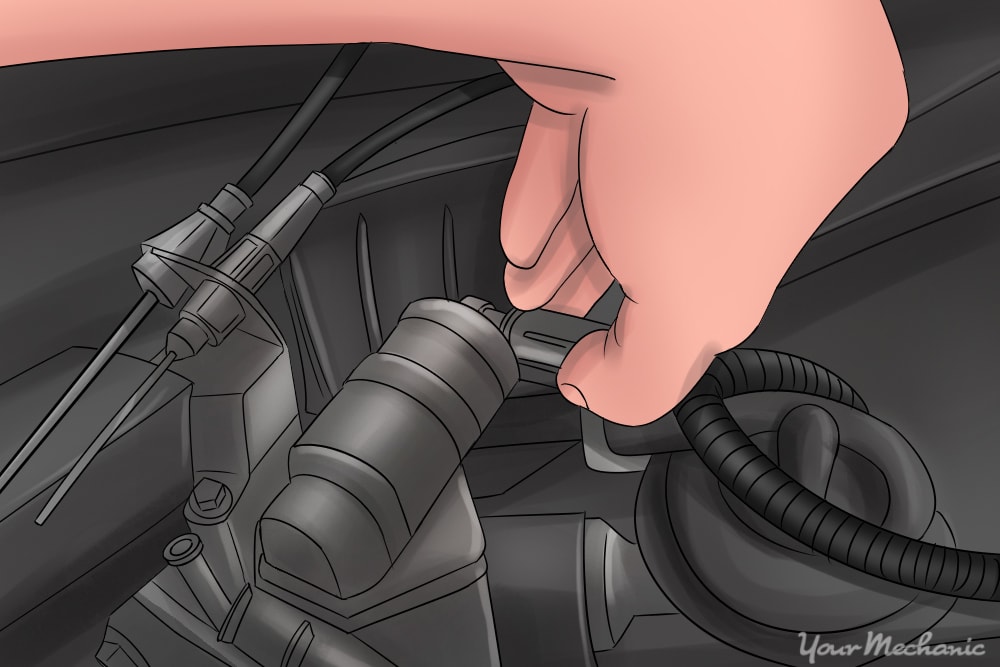
Step 4: Remove the electrical connection on the idle control valve. Do this by pressing on the locking tab.
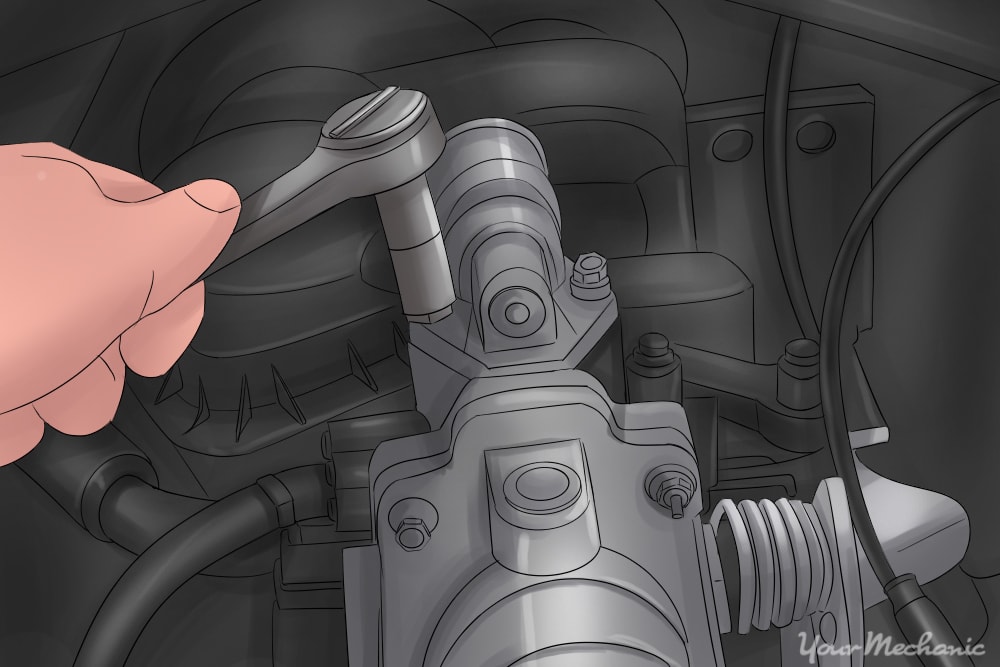
Step 5: Remove the mounting bolt. Use the ratchet and the appropriate socket.
Step 6: Remove the idle control valve.
- Tip: Some idle control valves will have coolant or vacuum lines mounted to them, so those must be removed first.
Step 7: Clean the valve ports if necessary. If the ports for the idle control valve are dirty, clean them out with the throttle body cleaner.
Step 8: Install the new idle control valve. Use a new gasket and torque its mounting bolts to specifications.
Step 9: Install the electrical connector.
Step 10: Start the engine and allow it to idle.
- Tip: Some vehicles require that the idle be relearned. It may be as simple as driving the vehicle, but on some vehicles this must be done using the appropriate computer scan tool.
Part 7 of 7: If the vehicle continues to stall
With all of the electronics on modern vehicles, the engine can stall for any number of reasons. If the problem persists, then it is important to have the vehicle properly diagnosed. A certified mechanic, such as one from YourMechanic, would typically monitor the sensor inputs to see where the problem lies, and even test the vehicle at the time that it stalls. This will help them to determine why it is stalling.


