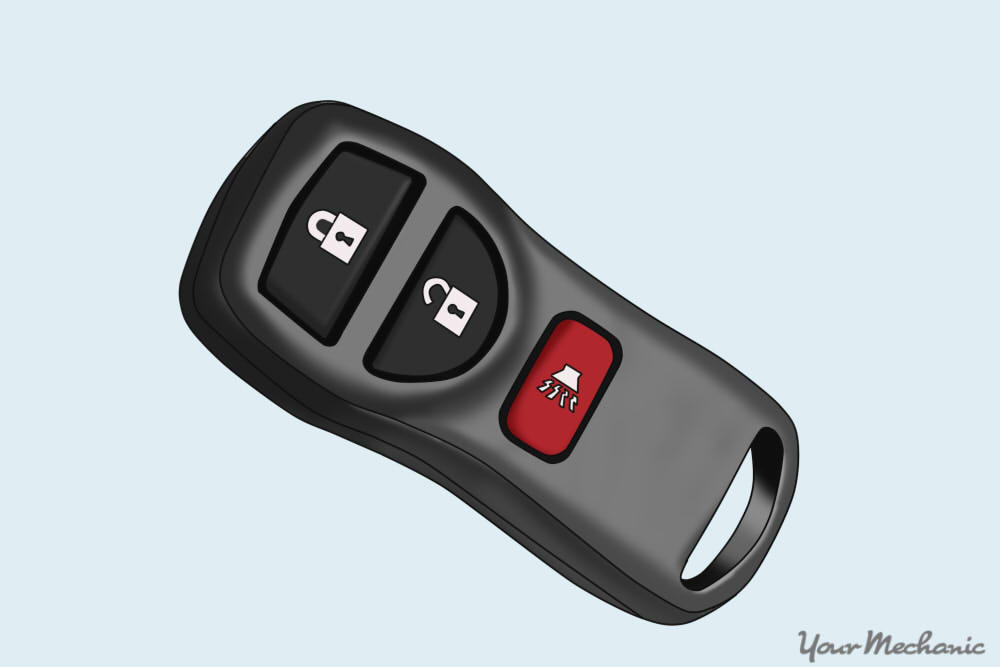
Have you ever gone out to your car on a cold winter morning and wished that the windows were already defrosted? With a remote starter kit, you can start the engine from inside your house while you are finishing your coffee, and the car will be ready to drive by the time you get to it. While not a standard item on most cars, there are aftermarket kits available which can be installed to add this functionality.
The main thing to keep in mind with this job is do the research. Make sure when you are picking out the remote starter kit that you have all your vehicle information correct. Particularly research what type of security system your car uses, if any, as the kit needs to have the correct tools to bypass them.
There are many different functions you can install along with the remote start, including unlocking the doors and even a remote trunk release. This guide will focus on installing the remote start only. If your kit has other functions that you would like to install, refer to the instruction manual to properly install these systems.
Part 1 of 5: Preliminary setup
Materials Needed
- Digital Voltmeter
- Electrical Tape
- Phillips-head Screwdriver
- Ratchet
- Remote starter or starter kit
- Safety Glasses
- Socket Set
- Solder
- Soldering Iron
- Test Light
- Wire Cutter
- Wire Stripper
- Wiring diagram of your vehicle
- Wrench (typically 10mm)
Zip Ties
Tip: Some remote starter kits come with a circuit tester of some kind so you can save some money by buying one of these kits.
Note: While soldering the connections is not completely necessary, it does solidify the connections and makes them very strong. If you don’t have access to a soldering iron or are uncomfortable soldering the connections, you can get away with just electrical tape and some zip ties. Just make sure your connections are very secure - you don’t want them coming apart and shorting on something.
Note: There are a few ways to get a wiring diagram for your vehicle. You can buy the manufacturer’s repair guide for your specific vehicle, which will list all of the wires that we are going to be using. While somewhat expensive, this will go over everything on the car and is a good investment if you plan on doing more work by yourself. You can also check online for the ignition switch circuit for your car. Be careful when doing this as they might not be exactly correct, so be sure to test your wires throughout the installation.
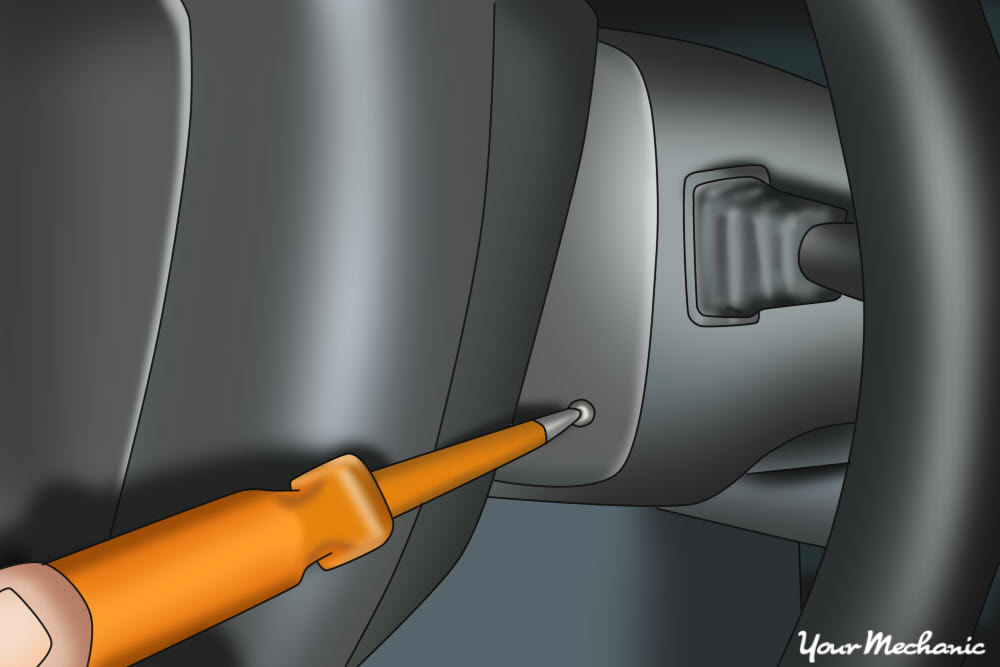
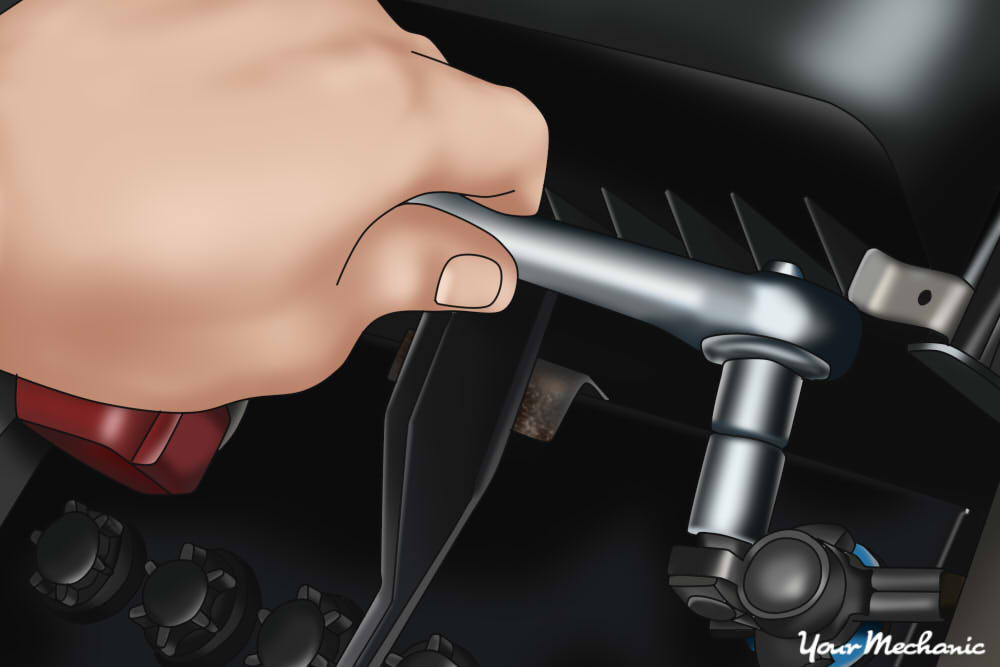
Step 1: Remove any plastic panels around the steering wheel. Some cars have screws while there are some that require a set of sockets to remove these panels.
- Note: Most cars with some form of anti-theft system will have a second panel that needs to be removed before you can access with wires.
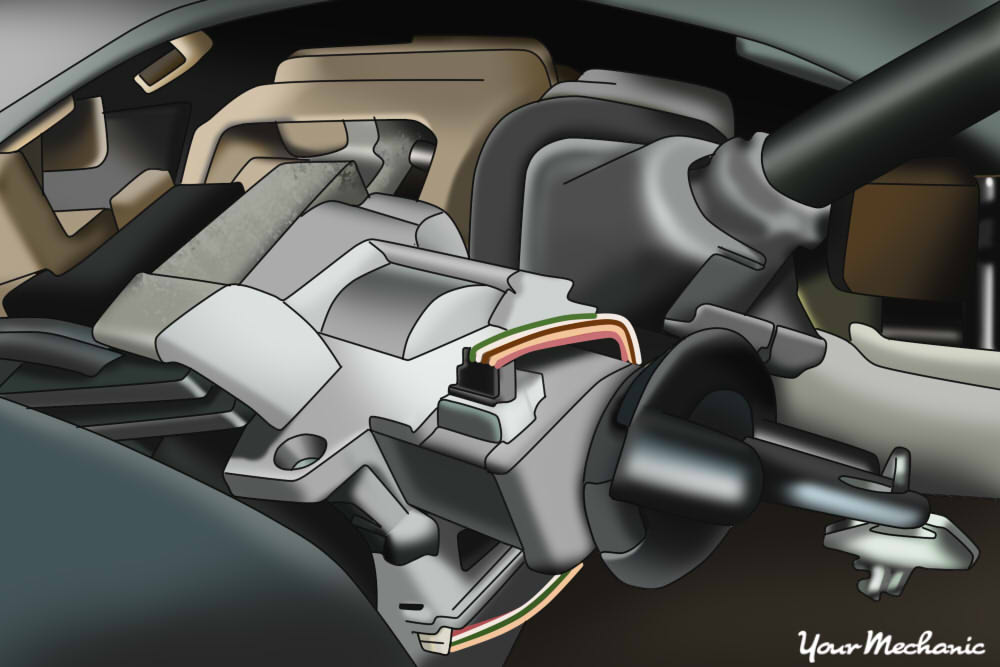
Step 2: Locate ignition switch wiring harness. These will be all of the wires coming from the lock cylinder.
With the panels removed, start looking for a spot to keep the remote starter. There may be space somewhere underneath the steering wheel - just be sure to keep all wires free of any moving parts.
Tip: Storing the remote starter underneath the steering wheel will keep the wires hidden, leaving your car nice and tidy.
Note: It’s a good idea to secure the remote starter down so that it won’t move while you are driving the vehicle. The kit may come with tools to secure it down, but you can use adhesive velcro strips to stick the remote starter box anywhere with a flat surface.
Part 2 of 5: How to strip and connect the wires
Step 1: Disconnect the battery. Every time you are making a connection, make sure your battery is disconnected.
Loosen the nut that holds the negative cable on the battery and remove the cable from the terminal. Tuck the cable somewhere so that there is no chance it will contact the negative terminal while you are working.
-
Note: When you are testing wires, make sure the battery is reconnected as you need voltage flowing.
Step 2: Strip the plastic coating. You’ll want to expose about one to one and a half inches of the metal to make sure your connections are strong.
Always be careful cutting the plastic as you don’t want to damage the wires.
- Tip: A box cutter with a sharp blade can be used to cut the plastic if you don’t have a wire stripper.
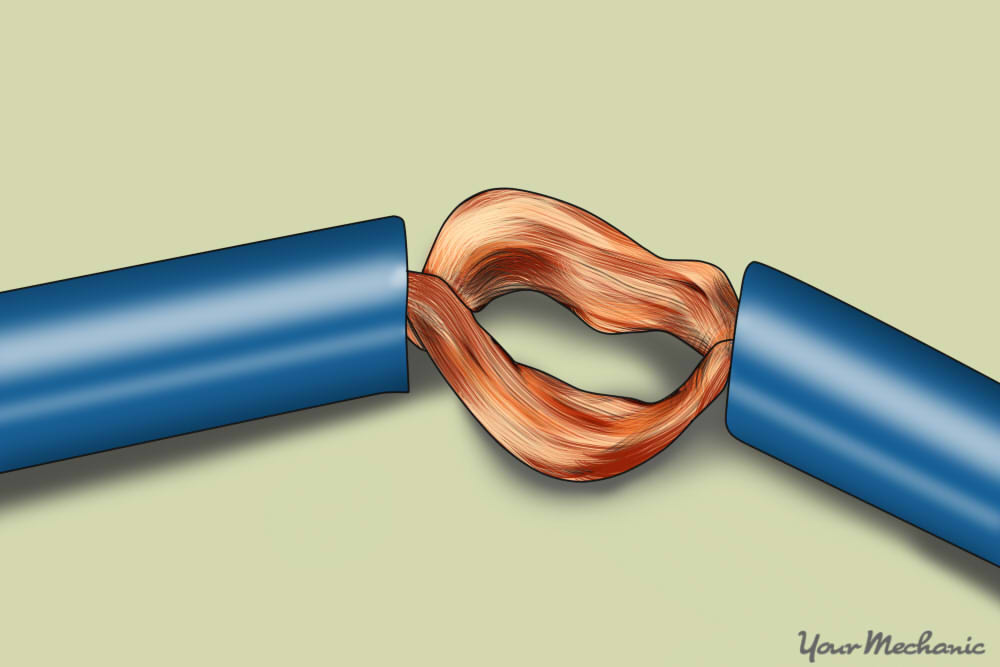
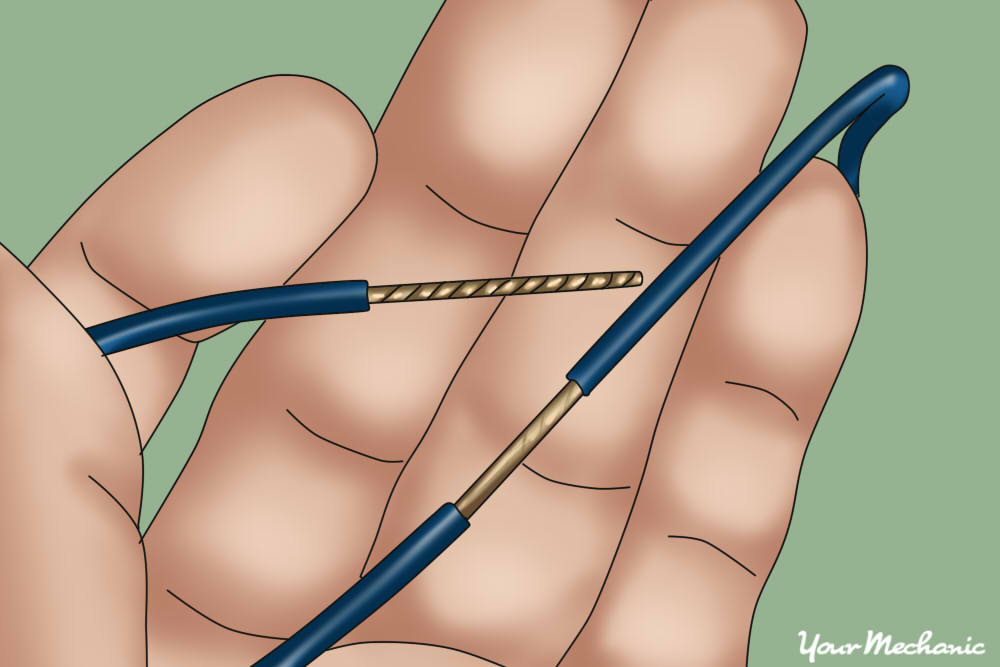
Step 3: Create a loop in the wire. The wires are twisted together so gently pry and separate the wires to create a hole. Take care to not damage the wires.
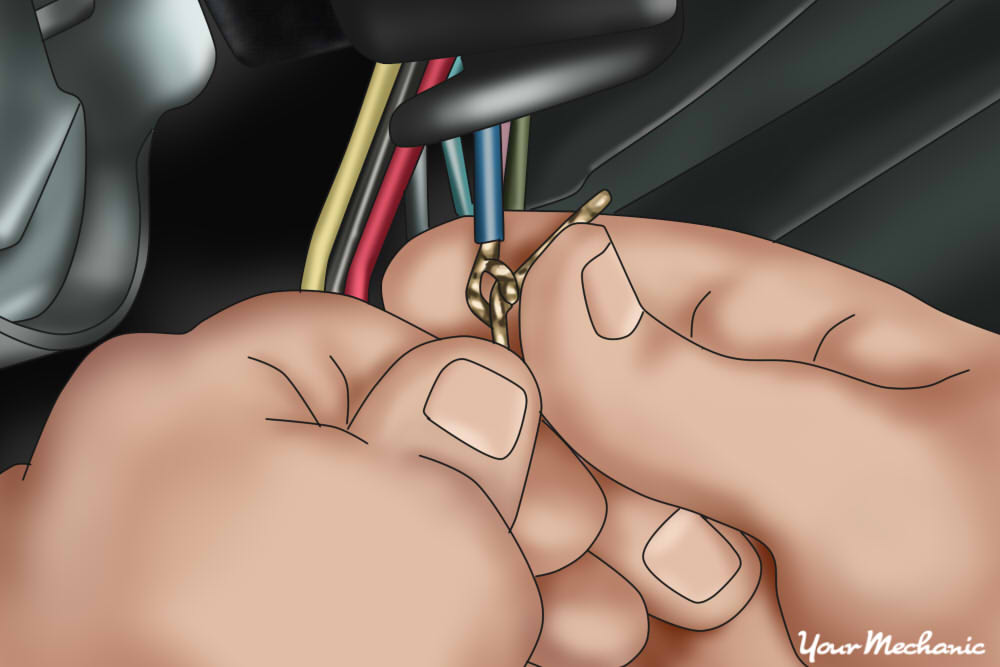
Step 4: Insert the new wire. Stick the new, stripped wire inside the loop you’ve made and wrap it around to secure the connection.
You want a lot of contact between the wires, so make sure everything is tightly wrapped.
- Note: This is when you would solder the connection if that is your plan. Be sure to use safety glasses to protect yourself.
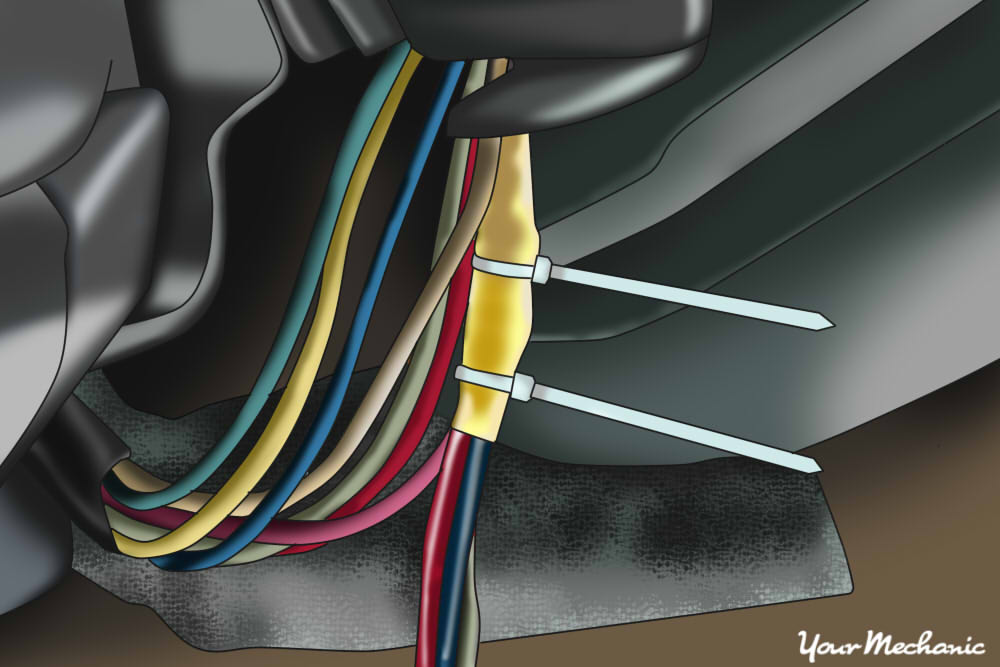
Step 5: Wrap the exposed wire with electrical tape. Make sure there is no wire exposed. Tug on the wires and make sure there is nothing loose.
-
Tip: Use zip ties on both ends of the tape to ensure it doesn’t come undone and expose the wire.
Part 3 of 5: Connecting the power wires
Step 1: Connect the 12-volt constant wire. This wire is directly connected to the battery and will always have around 12 volts, even with the key out of the ignition.
Step 2: Connect the accessory wire. This wire supplies power to accessory components such as the radio and windows. The wire will have zero volts in the off position and around 12 volts in the first (ACC) and second (ON) key positions.
- Tip: The accessory wire should go to zero volts during cranking so you can use this to double check you have the correct wire.
Step 3: Connect the ignition wire. This wire powers the fuel pump and ignition system. The wire will have around 12 volts in the second (ON) and third (START) key positions. There will be no voltage in the off and first (ACC) positions.
Step 4: Connect the starter wire. This supplies the starter with power when you crank the engine. The wire will have no voltage in all positions except for the third (START), where it will have around 12 volts.
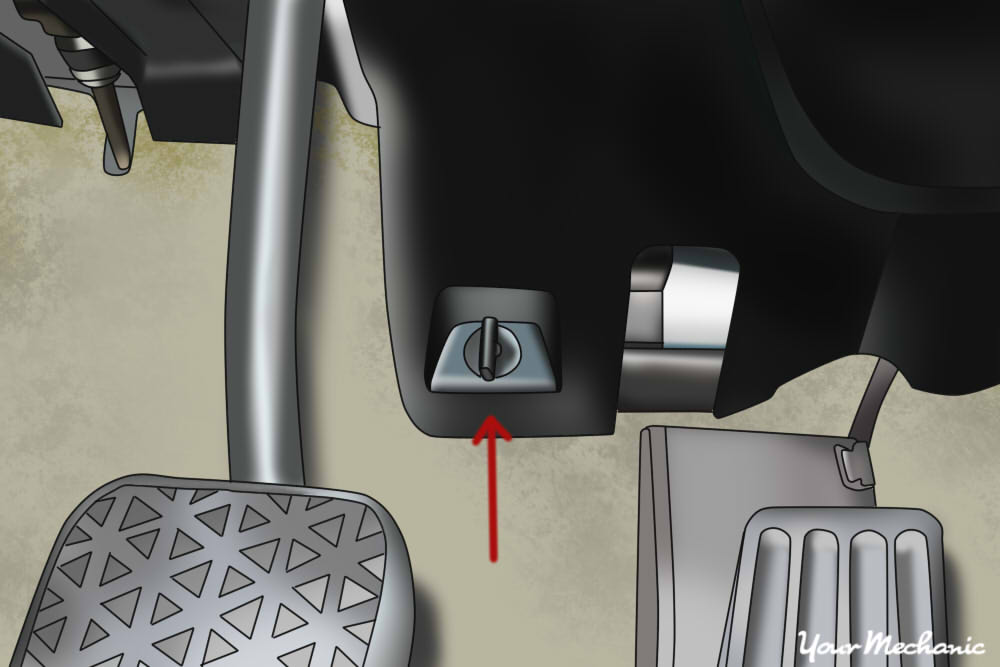
Step 5: Connect the brake wire. This wire supplies power to the brake lights when you step on the pedal.
The brake switch will be located above the brake pedal with two or three wires coming from it. One of these will show around 12 volts when you press on the brake pedal.
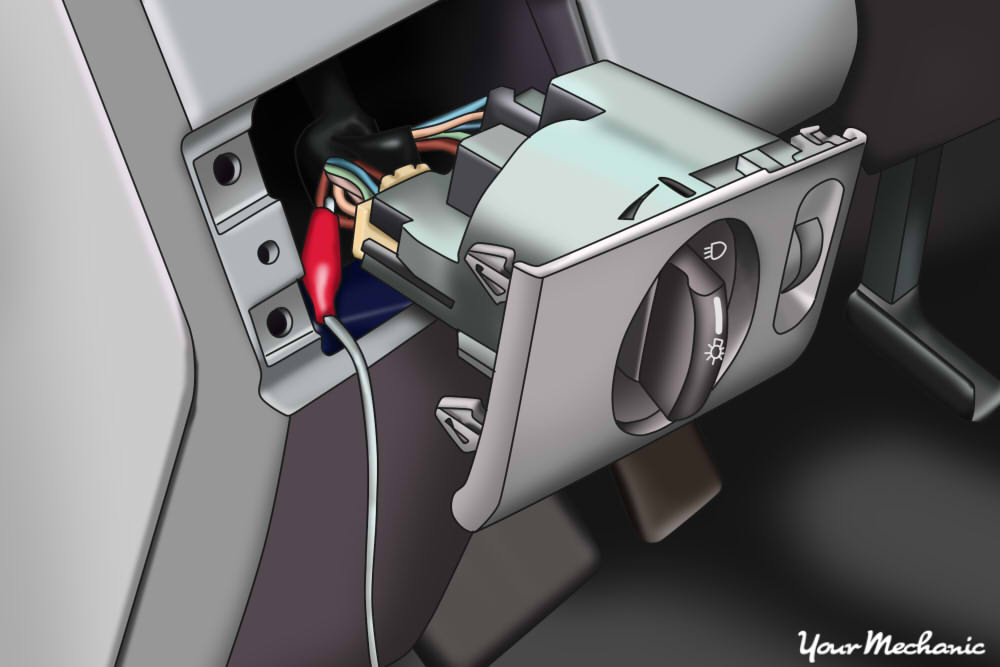
Step 6: Connect the parking light wire. This wire powers the yellow parking lights on the vehicle and is commonly used by remote start kits to let you know that the vehicle has started. The wire will have around 12 volts when you turn the lights on.
- Note: If your car has a dial that controls the lights to the left of the steering wheel, the wire should be located behind the kick panel. The kick panel is the plastic panel that your left foot rests on while you are driving.
Step 7: Connect any additional wires that your kit includes. Depending on what car you have and what kit you are using, there may be a few more wires to connect.
These could include security bypass systems for the key, or extra functions like controlling the locks and opening the trunk remotely. Make sure you have double-checked the instructions, and install any additional connections.
- Note: The instructions for the kit will have information to help you locate the correct wires.
Part 4 of 5: Setting up the ground connection
Step 1: Locate a clean, unpainted piece of metal. This will be the main ground connection for your remote starter kit.
Test to make sure that it is indeed a ground, and make sure the ground cable is away from other cables to prevent any electrical interference.
- Note: The wires going to the lock cylinder will have a fair amount of interference, so be sure the ground cable is away from the ignition.
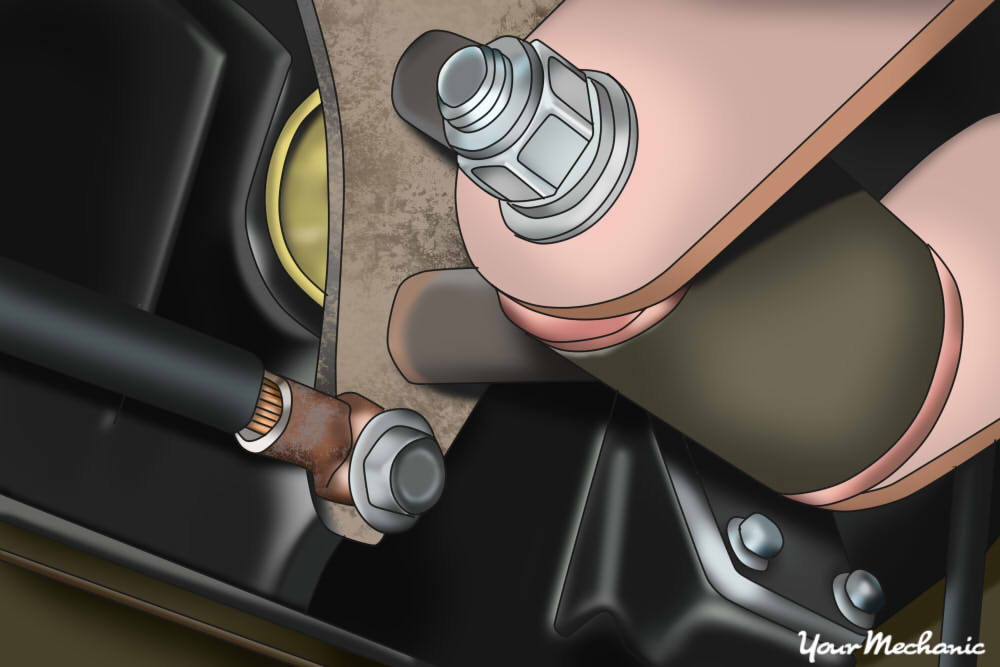
Step 2: Secure the cable to the metal. The ground cable usually has a hole where you can use a nut and bolt with a washer to lock it in place.
- Note: If there is nowhere to place the cable, you can use a drill and make a hole. Use the hole on the cable to make sure you have the correct size drill bit.
Part 5 of 5: Putting everything back together
Step 1: Plug the ground cable into the starter kit. The ground cable should be the first cable that you plug into the remote starter box, before any power connections.
Step 2: Plug power wires into the starter kit. Connect the rest of your cables to the remote starter.
Before you put everything back together, test some things to make sure the new connections aren’t causing any issues.
Step 3: Start the engine with the key. First, make sure that the engine still starts up when you turn the key.
Step 4: Test other functions. Make sure all of the other functions you have included with your remote start kit still work. This includes the parking lights, brake lights, and things like the door locks, if you installed those features.
Step 5: Test the remote start. If everything seems okay, turn the engine off, remove the key, and test the remote starter.
- Note: Check and make sure the parking lights come on if this is a feature with your remote starter.
Step 6: Secure remote starter box. If everything is working as intended, start putting things back together.
Secure the box however you would like, making sure that all cables will be out of the way of the panels that you have to install back on.
- Tip: Use zip ties to tie up excess cabling and secure the cables against other components so they don’t move around. Make sure the cables are away from any moving parts.
Step 7: Reinstall plastic panels. Again, make sure no cables get pinched when screwing the panels back on.
With all pieces back together, run through all of the tests again to make sure everything is still good.
Congratulations! You’ll never have to wait for your car to warm up now with your remote starter. Go show your friends your newfound magical powers. If you have any issues installing the kit, one of our certified technicians here at YourMechanic would be able to assist you in getting the kit installed correctly.