
Once you’ve decided on a car to buy and found financing, it’s now time to conduct a final inspection of your chosen vehicle. Bring a notebook or smartphone with you to the inspection appointment and write down any details or numbers given to you. During the inspection and final test drive, you’ll want to look out for quite a few factors, which are listed in the steps below.
Part 1 of 1: Inspect your vehicle
Step 1: Examine a car with salesperson. Have a salesperson show you all different the functions and options in your new vehicle.
Step 2: Investigate mileage. Usually, new cars should only have roughly 25 miles (40km) or below logged on them.
If the mileage is above this number, ask a salesperson. Sometimes, it is from the short trip to the lot.
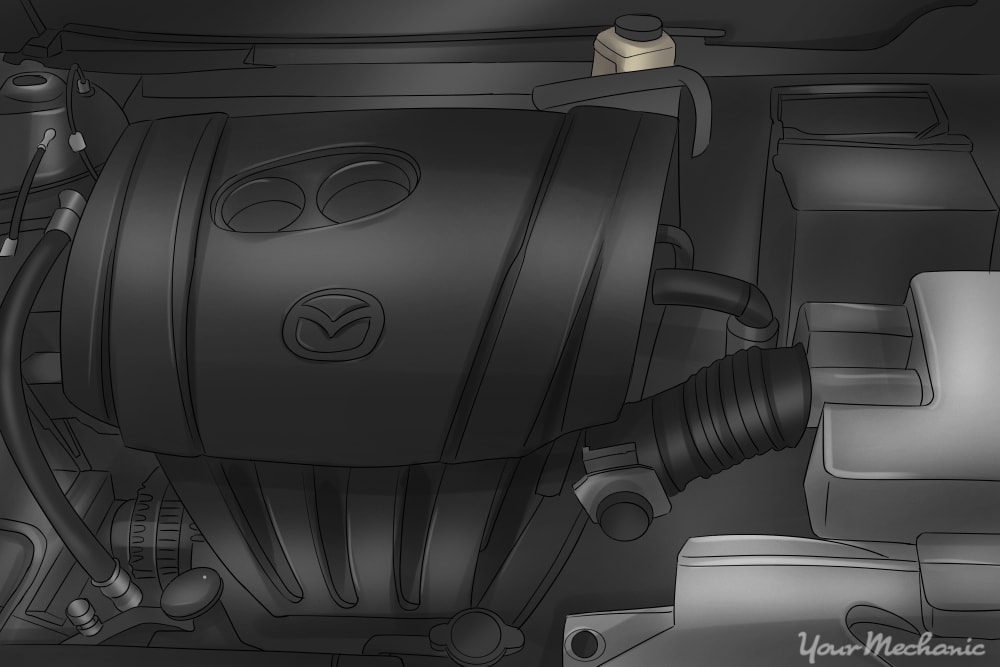
Step 3: Check under the hood. Examine the engine bay’s cleanliness and organization and its vital functions.
- Tip: Ask the salesperson or refer the the vehicle’s manual to determine where your car’s ECU is located.
Step 4: Inspect the battery. If the battery does not display its health, have its health verified by the salesperson.
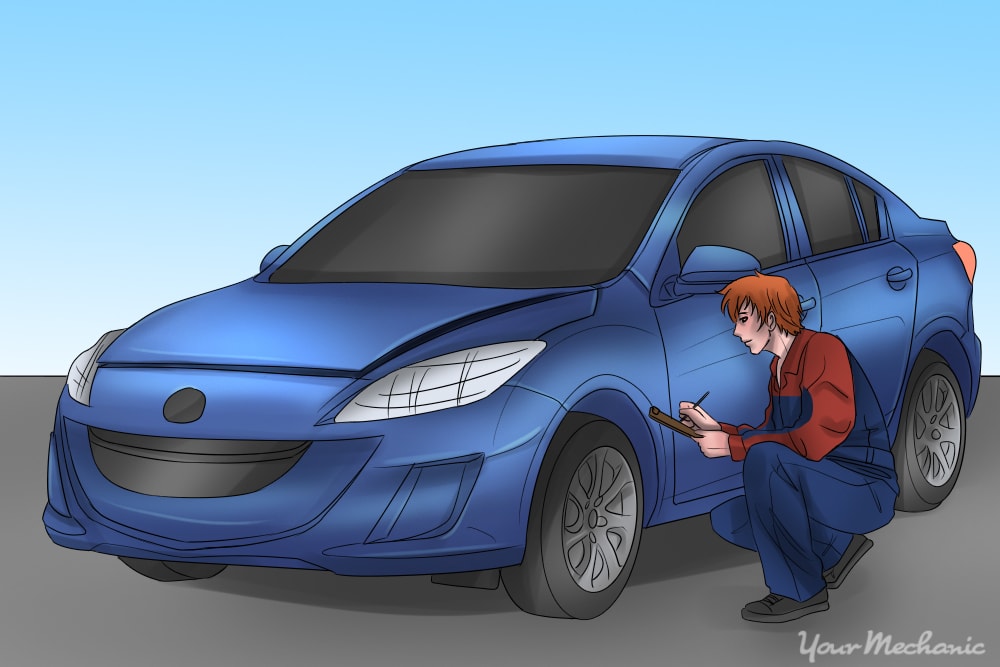
Step 5: Examine the exterior. Examine your new vehicle’s exterior work, noting any dings or imperfections.
Point out any imperfections before you test drive or further inspect. This will be more likely to result in a complimentary fix.
Step 6: Examine the tires. Do a check on the tires to make sure they are in new condition.
If you are not sure about this, verify the condition of the tires with a salesperson.
Step 7: Inspect doors. Verify that doors open and close smoothly.
You’ll also want to ensure that the all rubber edges of doors are consistent and soft.
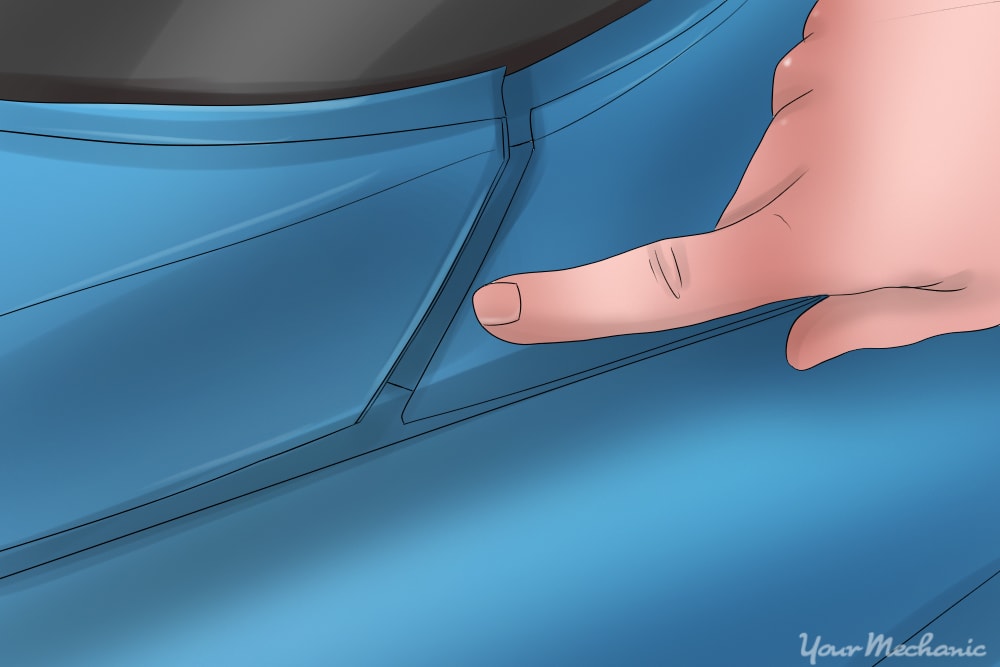
Step 8: Examine the body parts. Check that the car’s exterior parts fit together nicely and that there are not any joint issues.
In general, all gaps and seams should be as even and smooth as possible.
Step 9: Inspect all windows and the windshield. Triple check and make sure the windshield and windows do not have any blemishes.
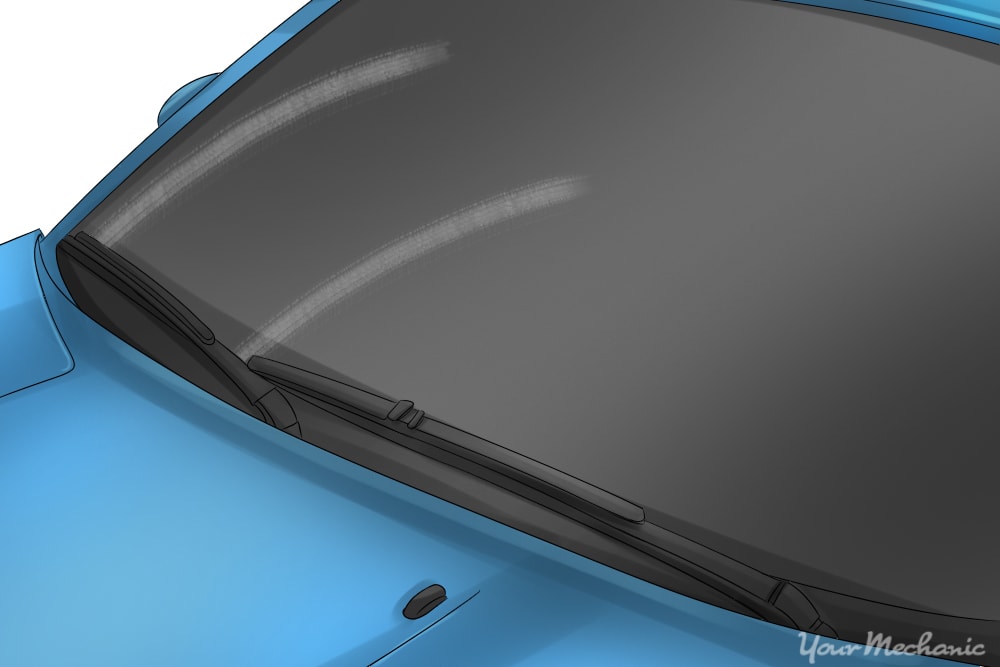
Step 10: Verify that wipes and windows work. Test the wipes and rolling/power windows to make sure they are not broken or need repairs.
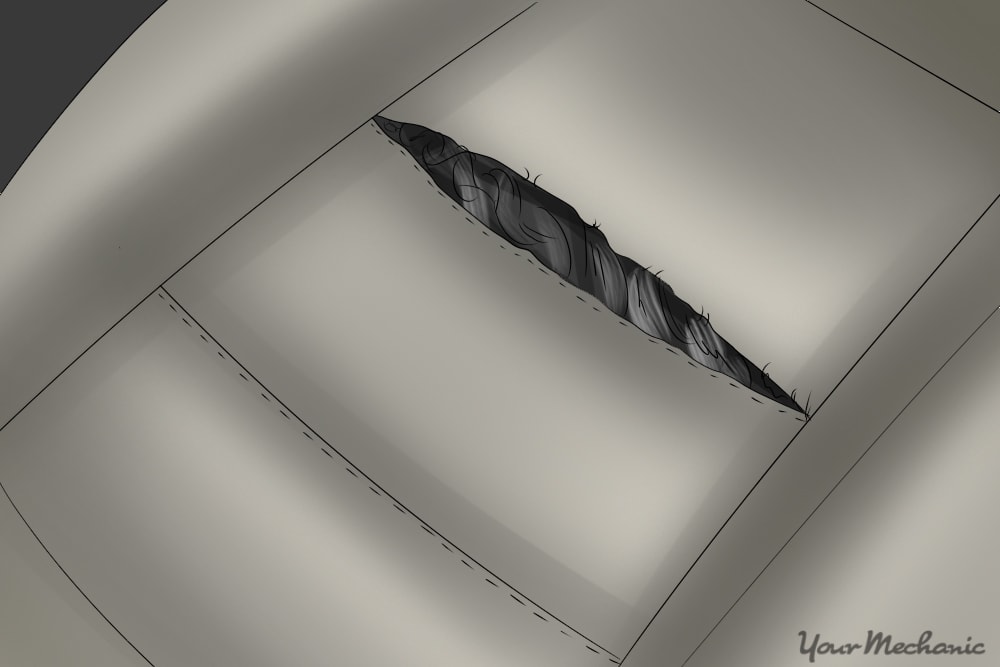
Step 11: Carefully examine the car’s interior. Examine the upholstery, carpets, and soft surfaces of the car’s interior to ensure they are free of any stains or ripping.
Every fabric should be strong and without wear, so examine every seat, nook, and cranny.
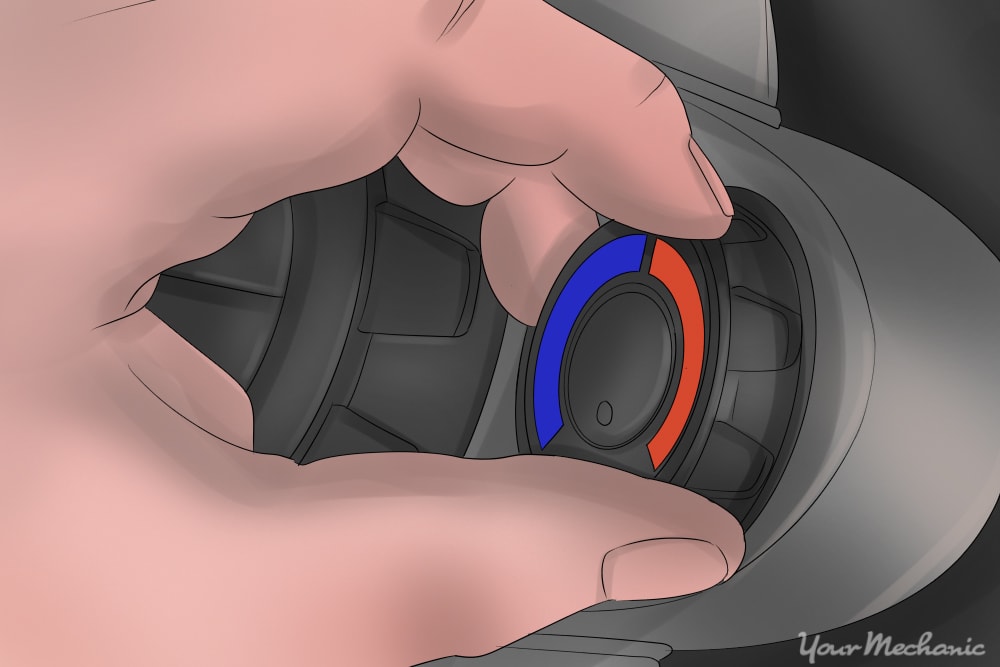
Step 12: Test the climate control. Make sure to test both the air conditioning and heating systems to ensure they are operating properly.
If your car comes with heated seats, be sure to test those as well.
Step 13: Test your horn. Test your horn to ensure it operates timely and properly.
Step 14: Test your lights. Test your headlights, including your high beams and blinkers, and ensure the light bulbs and electrical systems are functioning correctly.
Don’t forget to make sure the headlights focus efficiently.
Step 15: Test other bells and whistles. This is a great time to test all the other bells and whistles that came with your car.
Test any entertainment, radio or GPS functions that can be adjusted from the control panel.
Step 16: Test the engine. Turn the engine on, using your key unless otherwise instructed by your salesperson or vehicle manual.
Keep an eye out on the dash for warning lights and your fuel level.
Step 17: Crank the engine. Turn your engine on and crank the engine.
Keep your ears open for any unexpected or inconsistent noises coming from the engine bay both while driving and parked.
Step 18: Check emissions. Take note of any oddities in the emission, bringing them to the salesperson’s attention.
Step 19: Conduct a test drive. Talk to your salesperson ahead of time to request a short test drive prior to delivery of your vehicle.
When test driving, listen for any abnormalities.
Make sure you don’t hear any rattles, noise, vibration, or harshness in sound levels. Test shifting gears, and look out for a comfortable and efficient acceleration.
Step 20: Check under the hood again. Look to make sure nothing has come loose or seems out of the ordinary.
Step 21: Point out concerns. Speak with your salesperson and go over any notes you made during your inspection that raised cause for concern.
Step 22: Verify the chassis number. When reviewing the final paperwork, double check and confirm that the Chassis number on the engine matches your papers.
Getting a new vehicle is an exciting process, but it requires you to be diligent along the way, inspecting your car to make sure it is the condition you expected. Be sure to have one of our mechanics perform a pre-purchase car inspection to get some professional insight into the state of your new car.


