
Having good brake pads on your vehicle is important. Hydraulic pressure from the brake system is used to push the brake pads against the brake rotor. This clamping force is used to gradually stop the tire and wheel from spinning, which brings the vehicle to a halt. Brake pads are basically just friction material and a metal backing. The three basic types of brake pads are organic, semi-metallic and ceramic.
Common symptoms of failing or bad brake pads include noisy brakes, a pulsating brake pedal, or poor stopping response.
Part 1 of 1: Installing the brake pads
Materials Needed
- ½” torque wrench
- ⅜” torque wrench (optional)
- Brake pad lubricant
- Jack and jack stands
- Large c-clamp
- Protective gloves
- Repair manuals
- Safety glasses
- Sockets
- Suction tool (turkey) baster
- Tire iron or breaker bar
- Wrench or ratchet
- Zip ties
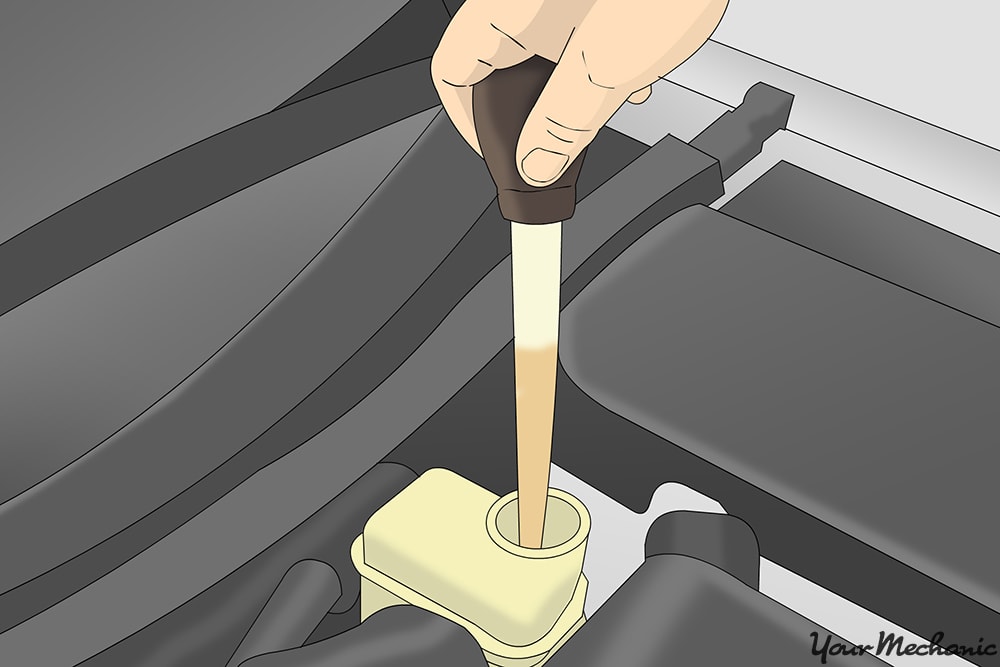
Step 1: Suck some fluid from the master cylinder. Suck a small amount of fluid from the master cylinder using a turkey baster or equivalent.
This is done so the fluid won’t spill out when the calipers are pushed back in their bores later in the process.
- Note: Do not suck all of the fluid from the master cylinder or air will get into the brake system.
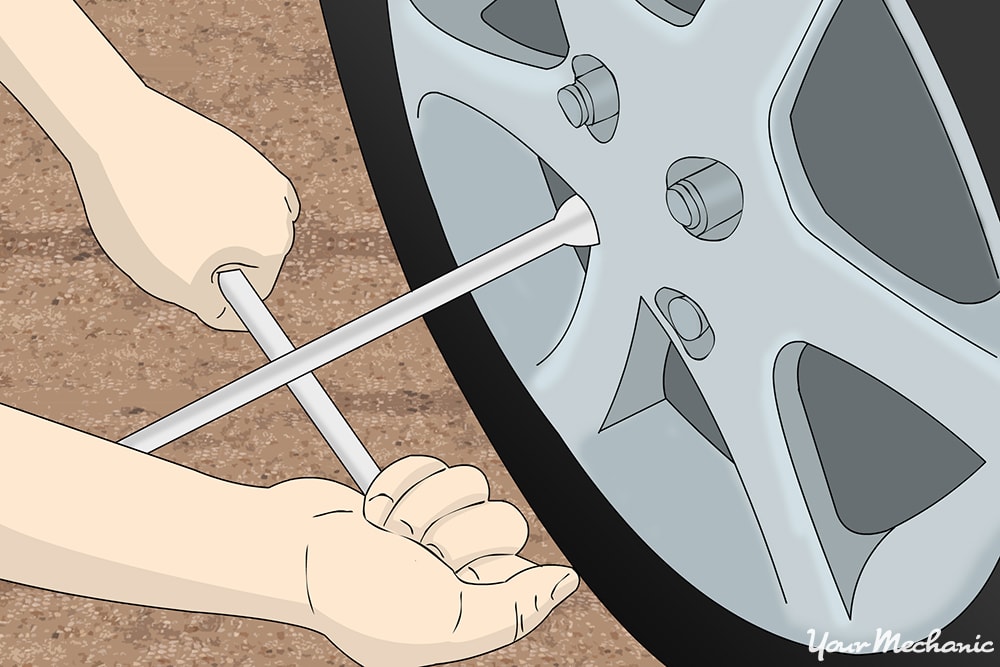
Step 2: Loosen the lug nuts. Loosen the lug nuts with a break bar or tire iron but do not remove them.
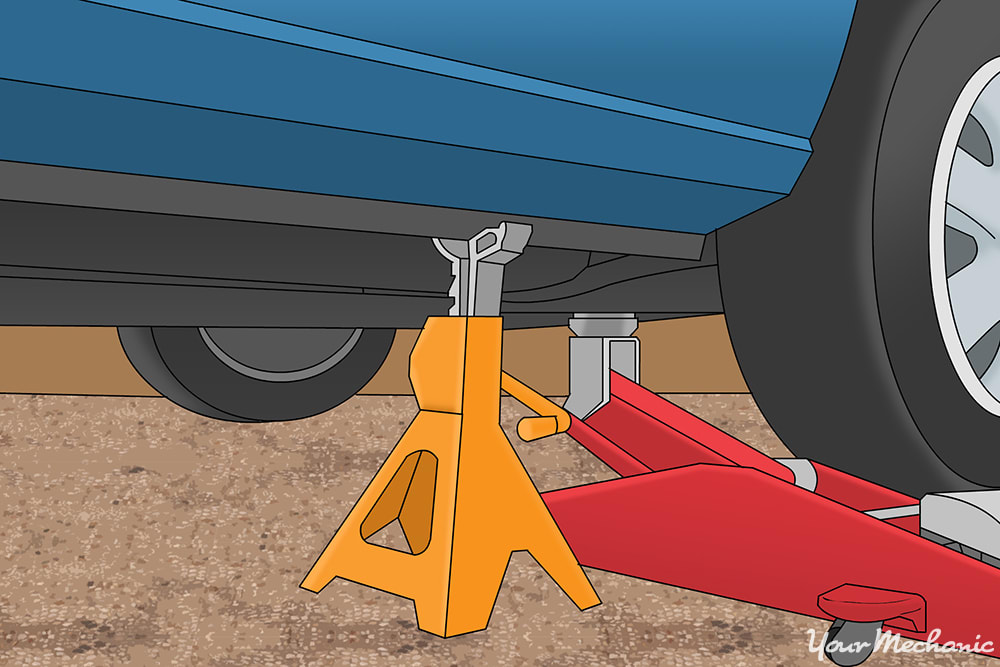
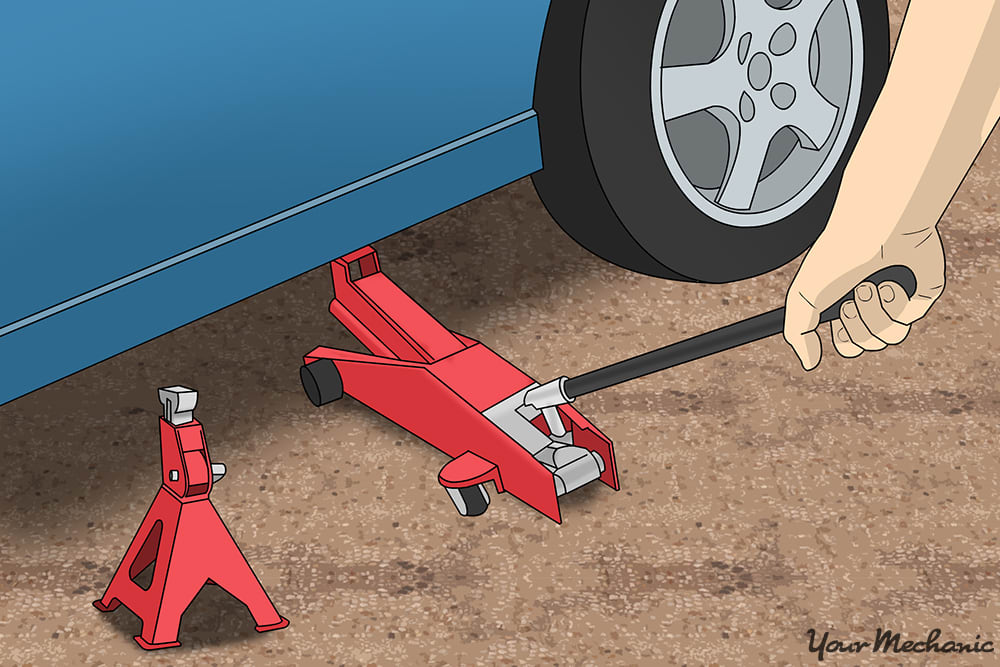
Step 3: Raise and support the vehicle. Jack up the vehicle and support it with jack stands.
Place a wheel chock behind the rear wheels and set the parking brake.
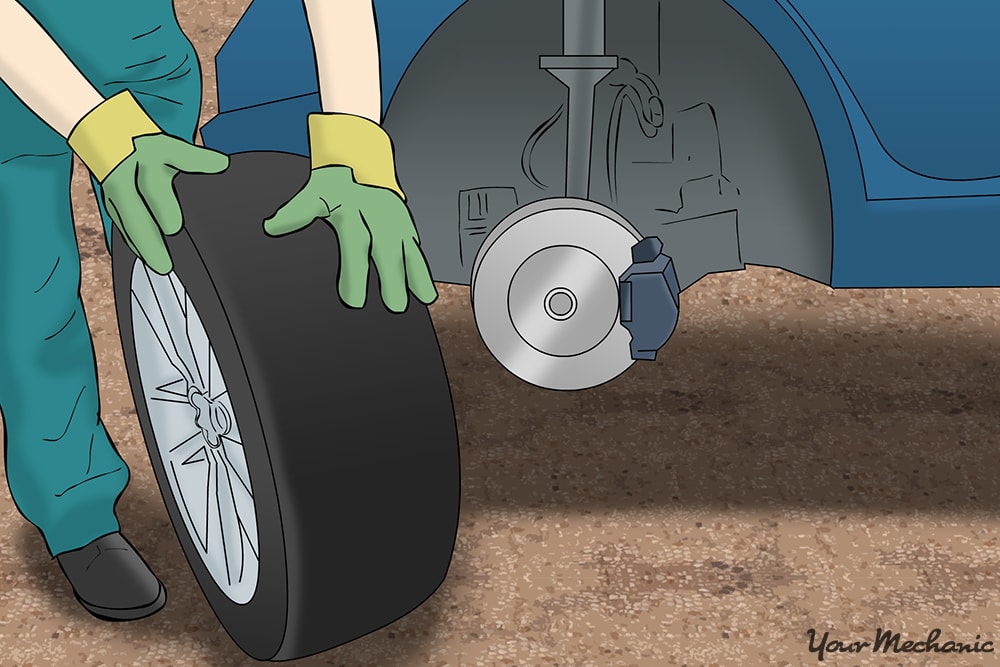
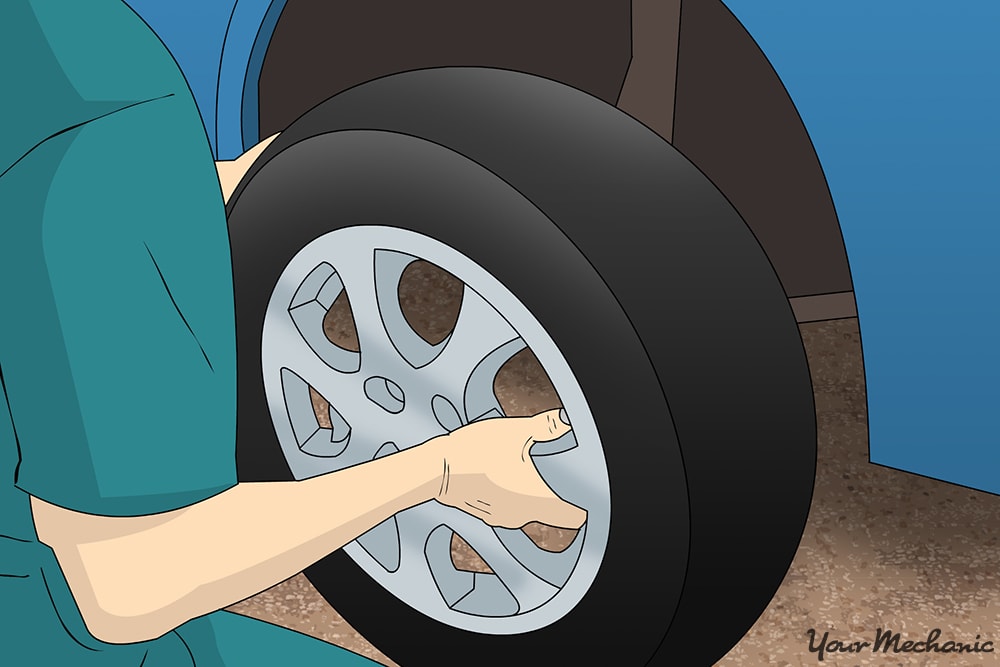
Step 4: Remove the wheels and tires.
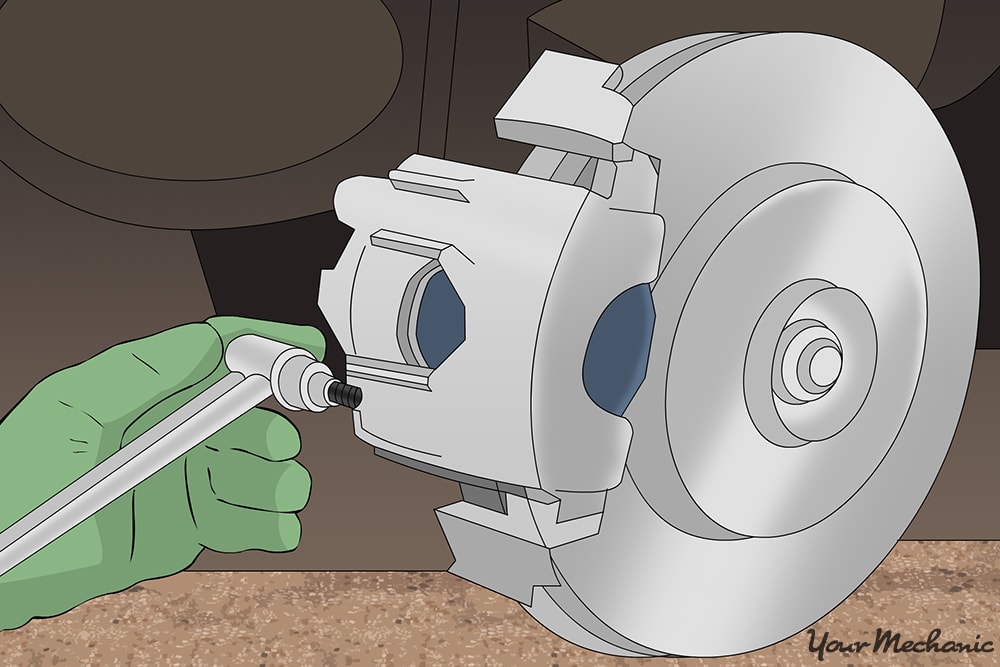
Step 5: Remove the brake caliper mounting bolts. Remove the brake caliper mounting bolts using a ratchet or wrench.
- Note: Do not remove the brake line.
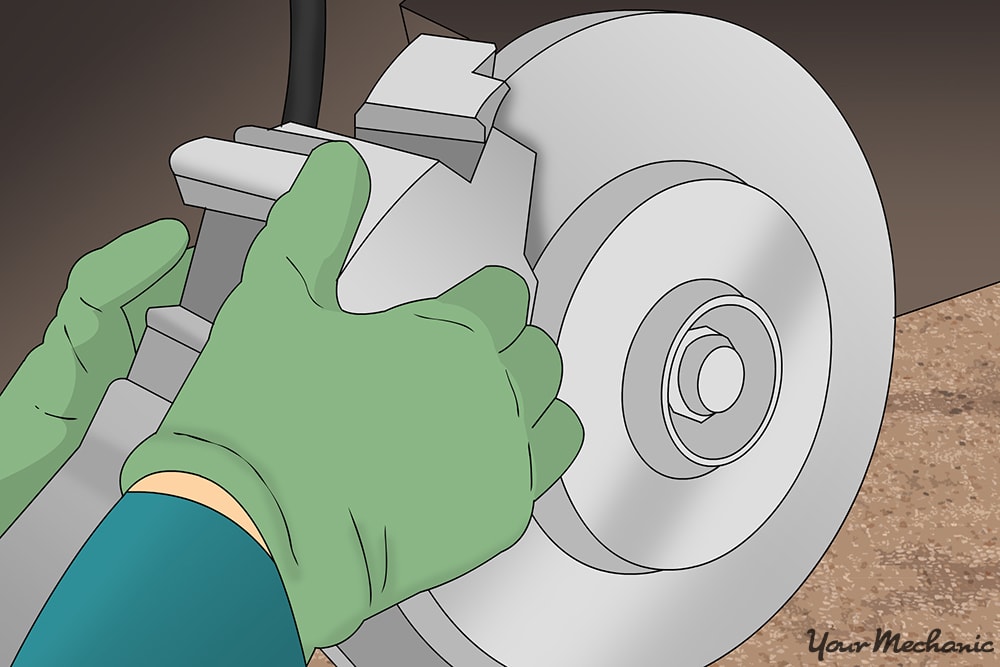
Step 6: Remove the brake caliper. Remove the caliper from the mounting bracket.
Position it out of the way and hang it from the strut or coil spring using zip ties or wire (an old coat hanger works well).
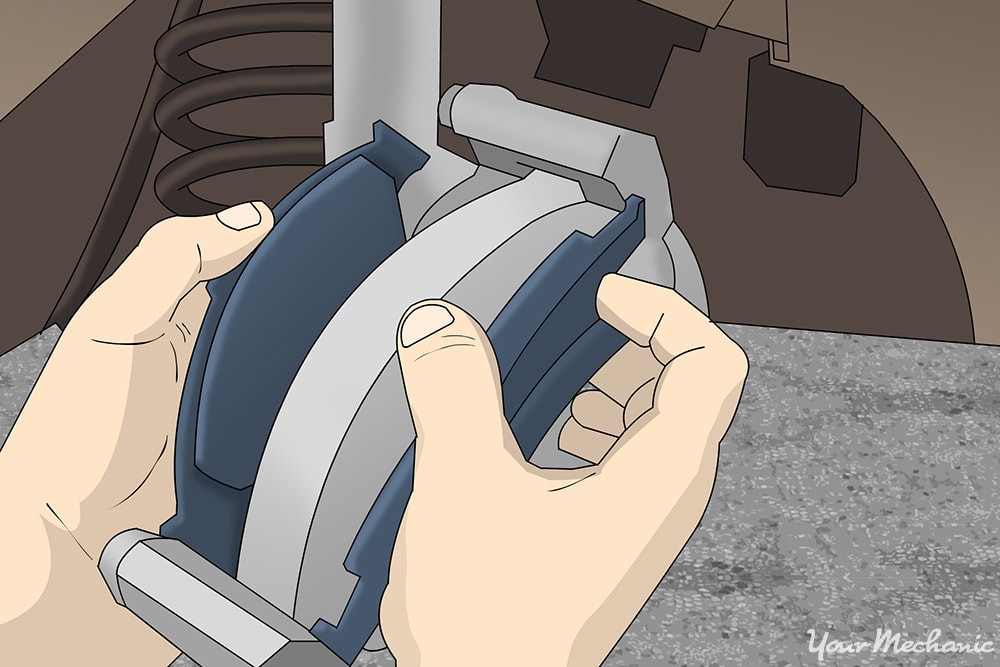
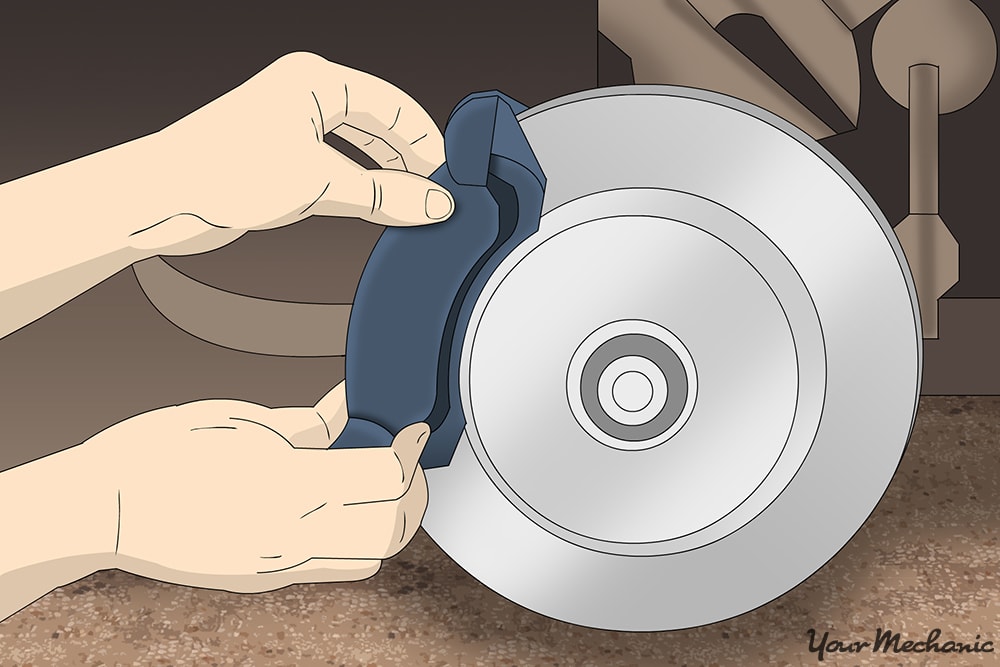
Step 7: Remove the brake pads. Remove the brake pads by sliding them outward from the caliper mounting bracket.
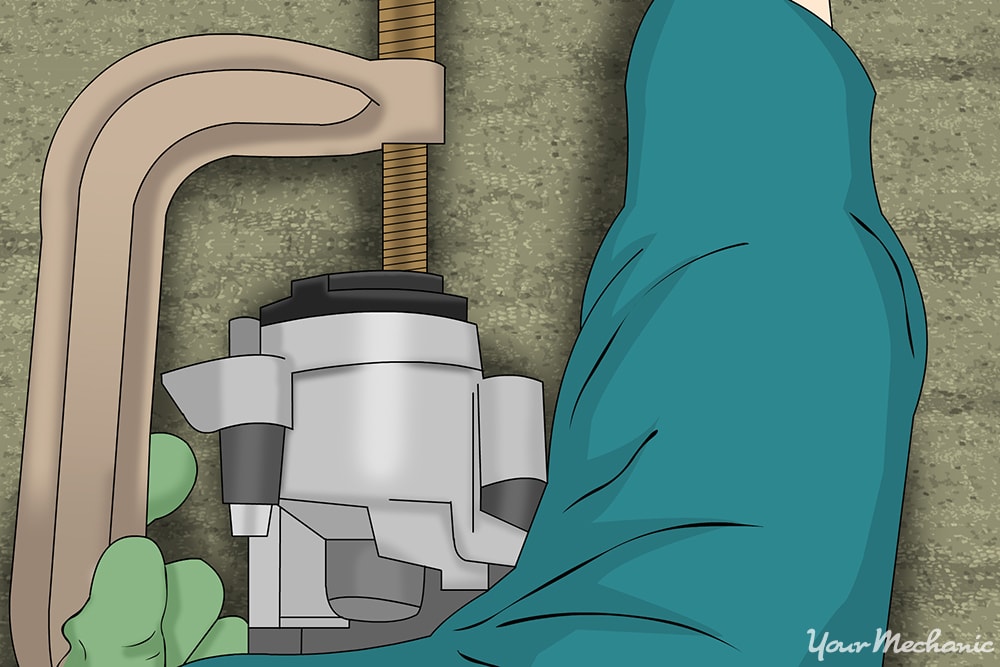
Step 8: Push the caliper piston back in its bore. Position a large c-clamp on the caliper and tighten the c-clamp down to push the piston back into its bore.
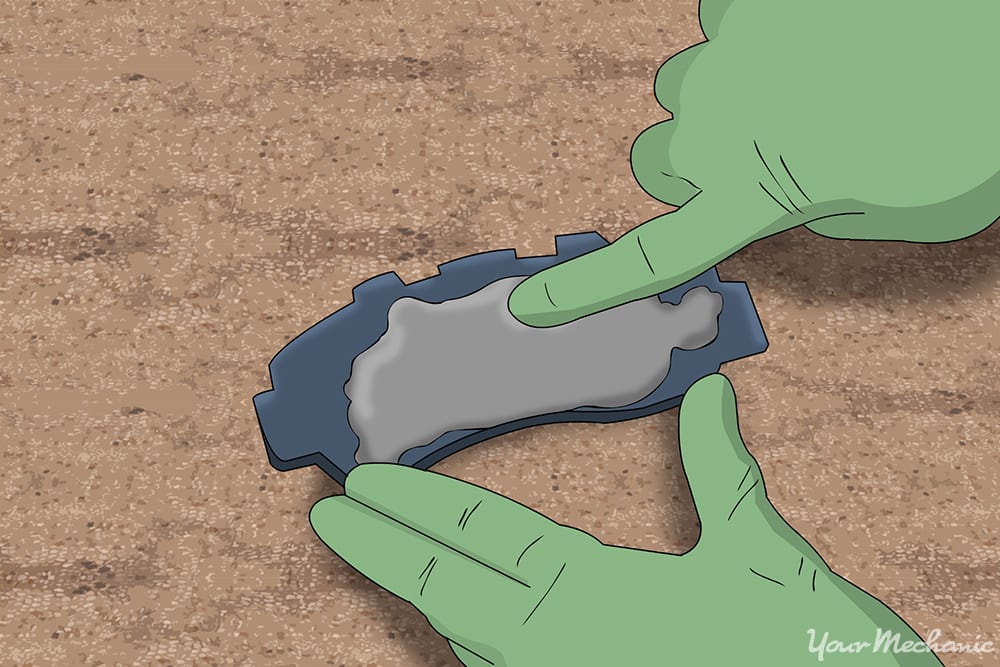
Step 9: Lubricate the new brake pads. Apply disc brake grease to the back of the new pads to prevent brake noise.
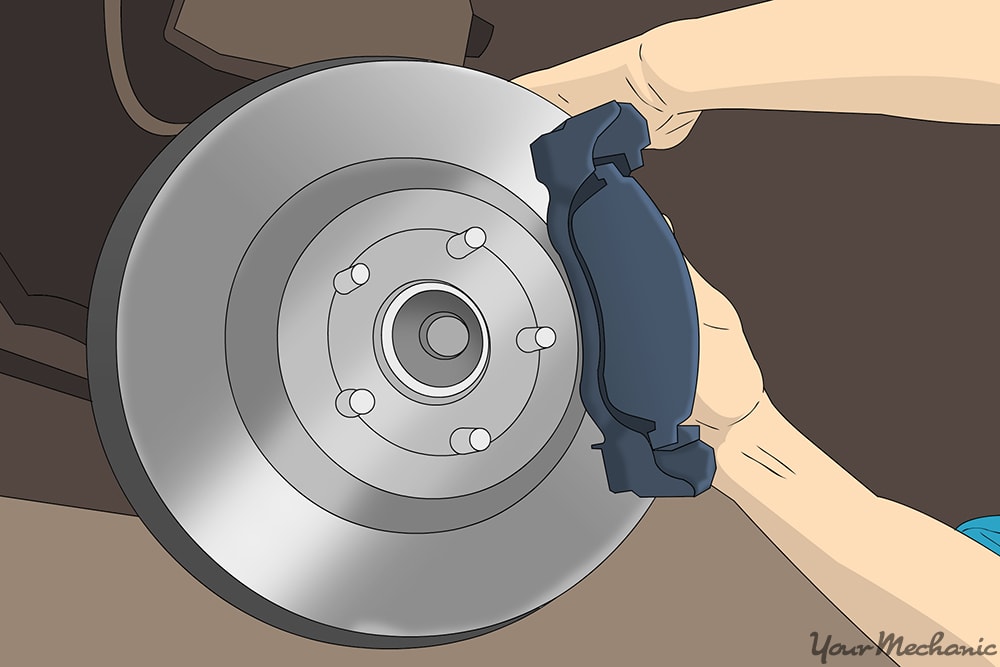
Step 10: Install the new pads. Install the new pads by sliding them onto the caliper mounting bracket.
Step 11: Reinstall the brake caliper. Reinstall the caliper over the pads and onto the mounting bracket.
Step 12: Reinstall the brake caliper bolts. Reinstall the brake caliper bolts and tighten them until they are snug using a ratchet or wrench.
Be careful not to overtighten the bolts. If you have any question as to how tight they should be, consult the factory repair information for the torque specifications. Then, torque the bolts down with a ⅜” torque wrench.
Step 13: Reinstall the wheels and tires. Reinstall the wheels and tires and tighten the lug nuts down until they are snug, but don’t tighten them down all the way.
Step 14: Lower the vehicle. Jack up the vehicle up, remove the jack stands, and lower the vehicle to the ground.
Remove the wheel chock.
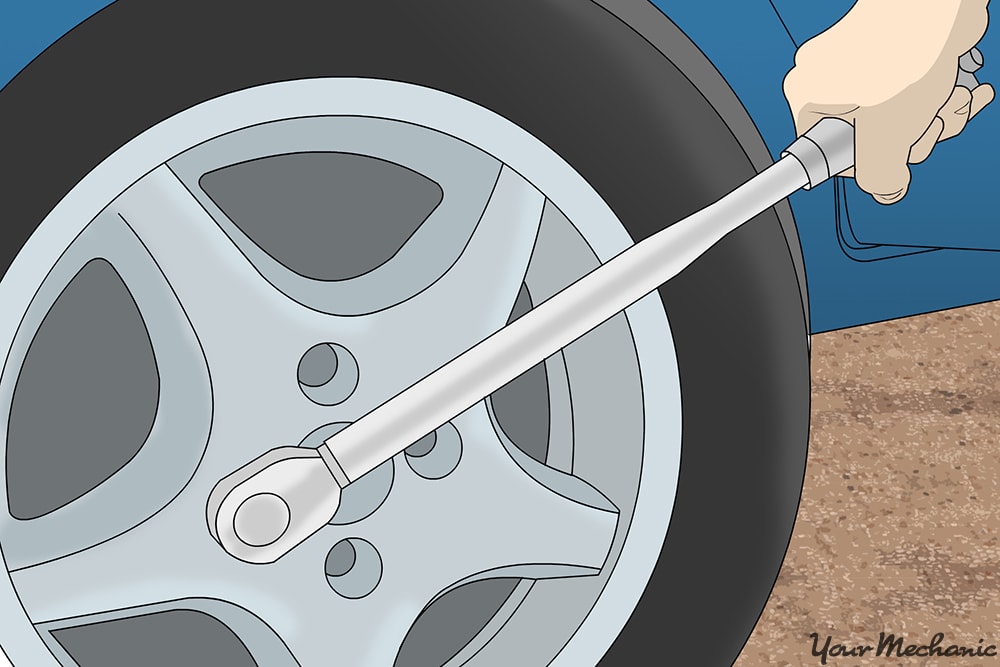
Step 15: Torque the lug nuts. Torque the lug nuts to specification using a ½” torque wrench.
Torque specs can be found in the factory repair manual.
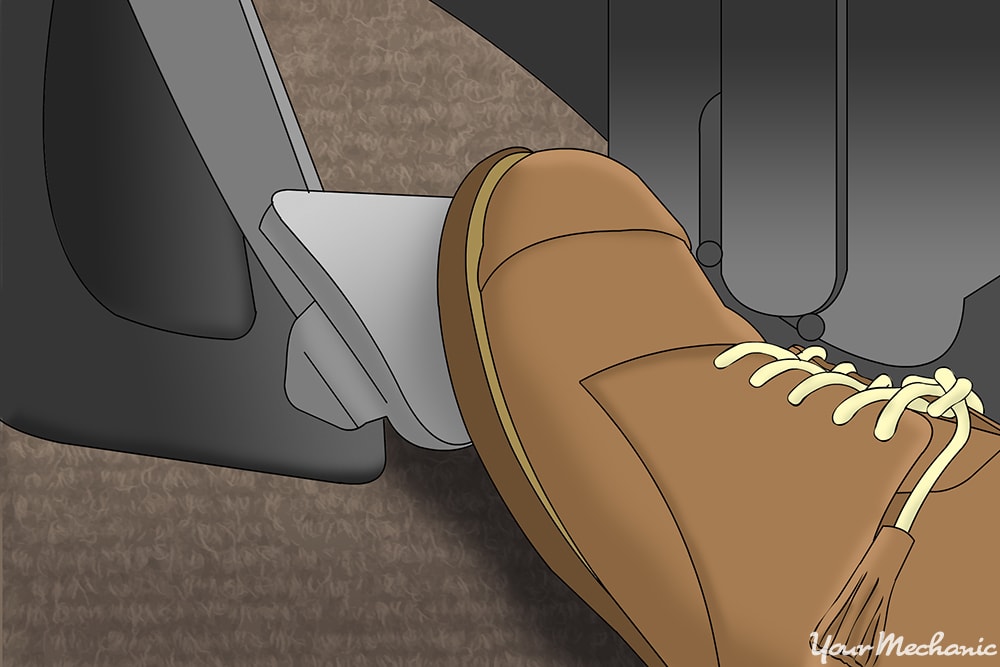
Step 16: Pump the brake. Pump the brake pedal until it is firm.
- Note: Failure to perform this step can result in lack of brakes when you first go to drive the vehicle.
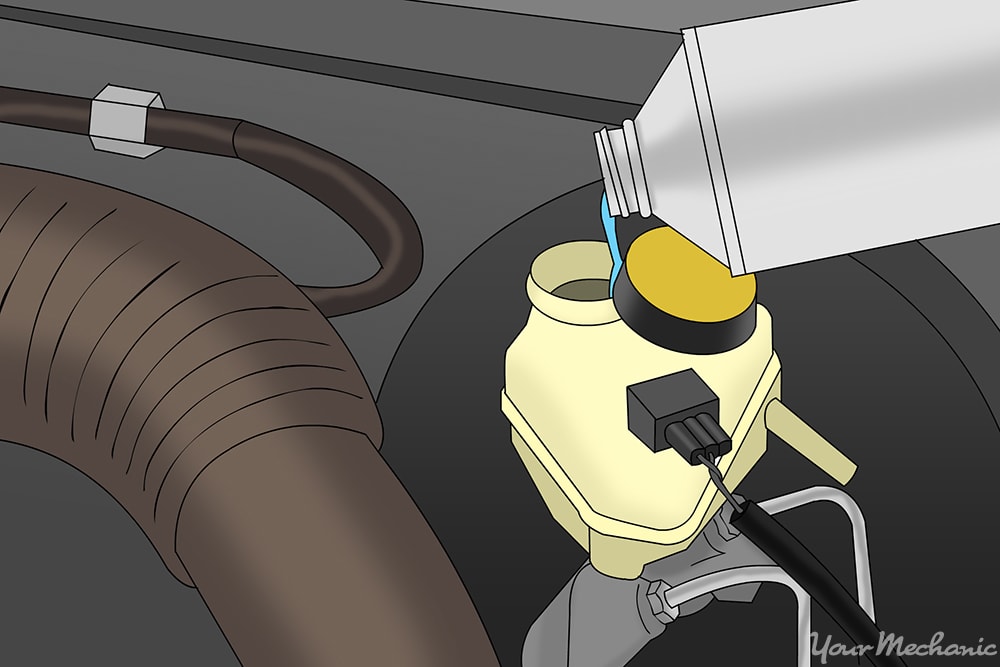
Step 17: Top off the brake fluid as needed.
You now have a set of brand new brake pads that enhance your vehicle’s safety. Lf you do not feel confident completing this job on your own, have one of YourMechanic’s expert mechanic’s perform a brake pad replacement.


