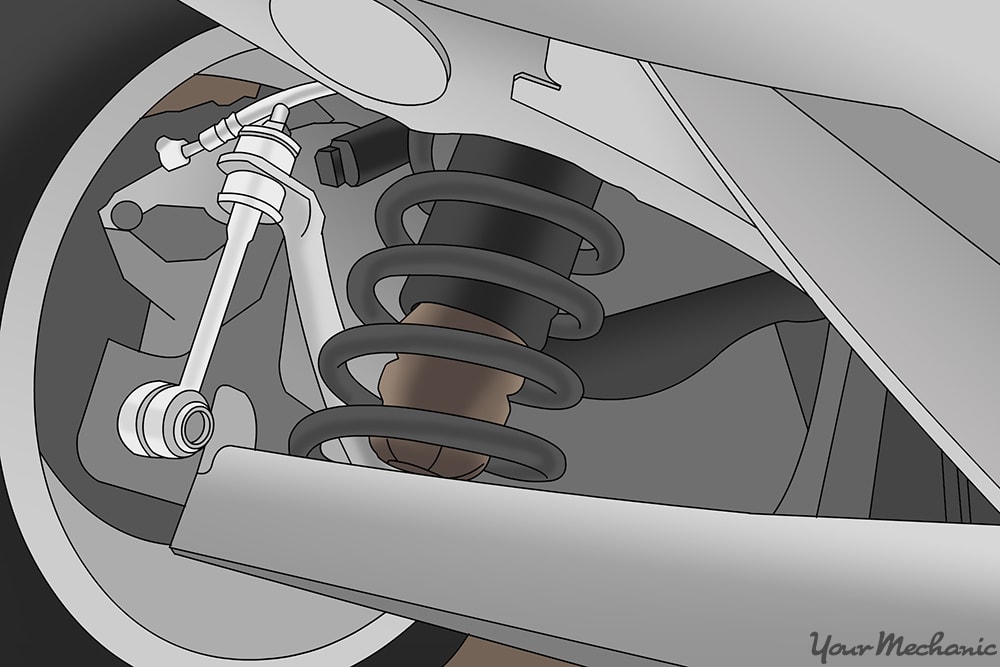
The lateral link is a component of the suspension. Its purpose is to limit the side-to-side movement of the suspension. Typically, there are a pair of lateral links (there are some manufacturers that use a single link) that take the place of a lower control arm. Some manufacturers use the lateral links instead of a lower control arm in order to save weight or the cost in manufacturing spindle assemblies.
Although most commonly used on the rear of a vehicle, they can be used on the front as well. In this article, we focus on the systems used on the rear of a vehicle that incorporate a pair of lateral links, as this is the most commonly used system. The basic procedures should be adaptable to most vehicles. Symptoms of failing lateral links include loose steering, noticeable clunking sounds, and wear on the rear tires.
Part 1 of 1: Replacing lateral links
Materials Needed
- Hammer
- Hydraulic jack
- Penetrating oil
- Punch set
- Socket set
Wheel chocks
Note: It’s a good idea to presoak the hardware on the lateral link(s) with penetrating oil prior to removal. This can make removing the hardware much easier. If possible, soak the hardware the night before the repair, being careful not to get any oil on any of the brake components.
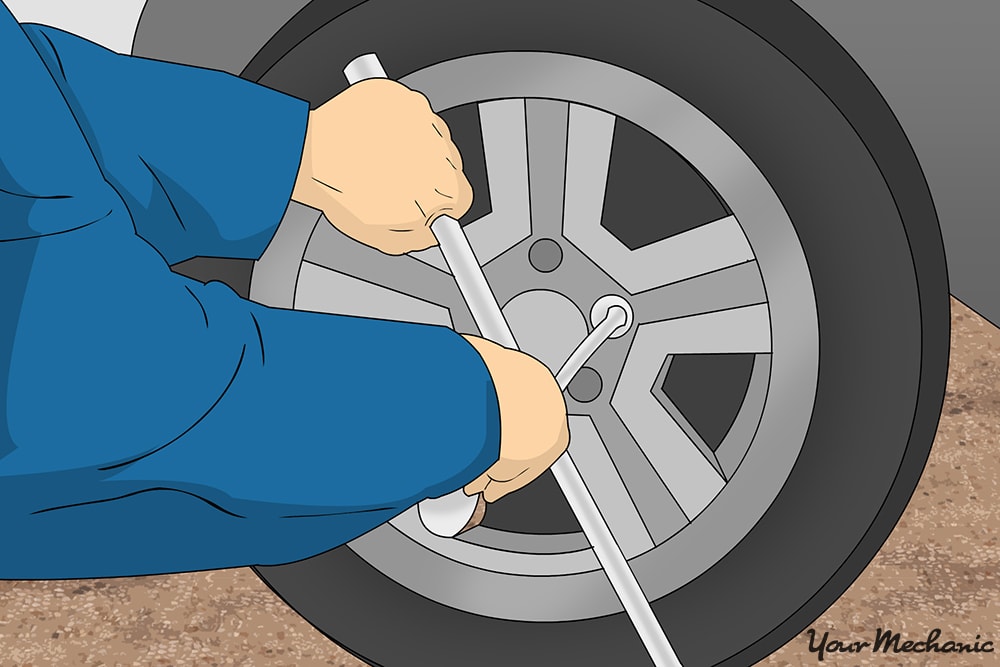
Step 1: Loosen the lug nuts on the wheel that needs the lateral links replaced. Loosen the lug nuts on the wheel for the corner of the vehicle that needs to have the lateral link replaced.
There is no need to break the lug nuts loose on all four corners, just the wheel that needs the link(s) replaced. Just break the lug nuts loose; do not remove them. Break the initial tension on the lug nuts and turn them 1 or 2 turns only. This makes removing the wheel much easier once the vehicle is up on jack stands.
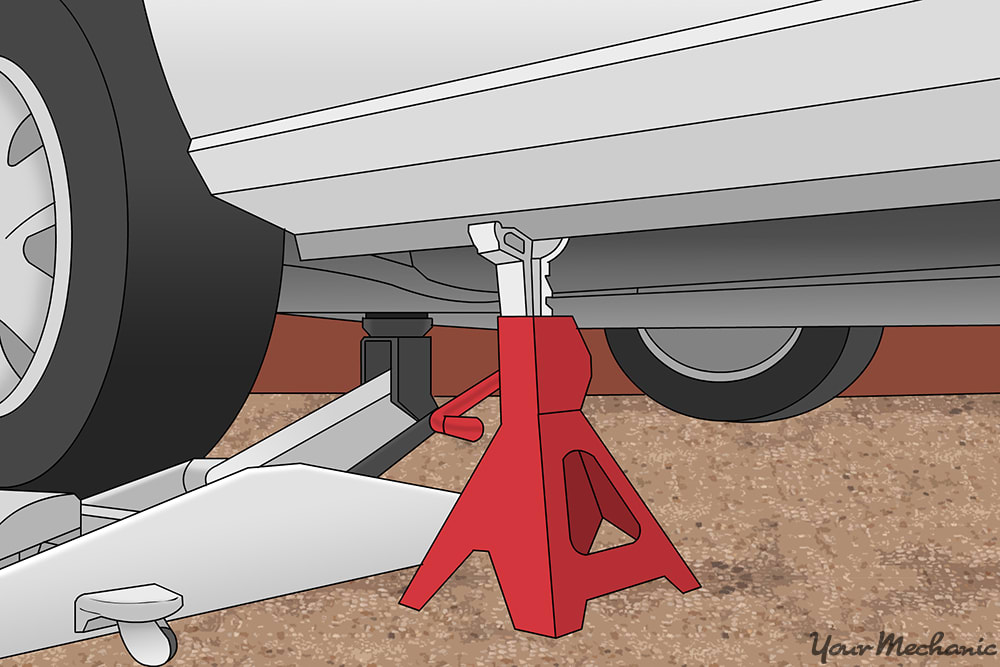
Step 2: Jack up the vehicle and set jack stands. Jack up the vehicle and set jack stands using the factory recommended jacking and stand points.
Warning: Always be sure jacks and jack stands are set on solid ground. Setting either on soft ground can lead to injury.
Warning: Never leave the weight of the vehicle on the jack. Always let the jack down and place the weight of the vehicle on the jack stands. Jack stands are designed to handle the weight of a vehicle of an extended period of time, whereas a jack is only meant to support this type of weight for a short period.
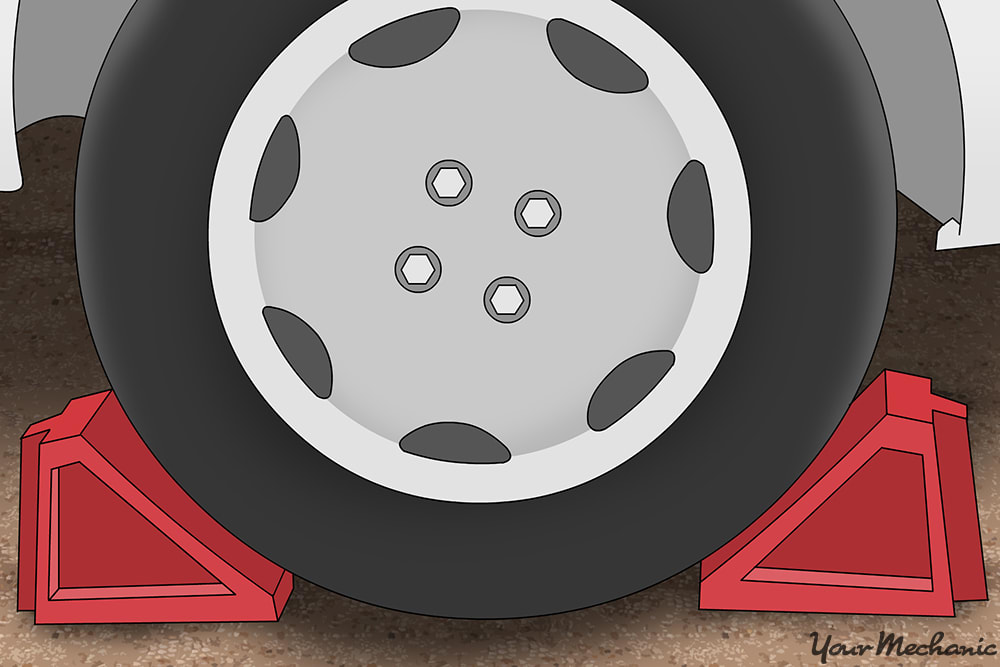
Step 3: Place wheel chocks on both sides of wheels still on the ground. This lessens the likelihood of the vehicle rolling forward or back and falling off of the jack stands.

Step 4: Remove wheel. Remove the lug nuts the rest of the way.
Once all of the lug nuts have been removed, pull the wheel/tire off and set if off to the side and out of the way.
- Note: Taking a picture, using either a cell phone or a camera, of any items before removal may prove invaluable when it comes to putting things back together. You can always refer back to the pictures on reassembly.

Step 5: Remove nuts from lateral arm mounting bolts. Remove the nuts from the mounting bolts that secure either end of the lateral link in place.
There is usually two bolts on the inner mounts (one on either lateral link) and one long bolt that secures both lateral links to the spindle.
- Warning: It may be necessary to put a jack under the spindle, where the strut rod gets mounted to the spindle. This helps keep the spindle from swinging inward when the lateral links are removed.
Step 6: Remove the mounting bolts. Remove the mounting bolts from the lateral link(s) that need to be replaced.
It is suggested you pull the bolt on the spindle end back far enough to allow one lateral link end to be removed and then remove the inboard mounting bolt from that same link.
Remove the inboard mount bolt from the other link, being aware that the spindle may try to move inward when doing this. Once out, remove the long bolt on the spindle end the rest of the way, thus allowing the second lateral link to be removed.
Step 7: Compare replacement parts to the one(s) being removed. Set the replacement part(s) and the part(s) that were removed next to each other.
Be sure they are the same length, have the same attachment diameters, and are of the same style/design. It would be advised to use a tape measure to be sure the lengths are the same.
- Note: Some manufacturers will use two different length lateral links. Be sure to match up which one is which upon reinstallation.
Step 8: Reinstall replacement lateral link(s). The installation of the replacement lateral link(s) is the reverse of the removal procedure.
Slide the long bolt through one end of the lateral link and mount it into the spindle and put the bolt through the inboard end of that same link and loosely install the nut.
Put the inboard bolt onto the other link and mount it to the chassis, installing the nut loosely here also. Slide the other end into place on the spindle end and put the bolt through it. Install the nut onto it a couple of threads to hold it into place.
Step 9: Tighten nuts on all hardware. Once the lateral link(s) are in place, go ahead and tighten the nuts securing the link(s).
The fasteners on the suspension should be fairly tight, yet not so tight that you strip the threads on the bolt or nut.
Step 10: Reinstall wheel and lug nuts. Put the wheel back onto the spindle and reinstall the lug nuts.
Tighten the lug nuts to the point that the wheel is seated up against the spindle flange.
Step 11: Remove the jack stands. With the hydraulic jack, jack the vehicle up far enough the get the jack stands out.
Once the jack stands are removed, let the hydraulic jack down and set the vehicle down on the ground.
Step 12: Tighten lug nuts. With the vehicle weight back on the tires, tighten the lug nuts using a cross or star pattern.
Never tighten lug nuts in a circular pattern. Go around all of the lug nuts once, getting them fairly tight. Then, go back around the same star pattern and retighten to the final torque.
It is recommended you have an alignment done after replacing any suspension components. An incorrect alignment affects tire wear, driveability, and may cause for the steering wheel to be off center while driving. A car that is properly aligned has less rolling resistance and gets better gas mileage. If at any point you feel you could use a hand with replacing the lateral link(s) on your vehicle, have one of YourMechanic’s certified technicians come to your home or place of business and perform the repair for you.