
Replacing a backup light switch is fairly straightforward if you know what the switch looks like and where to locate it on your vehicle. A backup light switch screws into the transmission and is triggered when you shift the vehicle into reverse. If the switch is functioning normally, a circuit is completed when the switch is triggered and the white lights in the tail lights will illuminate, indicating to other drivers that you are backing up.
It is important to rule out the most common problem, which is a burnt out light bulb. This article is written with the assumption that you have already checked for burnt out light bulbs. By following this how-to, you should be able to successfully identify and replace your backup light switch.
Part 1 of 2: Locate your bad backup light switch
Materials Needed
- Adjustable pliers
- Box wrench (the size required to remove the battery terminals; often 12mm)
- Gloves
- Jack and jack stands (dependent on type of vehicle)
- Phillips head screwdriver
- Replacement backup light switch (for visual reference)
- Socket wrench (the size required to remove the battery tray and air filter box; often 10mm)

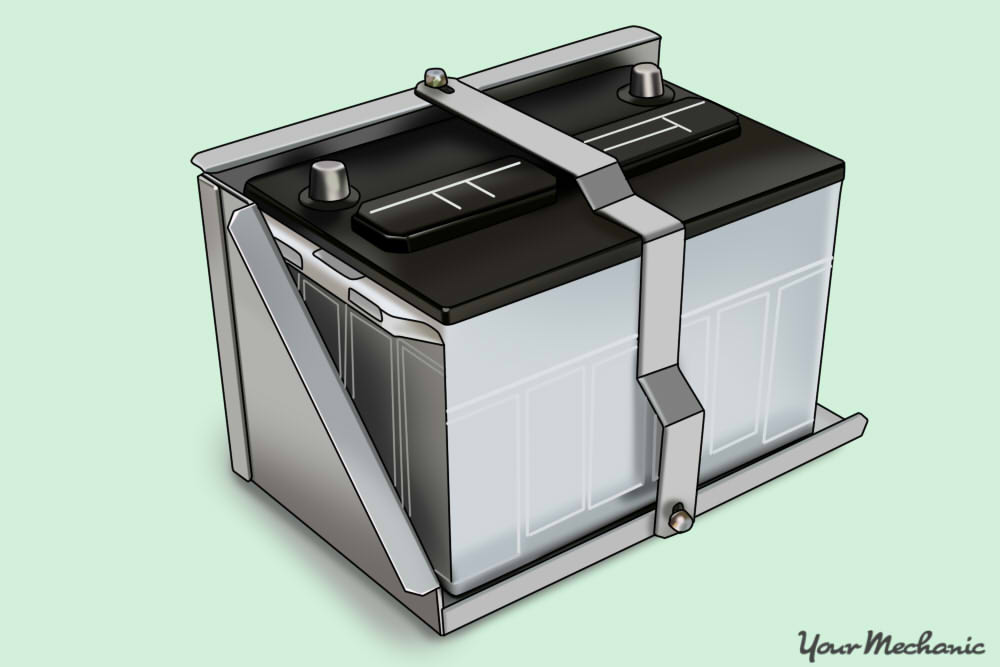
Step 1: Remove the battery. Use the box end wrench to disconnect the terminals connected to the battery.
Once the terminals are removed, use a socket wrench to remove the battery hold down bracket if there is one. This bracket will be secured with two bolts or nuts. These nuts or bolts are commonly sized 10mm.
Step 2: Remove the battery tray. Use the socket wrench to remove the nuts or bolts holding down the battery tray and remove the tray.
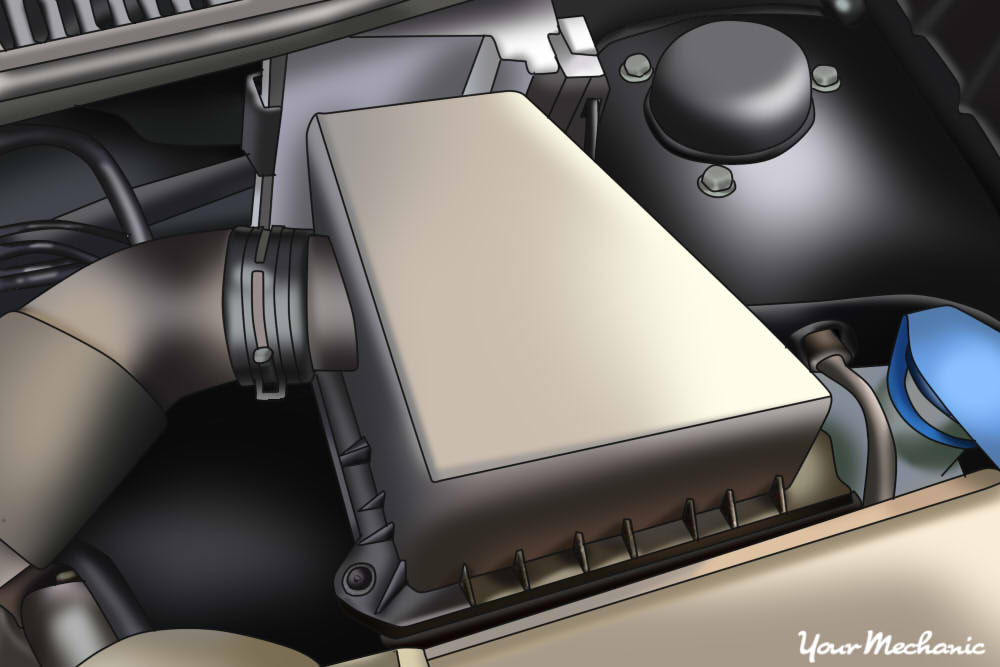
Step 3: Remove the air filter box. There is either a squeeze-type clamp or a screw-type clamp holding the intake pipe to the filter box.
Using either pliers or a screwdriver, remove this clamp and disconnect the pipe from the box.
Remove the box after removing the bolts securing the box to the vehicle.
Step 4: Attempt to locate the backup light switch on the top side of the transmission. On some vehicles, the switch may be visible at this point.
If you have a transverse (sideways) mounted engine, you should be looking at the top side of your transmission.
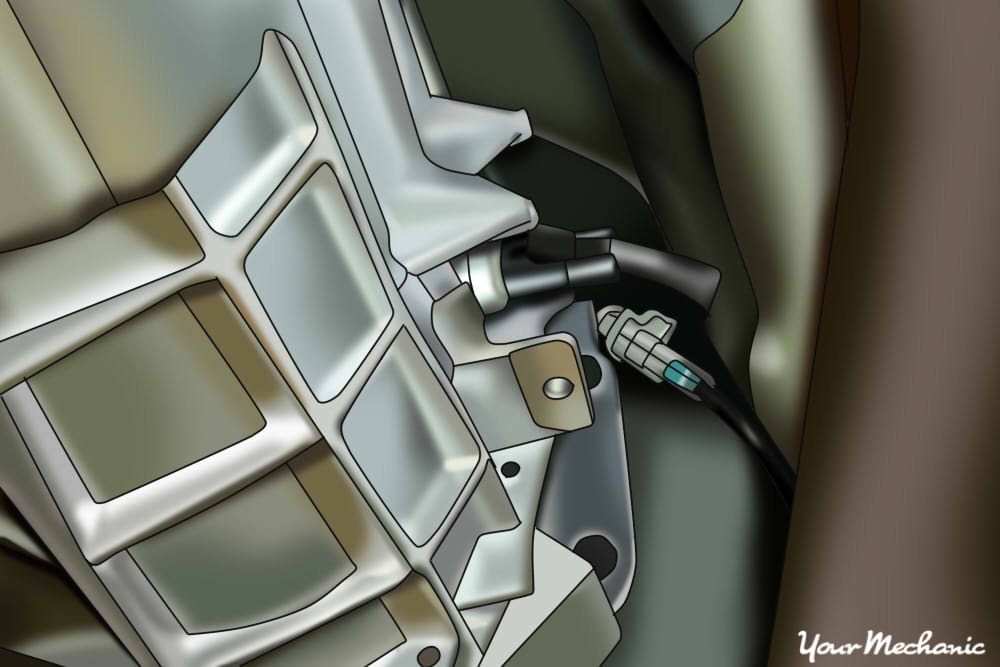
Examine the electrical connector on the new switch and look for a sensor plugged into the transmission with the same amount of wires coming out of it, and a similar looking electrical connector. If you find the sensor and can access it from above, skip to Part 2.
Step 5: Attempt to locate the backup light switch on the bottom side of the transmission. Jack up the front end of the vehicle and secure the vehicle with jack stands.
Typically a splashguard will need to be removed if the vehicle has a transverse mounted engine. It is common to find 10mm bolts or Phillips head bolts retaining the splashguard. Remove it to expose the bottom of the transmission. At this point you should be able to locate the sensor on the transmission.
- Tip: This switch will be located in different locations depending on the type of vehicle. Most modern passenger cars currently on the road have transverse (sideways) mounted engines with transmissions closer to the front of the vehicle. On many trucks or rear wheel drive vehicles, the transmission is normally located farther back, and only accessible from under the vehicle.
Part 2 of 2: Remove and replace the backup light switch
Materials Needed
- Gloves
- Open ended wrench (the size required for the switch)
- Replacement backup light switch
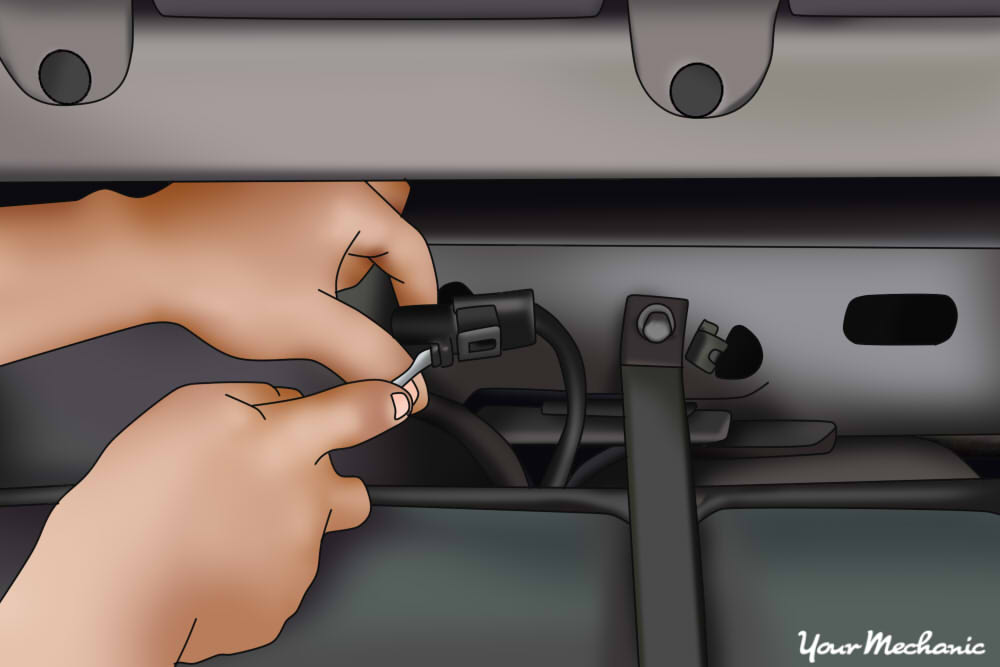
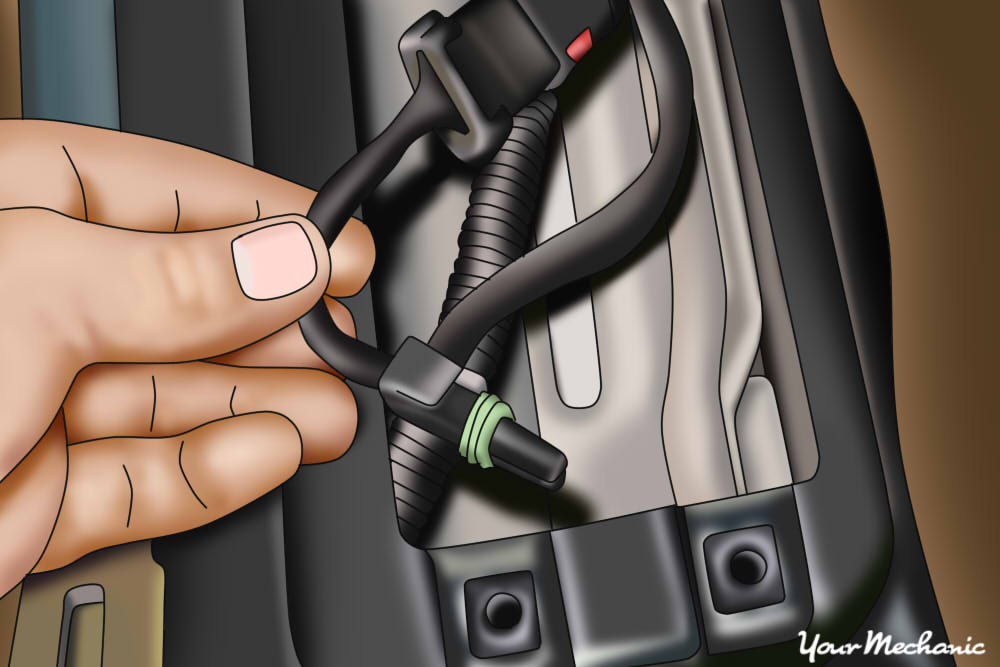
Step 1: Disconnect the electrical connector. Squeeze the tab on one side of the connector and disconnect the switch from the wiring harness.
Sometimes there is a retainer clip holding the wire to a nearby bracket to keep it secured and out of the way. Gently remove any retainer clips found.
- Tip: Wear one glove on the hand holding the harness side of the connector if the connector is stubborn.
Step 2: Use an open ended wrench to loosen the switch. When the switch is removed, replace it with the new switch and carefully tighten the switch back into the transmission.
Tighten it firmly but do not use excessive force as the transmission case is usually aluminum and you do not want to strip the threads.
Step 3: Reconnect the switch to the wiring harness. Once the electrical connector is plugged back in, make sure to replace any retaining clips you may have removed in previous steps.
Step 4: Reinstall the disconnected parts. If you ended up under the car, replace the splashguard and hand tighten the bolts.
Lower the vehicle and reinstall the air box, making sure to reconnect the intake hose and replace the clamp.
Reinstall the battery tray, the battery, and the battery hold down bracket. Double check all of your work before reconnecting the battery. Reconnect the battery and get a friend to verify the lights work.
If after reading this, you still don’t feel comfortable attempting this on your own, one of our mobile mechanics at YourMechanic will be happy to replace the backup light switch at your home or office.